Surveying Windy Coastlines With the Mini 5 Pro
Surveying Windy Coastlines With the Mini 5 Pro: A Photographer’s Field Method
META: A practical Mini 5 Pro workflow for surveying coastlines in windy conditions, with field tips on obstacle avoidance, ActiveTrack, D-Log, Hyperlapse, and safer low-altitude capture.
Coastlines are deceptive work sites.
From the ground, a beach or rocky shore can look wide open and forgiving. Once you launch, the real variables show up fast: crosswinds wrapping around cliffs, bright water throwing exposure off, gulls appearing from nowhere, drift over surf, and narrow launch zones with loose sand underfoot. If you’re trying to document erosion, capture repeatable shoreline imagery, or build a visual record for a client, those factors can ruin consistency before the first battery is half used.
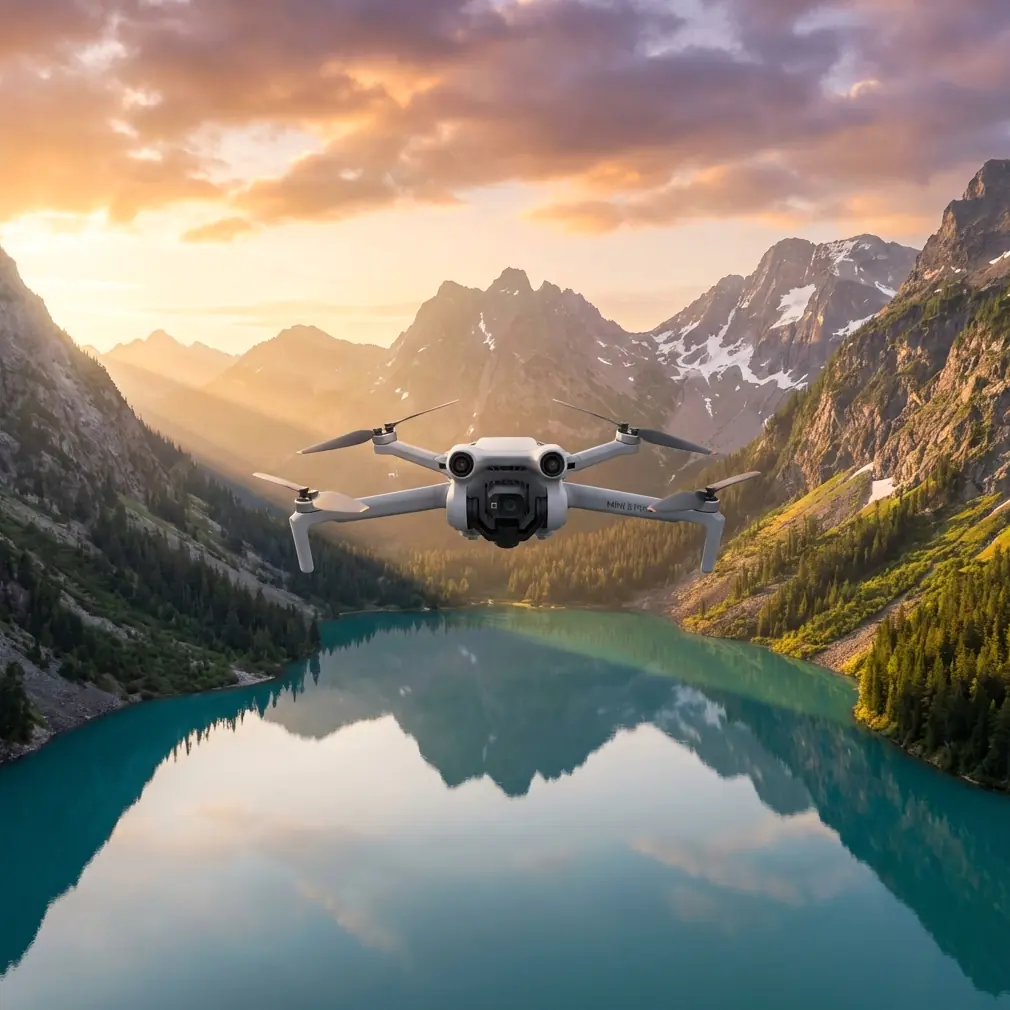
That is exactly why I changed how I approach coastal survey flights, and why the Mini 5 Pro has become such a practical tool for this kind of work.
I come at this as a photographer first. My earliest coastline jobs were messy in all the familiar ways. I would fight glare, overcorrect for wind, and come home with footage that looked dramatic but wasn’t especially useful for comparison or reporting. The problem was not only flight skill. It was workflow. Coastal surveying needs discipline more than improvisation.
The Mini 5 Pro matters here because it brings together several features that directly reduce field friction: obstacle avoidance, subject tracking through ActiveTrack, QuickShots, Hyperlapse, and D-Log for more flexible grading. None of those tools replaces planning. What they do is make a windy shoreline mission more repeatable, which is the real goal when you need usable data and not just pretty clips.
Below is the method I use when I’m surveying coastlines in wind with a compact drone like the Mini 5 Pro.
Start with the mission, not the scenery
A lot of failed coastal flights begin with a vague objective. “Get the shoreline” is not enough.
Before powering on, define what you actually need from the flight:
- A visual record of erosion along a fixed stretch
- Progress imagery for coastal engineering or restoration work
- Repeated passes for before-and-after comparison
- A media package that combines survey value with public-facing visuals
- Low-altitude inspection of dune edges, tidal channels, or rock revetments
That choice determines your altitude, direction of travel, lens behavior, and battery use.
If the goal is repeatability, dramatic movements are usually the wrong choice. You want clean, level passes, stable speed, and reference points in frame. If the goal is communication for stakeholders, you can add a few controlled reveal shots later. The Mini 5 Pro’s QuickShots are useful here, but only after the core survey material is captured. The cinematic pass should never replace the record shot.
Read the wind in layers
“Windy” on the forecast tells you almost nothing about what the aircraft will experience over a coastline.
On shore, you’re dealing with layered airflow. The beach may feel manageable while the air above a bluff is turbulent. Wind can accelerate around headlands and become unstable over warm sand, surf zones, and rock faces. With a lightweight platform, the operational significance is obvious: your outbound leg might look easy while your return path becomes the real test.
My rule is simple. Launch with the harder leg in mind.
If the wind is pushing north along the coast, I’ll often fly the first pass into the more demanding direction while the battery is strongest. That way, the easier segment comes later. This is especially helpful when you’re flying low for shoreline detail and need the aircraft to hold a consistent path.
The Mini 5 Pro’s obstacle avoidance becomes more than a convenience in these conditions. Along coastlines, obstacles are not just trees and buildings. They include masts, cables near access roads, sudden rock outcrops, and uneven cliff contours that become harder to judge when the aircraft is being nudged by gusts. In practical terms, obstacle sensing buys you margin when the wind introduces tiny positional errors that can add up over a long shoreline run.
That margin matters most when flying laterally along a cliff edge. You may think you’re maintaining a safe offset, but gusts can close that gap faster than expected.
Build a simple three-pass coastline workflow
For most coastal survey jobs, I use a three-pass structure. It sounds basic because it is. Basic is what holds up in wind.
Pass 1: High orientation run
The first run is not your hero shot. It’s your map.
Fly higher than your detailed pass and move steadily along the coast. Keep movement smooth and avoid frequent yaw inputs. This pass establishes context: shoreline shape, access points, vegetation line, dune edge, structures, and wave pattern.
Why it matters: this pass becomes your reference layer. If lower-altitude material is later disrupted by gusts or shifting light, you still have a broad visual record that anchors the job.
This is also where I assess whether the planned low pass is still sensible. If the wind is visibly pushing the drone around during the orientation run, I shorten the route rather than forcing the original plan.
Pass 2: Low detail run
This is the working pass.
Bring the Mini 5 Pro lower, but not so low that you’re constantly reacting to spray, birds, or terrain. The ideal height depends on the coastline, but the principle stays the same: low enough to show detail, high enough to preserve a safety buffer.
On this pass, obstacle avoidance is especially useful. Along irregular shorelines, the aircraft may need to handle subtle terrain variation while you maintain framing. If you’re near dune fencing, sparse shrubs, or jagged rocks, automated sensing helps reduce the risk of a minor correction turning into a costly contact.
This is also where many operators make the mistake of accelerating to “beat the wind.” Usually, that creates worse footage and weaker survey value. A slower, more deliberate pass gives your stabilization system time to work and produces footage that is easier to review later.
Pass 3: Supplemental motion or tracking pass
Only after the two core passes are done do I add movement-based shots.
ActiveTrack can be useful if you need to follow a shoreline vehicle, a walking inspector, or a surveyor moving along a defined route. Operationally, this helps create context for progress documentation or training material. Instead of manually juggling framing in gusty air, you let the tracking system hold attention on the subject while you supervise the route and spacing.
The significance here is efficiency. On a windy coast, reducing manual stick workload lets you focus more on airspace, obstacles, and drift. That often produces safer flights and cleaner footage.
Still, I treat subject tracking as a support tool, not an excuse to relax. In a coastal environment, birds, sudden glare, and interrupted sightlines can all interfere with reliable tracking.
Use D-Log when the coast gives you impossible contrast
Water and bright sand are ruthless on exposure.
If you expose for the foam, your cliff detail can collapse. Expose for the rocks and the reflective water may clip. This is where D-Log on the Mini 5 Pro earns its place.
For a photographer, the value is straightforward: D-Log preserves more flexibility in scenes with harsh contrast. Along coastlines, that means you have a better chance of holding detail in bright water while still recovering texture in darker land features during grading.
This is not just an aesthetic benefit. It can help preserve visual information relevant to inspection or environmental documentation. You may not need a dramatic grade at all. Often, the best use of D-Log is simply producing a balanced, readable image from a difficult midday scene.
One caution: if the output is needed quickly for field review, shoot with your end use in mind. Flat footage is useful, but only if your workflow allows for proper post-processing. If same-day delivery matters, capture a consistent profile you can turn around fast.
Hyperlapse is more useful for change than people realize
Most pilots think of Hyperlapse as a creative feature. On coastlines, it can serve a more practical role.
Used carefully, Hyperlapse can show the movement of tide, cloud shadow, surf direction, or activity around a restoration site in a way that a single still or normal-speed clip cannot. For public communication, stakeholder reporting, or environmental storytelling, this can be extremely effective.
The operational significance is that it compresses time. If you’re documenting how water interacts with a shoreline over a fixed period, a controlled Hyperlapse can provide a clear visual summary without requiring someone to scrub through a long real-time recording.
The key is not to let style overpower readability. Keep the composition stable. Include fixed land references. Let the coast tell the story.
QuickShots have a place, but be selective
I’m cautious with QuickShots on survey-oriented jobs.
They can be excellent for creating a concise overview for clients, especially when you want to show the relationship between shoreline, infrastructure, and surrounding terrain. A clean automated reveal can communicate site scale in seconds.
But there’s a difference between communication material and survey material.
Use QuickShots to supplement a job package, not define it. On a windy coastline, the strength of automation is consistency, but the weakness is that automated movement may not reflect the exact framing priorities your inspection or documentation requires.
That said, one well-chosen QuickShot at the end of a session can help non-technical stakeholders understand the site far faster than a folder of flat passes.
Launch and recovery are part of the survey
Coastal operators often focus on the airborne segment and forget that the highest-stress moments can be launch and landing.
Sand, uneven rock, and narrow shoreline access points all raise the stakes. I avoid rushing setup, even if the tide is moving and the light is changing. Confirm your home point carefully. Watch for loose debris. If the launch area is turbulent, hand launching or recovering may be the cleaner option if local rules, training, and safe practice support it.
This matters because a perfect survey is worthless if the aircraft gets damaged in the last 10 seconds.
I also recommend keeping your support process simple. On recurring jobs, I keep a short field checklist on my phone covering wind direction, tide state, pass order, sun angle, and landing options. If you work with a visual observer or local coordinator and want to compare route ideas before a shoreline session, I’ve found it useful to send the site notes here and confirm the plan before heading out.
What changed for me with this model
The biggest shift was not image quality alone. It was confidence in a repeatable small-aircraft workflow.
With the Mini 5 Pro, the blend of obstacle avoidance, ActiveTrack, D-Log, QuickShots, and Hyperlapse means I can separate the job into layers: first the reliable documentation, then the supporting visuals. That sounds like a small distinction, but in the field it changes everything. You stop chasing every possible shot and start collecting a structured record.
For windy coastline work, that is the difference between returning with fragments and returning with a coherent set.
And that coherence matters. Coastal surveying often depends on comparison across time. If one month’s footage is cinematic but inconsistent, and the next month’s footage is technically cleaner, your archive becomes harder to use. A drone like the Mini 5 Pro helps because it supports disciplined capture while still leaving room for visual storytelling.
My field checklist for windy shoreline flights
Before I wrap, here’s the short version I actually follow:
- Define the purpose of the flight before takeoff.
- Fly the hardest wind leg while the battery is strongest.
- Capture a high orientation pass first.
- Then shoot the low detail pass.
- Use ActiveTrack only when it supports the mission, not as a default.
- Shoot D-Log when the contrast between water and land is severe.
- Use Hyperlapse for visible change over time, not just style.
- Add QuickShots only after the core survey material is complete.
- Treat launch and landing as mission-critical phases.
- Leave with footage that can be repeated next time.
That last point is the one most people miss.
A coastline is never static, and windy conditions make every flight feel slightly different. The purpose of using a capable compact drone is not to eliminate that variability. It is to manage it well enough that your work remains useful from one visit to the next.
That is where the Mini 5 Pro fits best. Not as a toy for dramatic seaside clips, and not as a substitute for field judgment, but as a practical aerial tool for documenting difficult edges of land with more control than this class once allowed.
Ready for your own Mini 5 Pro? Contact our team for expert consultation.