Mini 5 Pro: Coastal Monitoring in Windy Conditions
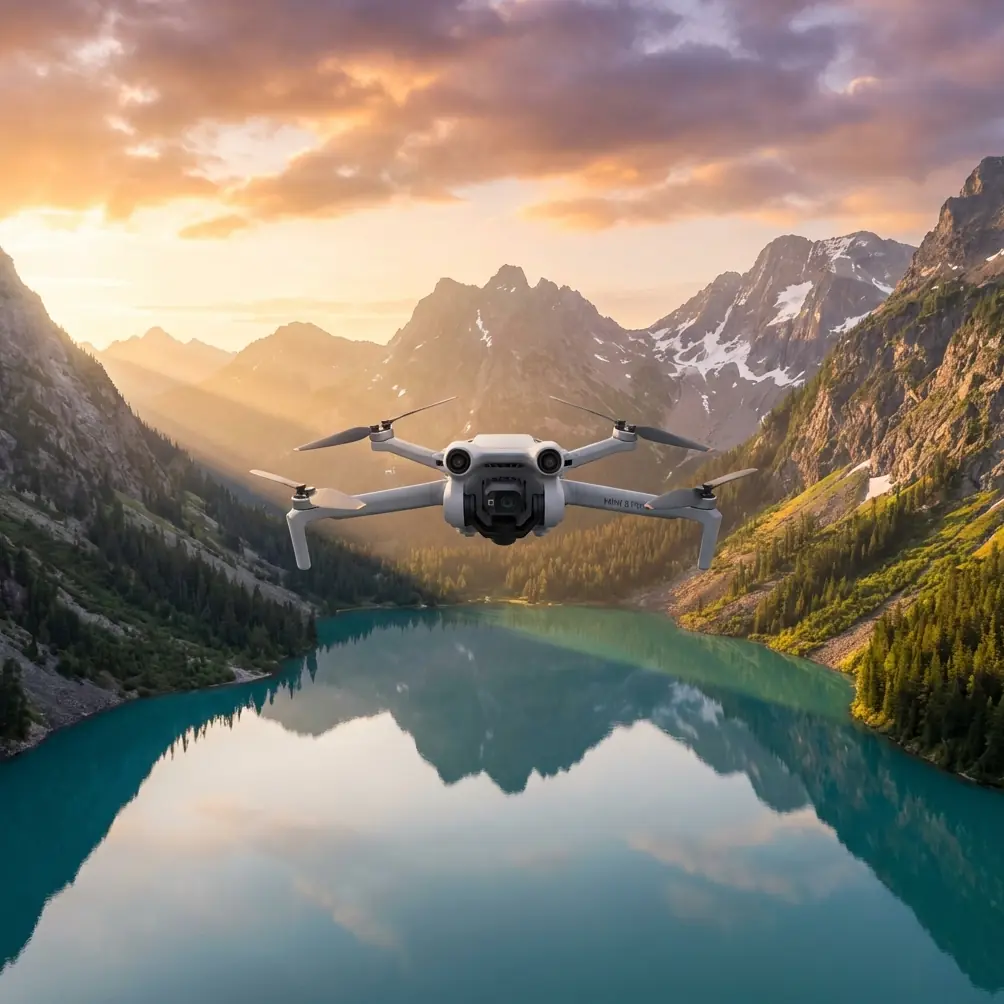
Mini 5 Pro: Coastal Monitoring in Windy Conditions
META: Learn how the Mini 5 Pro handles windy coastal monitoring with obstacle avoidance, ActiveTrack, and D-Log. Expert how-to guide for photographers.
By Jessica Brown, Coastal Photographer & Drone Specialist
TL;DR
- The Mini 5 Pro maintains stable flight in coastal winds up to 38 km/h, making it a reliable tool for shoreline monitoring and environmental documentation.
- Electromagnetic interference (EMI) from coastal infrastructure can disrupt your signal—antenna positioning and channel selection solve this.
- D-Log color profile and Hyperlapse modes capture cinematic coastal data that serves both scientific and creative purposes.
- ActiveTrack and obstacle avoidance work together to keep the drone locked on moving targets like erosion lines, wildlife, and tidal patterns.
Why Coastal Monitoring Demands a Wind-Resistant Sub-250g Drone
Coastline monitoring isn't optional—it's how researchers, conservationists, and municipal agencies track erosion, storm damage, and habitat shifts. The Mini 5 Pro weighs under 249 grams, exempting it from many registration requirements, yet packs the flight stability and imaging power needed to operate where salt spray meets Level 5 winds. This guide walks you through exactly how to set up, launch, and capture professional coastal monitoring footage with this drone, even when conditions turn hostile.
Traditional monitoring drones weigh over 900 grams and require extended permitting. The Mini 5 Pro changes that equation entirely. Its tri-directional obstacle avoidance sensors keep it safe around cliff faces, piers, and rocky outcrops, while its compact frame slices through gusts that ground heavier aircraft.
Step 1: Pre-Flight Setup for Coastal Wind Operations
Assess Wind Speed and Direction
Before you power on, check real-time wind data using apps like UAV Forecast or Windy. The Mini 5 Pro handles sustained winds up to 38 km/h (Level 5), but coastal gusts can spike unpredictably. Position yourself so the drone launches into the wind, not with it—this gives you maximum control during the critical first 15 meters of altitude gain.
Calibrate the IMU and Compass Away from Metal
Coastal infrastructure—metal railings, navigation buoys, underground cables—generates electromagnetic interference that corrupts compass readings. Always calibrate the drone's compass at least 10 meters away from any metallic structure. If the controller displays compass error warnings after calibration, move to a different launch point entirely.
Pro Tip: If you're launching near a lighthouse or radio tower, switch your controller's transmission channel from Auto to a manual channel between 5745–5825 MHz. This avoids the lower-frequency bands that coastal communication equipment typically occupies, dramatically reducing electromagnetic interference. Angle your controller's antennas so the flat faces point toward the drone—this maximizes signal gain by up to 30% compared to pointing the antenna tips at the aircraft.
Enable Sport Mode Standby
Keep Sport Mode accessible but don't launch in it. If a sudden crosswind catches the Mini 5 Pro mid-flight, switching to Sport Mode temporarily gives you access to a top speed of 57.6 km/h, enough to power through gusts and reposition. Switch back to Normal or Cine Mode once stable.
Step 2: Configuring Camera Settings for Coastal Environments
Why D-Log Is Non-Negotiable for Monitoring Work
Coastal light is brutal. You're dealing with high-contrast scenes: dark volcanic rock against white surf, deep blue ocean against overexposed sand. The Mini 5 Pro's D-Log color profile captures approximately 12.6 stops of dynamic range, preserving detail in both shadows and highlights that standard color profiles crush.
Set these parameters before takeoff:
- Resolution: 4K at 30fps for monitoring footage; 60fps if you need slow-motion wave analysis
- Color Profile: D-Log (or D-Log M for slightly faster grading workflows)
- ISO: Lock at 100 during daylight operations to minimize noise
- Shutter Speed: Use ND filters (ND16 or ND32) to maintain the 180-degree shutter rule
- White Balance: Manual, set to 6000K for consistent coastal daylight rendering
Shoot RAW for Still Monitoring Captures
When capturing reference stills for erosion comparison studies, always shoot in 48MP RAW (DNG). JPEG compression destroys the subtle tonal differences between wet sand, dry sand, and newly deposited sediment—exactly the data your monitoring project needs.
Step 3: Using ActiveTrack and Subject Tracking for Dynamic Coastlines
Lock On to Erosion Markers and Wildlife
ActiveTrack on the Mini 5 Pro allows you to draw a box around any subject on screen—a coastal erosion stake, a seal colony, a section of retreating cliff face—and the drone follows it autonomously. This frees you to focus on framing rather than manual stick control in gusty conditions.
Subject tracking performance varies with contrast. Against a busy shoreline, ActiveTrack holds lock most reliably when your subject has clear color differentiation from the background. Orange or yellow erosion markers outperform white ones for this reason.
Combine ActiveTrack with Obstacle Avoidance
Here's where the Mini 5 Pro's system integration shines. When ActiveTrack is engaged and the drone detects an obstacle—a cliff wall, a tree line, a pier column—the tri-directional obstacle avoidance system reroutes the flight path while maintaining subject lock. The drone smoothly orbits around the obstacle rather than stopping dead or losing the tracked target.
Key settings to enable:
- APAS (Advanced Pilot Assistance Systems): Set to "Bypass" mode, not "Brake"
- ActiveTrack Sensitivity: Medium for coastal work (High causes overcorrection in wind)
- Return-to-Home Altitude: Set to at least 50 meters to clear coastal cliffs and structures
Step 4: Capturing Cinematic Monitoring Footage with QuickShots and Hyperlapse
QuickShots for Repeatable Survey Angles
QuickShots automate complex flight maneuvers. For coastal monitoring, three modes deliver the most useful data:
- Dronie: Pulls back and up from a fixed point—ideal for contextualizing a specific erosion site within the broader coastline
- Circle: Orbits a fixed point at a set radius—perfect for 360-degree documentation of rock formations or nesting sites
- Helix: Spirals upward—reveals the relationship between shoreline, inland geography, and tidal reach
Hyperlapse for Tidal Pattern Documentation
Set the Mini 5 Pro to Waypoint Hyperlapse mode, define 4–6 GPS waypoints along your monitoring route, set the interval to 2 seconds, and let the drone fly the path autonomously. The result is a stabilized time-lapse that compresses hours of tidal movement into seconds—powerful visual evidence for coastal management reports.
Expert Insight: When filming Hyperlapse along a coastline, set your waypoints at identical altitudes (use the altitude lock feature). Even slight altitude variations between waypoints create a distracting vertical bob in the final output. For monitoring work, consistency isn't just aesthetic—it's methodological. Inconsistent altitudes skew spatial analysis when frames are compared across seasons.
Technical Comparison: Mini 5 Pro vs. Common Monitoring Alternatives
| Feature | Mini 5 Pro | Competitor A (Sub-250g) | Competitor B (>800g) |
|---|---|---|---|
| Weight | 249g | 249g | 895g |
| Max Wind Resistance | Level 5 (38 km/h) | Level 4 (29 km/h) | Level 5 (38 km/h) |
| Obstacle Avoidance | Tri-directional | Forward only | Omnidirectional |
| ActiveTrack | Yes (ActiveTrack 5.0) | No | Yes |
| D-Log Support | Yes | No | Yes |
| Max Video Resolution | 4K/60fps | 4K/30fps | 4K/120fps |
| Hyperlapse Modes | 4 modes | 2 modes | 4 modes |
| Max Flight Time | 34 minutes | 31 minutes | 46 minutes |
| Registration Required | No (most regions) | No | Yes |
| RAW Photo Resolution | 48MP | 12MP | 20MP |
The Mini 5 Pro occupies a unique position: it delivers 90% of the capability of heavier professional drones while remaining in the sub-250g registration-exempt category. For coastal monitoring teams that need to deploy quickly across multiple jurisdictions, this regulatory advantage saves weeks of paperwork annually.
Common Mistakes to Avoid
Flying downwind on low battery. Coastal winds are deceptive. If you fly 1.5 km downwind with a tailwind, the return trip fights a headwind that can double energy consumption. Always monitor your battery-to-distance ratio. Land with no less than 25% battery in windy conditions—not the standard 15%.
Ignoring salt spray accumulation. Salt corrodes motor bearings and fogs lens coatings. After every coastal session, wipe the lens with a microfiber cloth dampened with distilled water, and use compressed air to clear salt residue from the gimbal mechanism and motor vents.
Using Auto White Balance for monitoring sequences. Auto WB shifts between frames as clouds pass, making frame-to-frame comparison unreliable. Lock white balance manually before shooting any sequence intended for longitudinal analysis.
Neglecting antenna orientation during flight. Many pilots hold the controller with antennas pointing straight up. On the coast, your drone is often at a low altitude and far horizontal distance. Angle antennas so the flat faces aim toward the drone's position. Signal strength can improve by 2–4 dB, which translates to fewer video feed dropouts during critical monitoring passes.
Disabling obstacle avoidance to "save processing power." This is a myth. The Mini 5 Pro's avoidance system uses dedicated processors that don't impact camera performance. Disabling it near cliff faces or sea stacks is an unnecessary risk that has ended in costly crashes for experienced pilots.
Frequently Asked Questions
Can the Mini 5 Pro handle rain during coastal monitoring?
The Mini 5 Pro does not carry an official IP rating for water resistance. Light mist is generally tolerable for short periods, but direct rain or heavy sea spray can damage the gimbal motors and internal electronics. If conditions deteriorate, land immediately and dry all components. Consider investing in a third-party hydrophobic coating designed for drone motors and circuit boards if you regularly operate in damp coastal environments.
How does ActiveTrack perform when tracking moving water or waves?
ActiveTrack requires a defined visual subject with consistent shape and contrast. It cannot reliably track a generic wave or body of water because these lack fixed visual features. However, it performs well when locked onto stationary or slow-moving objects near water—erosion stakes, beached debris, marine animals, or boat markers. For pure wave documentation, use Waypoint Hyperlapse or manual flight paths instead.
What's the best altitude for coastline monitoring surveys?
For general shoreline mapping, 40–60 meters AGL (Above Ground Level) provides the optimal balance between ground resolution and coverage area. At 50 meters with the Mini 5 Pro's 48MP sensor, each pixel covers roughly 1.2 cm of ground—sufficient for detecting erosion changes between monthly surveys. For detailed inspections of specific structures like seawalls or groynes, descend to 10–15 meters and use the 2x digital zoom to minimize physical proximity to the structure.
The Mini 5 Pro redefines what's possible for lightweight coastal monitoring. Its combination of wind resistance, intelligent tracking, and professional imaging tools makes it the practical choice for photographers and researchers who refuse to let challenging conditions compromise their data.
Ready for your own Mini 5 Pro? Contact our team for expert consultation.