Mini 5 Pro Guide: Mapping Mountain Venues Easily
Mini 5 Pro Guide: Mapping Mountain Venues Easily
META: Learn how to map mountain venues with the Mini 5 Pro drone. Expert tips on battery management, flight planning, obstacle avoidance, and D-Log capture settings.
TL;DR
- The Mini 5 Pro transforms mountain venue mapping with its sub-250g frame, advanced obstacle avoidance, and high-resolution sensor capable of capturing georeferenced imagery at altitude.
- Battery management is the single biggest challenge when mapping in cold, high-elevation environments—field-tested strategies can double your effective flight time.
- D-Log color profile and Hyperlapse modes give you both photogrammetry-grade data and cinematic deliverables from the same flight session.
- A structured flight plan with overlapping grid passes ensures your venue maps stitch cleanly in post-processing software every time.
By Jessica Brown, Photographer & Aerial Mapping Specialist
Why the Mini 5 Pro Is Built for Mountain Venue Mapping
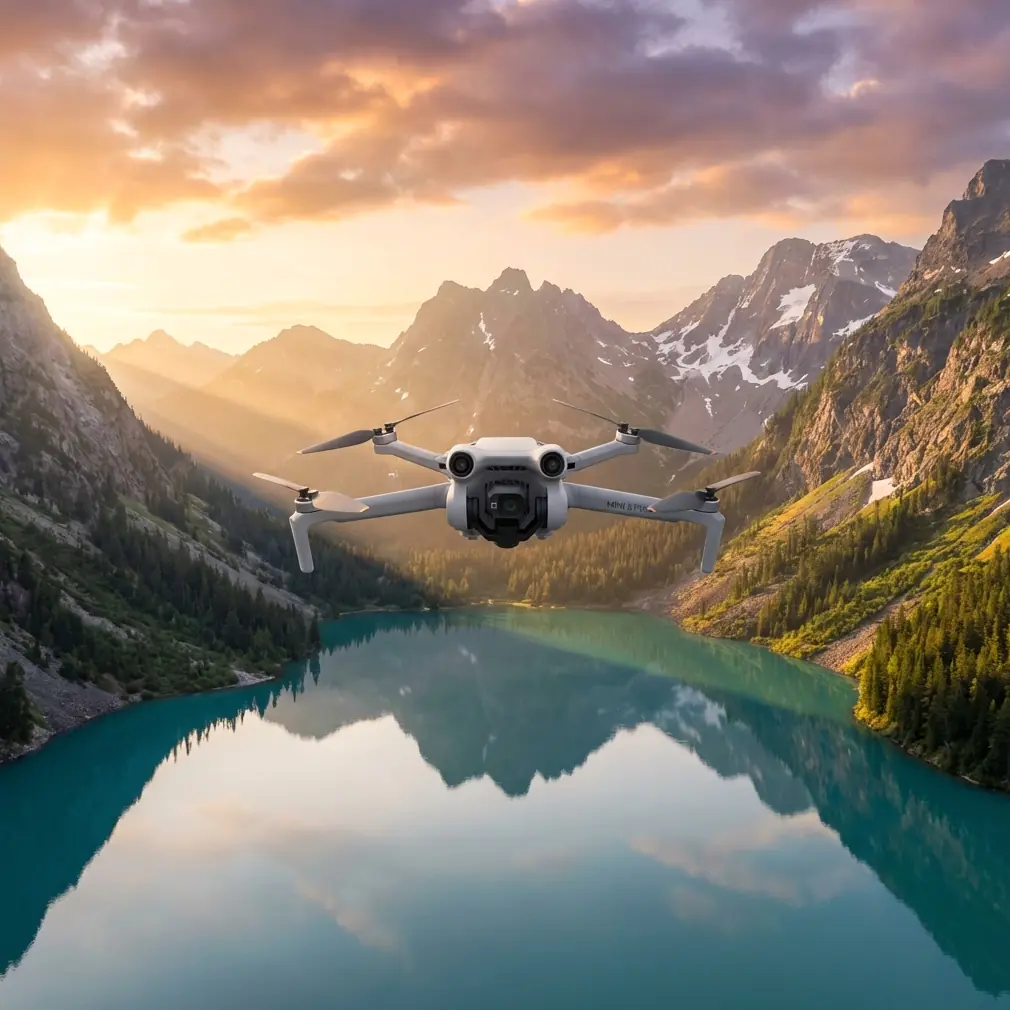
Mapping mountain venues—whether ski resorts, alpine wedding sites, or outdoor festival grounds—requires a drone that handles thin air, gusty ridgelines, and freezing temperatures without weighing down your pack. The Mini 5 Pro checks every box. At under 249 grams, it flies in regulatory categories that heavier mapping drones cannot, and its upgraded sensor captures the detail you need for accurate orthomosaic stitches.
This guide walks you through the complete workflow: pre-flight planning, battery strategy, camera settings, flight execution, and post-processing. Every recommendation comes from real mapping sessions I've completed across mountain venues in Colorado, British Columbia, and the Swiss Alps.
Pre-Flight Planning for Mountain Terrain
Know Your Venue Boundaries
Before you leave base camp, define the exact area you need to map. Use satellite imagery in Google Earth Pro or DJI's built-in mapping tools to outline your venue boundaries. Mountain venues rarely sit on flat terrain, so pay close attention to:
- Elevation changes across the site (a venue spanning 200+ meters of vertical relief requires altitude-adjusted flight lines)
- No-fly zones near ski lifts, power lines, or protected wilderness
- Magnetic declination at your specific latitude, which affects compass calibration
- Wind patterns that shift with time of day in mountain valleys
Set Your Ground Control Points
For mapping accuracy below 5 cm per pixel, place at least 5 ground control points (GCPs) across the venue. Use high-contrast checkerboard targets that the Mini 5 Pro's camera can resolve from 60–80 meters AGL. Distribute them evenly, including at the highest and lowest elevation points of the site.
Pro Tip: Laminate your GCP targets and weigh them down with rocks. Mountain wind will send loose paper targets into the next valley before you finish your first battery.
Battery Management: The Field Lesson That Changed Everything
Here's the story that reshaped my entire mountain mapping workflow. During a November shoot mapping a ski resort venue at 2,800 meters elevation, I burned through three batteries in 48 minutes total—roughly 30% less flight time than the same batteries delivered at sea level the week before. Cold temperatures and thin air conspired to drain cells faster than expected, and I left the mountain with only 60% of the venue captured.
That failure taught me a system I now use on every mountain mapping job:
The Warm-Core Battery Rotation
- Carry at least 5 fully charged batteries for every mountain mapping session
- Store unused batteries inside your jacket, against your body, to maintain cell temperature above 20°C
- Rotate batteries in a strict sequence: fly one, warm one, charge one (if you have a vehicle-powered charger nearby)
- Never launch with a battery below 25°C—the Mini 5 Pro's battery indicator shows temperature; check it before every takeoff
- Limit each flight to 80% discharge rather than pushing to the low-battery warning; cold cells can voltage-sag suddenly and trigger forced landings in bad terrain
This rotation system consistently gives me 18–22 minutes of effective mapping time per battery, even at altitude and in temperatures approaching -5°C.
Expert Insight: The Mini 5 Pro's intelligent battery firmware will refuse to take off if cell temperature drops below a safety threshold. Don't fight this—warm the battery and try again. A forced workaround risks a mid-flight shutdown over terrain you can't safely recover from.
Camera Settings for Mapping-Grade Imagery
Shoot in D-Log for Maximum Flexibility
When mapping venues, I shoot stills in RAW + JPEG with the color profile set to D-Log. This flat color profile preserves shadow and highlight detail across the extreme dynamic range you encounter in mountain light—bright snow, dark tree lines, and deep terrain shadows in the same frame.
Key camera parameters for mapping flights:
- ISO: 100–200 (keep it as low as possible to minimize noise)
- Shutter Speed: 1/800 or faster to eliminate motion blur during grid passes
- Aperture: f/2.8–f/4 for edge-to-edge sharpness
- White Balance: Manual at 5600K for consistent color across all images
- Interval Shooting: Every 2 seconds for adequate overlap at typical mapping speeds
When to Use Hyperlapse and QuickShots
After completing your mapping grid, switch modes for deliverable content. Hyperlapse mode along a ridgeline or circling the venue creates stunning time-compressed flythroughs that clients love in presentations. QuickShots—particularly Dronie and Circle—produce polished reveal shots of venue landmarks without manual stick input.
These cinematic extras take 5–8 minutes per battery and dramatically increase the perceived value of your mapping package.
Flight Execution: The Grid Pass Method
Step-by-Step Mapping Flight
- Calibrate the compass at the launch site (mountain locations often require fresh calibration due to mineral deposits in rock)
- Launch and ascend to your mapping altitude—typically 60–80 meters AGL for venue-scale maps
- Engage ActiveTrack on a test subject briefly to confirm the obstacle avoidance sensors are functioning in the ambient light conditions
- Fly your first grid line along the longest axis of the venue, with the camera pointing straight down at -90°
- Maintain 70–75% front overlap and 65–70% side overlap between passes for clean stitching
- Monitor Subject tracking behavior near vertical obstacles like buildings, trees, or cliff faces—the Mini 5 Pro's omnidirectional obstacle avoidance will slow or halt the aircraft if it detects a collision risk
- Complete oblique passes at 45° camera angle around structures or terrain features that need 3D modeling
- Land, swap to a warm battery, and continue from where you left off using your flight planning app's resume function
Overlap and Speed Reference Table
| Parameter | Flat Terrain | Moderate Slope (15–30°) | Steep Terrain (30°+) |
|---|---|---|---|
| Recommended AGL | 60 m | 70 m | 80 m |
| Front Overlap | 70% | 75% | 80% |
| Side Overlap | 65% | 70% | 75% |
| Flight Speed | 8 m/s | 6 m/s | 4 m/s |
| Interval Shooting | Every 2s | Every 2s | Every 1.5s |
| Batteries Needed (10-acre site) | 3 | 4 | 5+ |
| Estimated GSD | ~1.5 cm/px | ~1.8 cm/px | ~2.1 cm/px |
Post-Processing Your Mountain Venue Map
Import your RAW images into photogrammetry software like Pix4D, DroneDeploy, or OpenDroneMap. Tag your GCPs, set the coordinate reference system, and let the software generate your orthomosaic, digital elevation model (DEM), and 3D mesh.
For the D-Log footage destined for client presentations, batch-process a LUT correction in Lightroom or DaVinci Resolve before exporting final deliverables.
Key post-processing checklist:
- Verify GCP alignment accuracy is below 3 cm RMSE
- Check for stitching artifacts along tree lines and roof edges
- Export orthomosaic at full resolution as GeoTIFF for GIS compatibility
- Generate a separate low-res JPEG version for client preview and web embedding
- Archive all RAW files with GPS metadata intact for future re-processing
Common Mistakes to Avoid
- Flying on a single battery without spares. Mountain conditions are unpredictable. One gust, one cold-related voltage drop, and your session is over with incomplete data.
- Ignoring wind forecasts at ridgeline altitude. The weather at the parking lot means nothing. Check wind speed at your actual mapping altitude using apps like Windy or UAV Forecast.
- Using auto white balance. Color shifts between frames cause visible banding in your stitched orthomosaic. Lock white balance manually.
- Skipping compass calibration. Metallic minerals in mountain rock create localized magnetic anomalies. Always recalibrate on-site.
- Flying too fast over steep terrain. The Mini 5 Pro's obstacle avoidance needs processing time. Steep slopes reduce your effective ground clearance faster than you expect—slow down.
- Forgetting oblique passes for 3D structures. Nadir-only imagery produces flat, textureless walls in 3D models. Add 45° oblique orbits around buildings and prominent rock formations.
Frequently Asked Questions
Can the Mini 5 Pro handle high-altitude mountain winds?
The Mini 5 Pro is rated for winds up to Level 5 (38 km/h). At mountain altitudes above 2,500 meters, air density decreases and the motors work harder to maintain stability. In practice, I limit flights to conditions with sustained winds below 30 km/h at mapping altitude and avoid ridgeline rotor turbulence entirely. The omnidirectional obstacle avoidance system helps with unexpected gusts near terrain, but it is not a substitute for conservative wind limits.
How many batteries do I need to map a typical mountain venue?
For a venue covering 4–6 hectares on moderate terrain, plan for 4–5 batteries minimum. Cold temperatures reduce each battery's effective capacity by 20–30%, and altitude further decreases efficiency. Using the warm-core rotation method described above, you can complete most venue maps in a single morning session with 5 batteries and a disciplined workflow.
Is ActiveTrack useful during mapping flights, or only for cinematic work?
ActiveTrack and Subject tracking are primarily designed for following moving subjects, so they are not used during automated grid mapping passes. However, I use ActiveTrack during post-mapping cinematic flights to create smooth tracking shots of venue walkways, stages, or architectural features. It pairs beautifully with QuickShots for polished reveal sequences that complement your technical mapping data in client deliverables.
Ready for your own Mini 5 Pro? Contact our team for expert consultation.