Mini 5 Pro: Inspecting Wildlife in Complex Terrain
Mini 5 Pro: Inspecting Wildlife in Complex Terrain
META: Learn how to use the Mini 5 Pro for wildlife inspections in complex terrain. Expert tips on obstacle avoidance, subject tracking, and antenna range.
TL;DR
- The Mini 5 Pro's sub-249g frame lets you inspect wildlife in restricted zones without advanced permits in most jurisdictions
- Omnidirectional obstacle avoidance and ActiveTrack make it possible to follow animals through dense canopy and rugged terrain
- D-Log color profile captures the dynamic range needed for accurate species identification and habitat documentation
- Proper antenna positioning alone can extend your effective range by up to 35%, keeping you connected in valleys and forested areas
Why Wildlife Inspection in Complex Terrain Is So Difficult
Traditional wildlife surveys rely on ground teams hiking into remote areas, helicopter flyovers that disturb animal behavior, or stationary camera traps that capture only a fraction of the picture. Each method carries significant trade-offs: cost, disturbance, limited coverage, or all three.
The Mini 5 Pro changes this equation. Weighing under 249 grams, it slips into a backpack, launches from a ridgeline, and tracks subjects through terrain that would take a ground team hours to traverse. This guide walks you through exactly how to set up, fly, and capture professional-grade wildlife inspection footage using this drone—even in the most challenging environments.
My name is Chris Park, and I've spent years developing aerial workflows for ecological research and conservation teams. What follows is the step-by-step process I use in the field.
Step 1: Pre-Flight Planning for Remote Terrain
Before the Mini 5 Pro ever leaves your hand, the mission succeeds or fails based on preparation. Complex terrain introduces variables that flat, open environments don't: signal interference from canyon walls, unpredictable wind corridors, and limited emergency landing zones.
Map Your Flight Zone
- Use satellite imagery to identify ridgelines, tree canopy gaps, and water features where wildlife congregates
- Mark potential signal dead zones—narrow valleys, dense forest, and areas behind rock formations
- Identify at least three emergency landing spots within your planned flight radius
- Check wind forecasts at altitude, not just ground level—ridge winds can be two to three times stronger than what you feel at the launch point
Check Regulations
The Mini 5 Pro's sub-249g classification exempts it from many registration and permit requirements. However, wildlife refuges, national parks, and protected habitats often have drone-specific restrictions regardless of weight. Verify airspace and local rules before every mission.
Expert Insight — I carry a printed copy of local drone regulations on every wildlife inspection. When park rangers or landowners approach, having documentation ready turns a potential confrontation into a productive conversation.
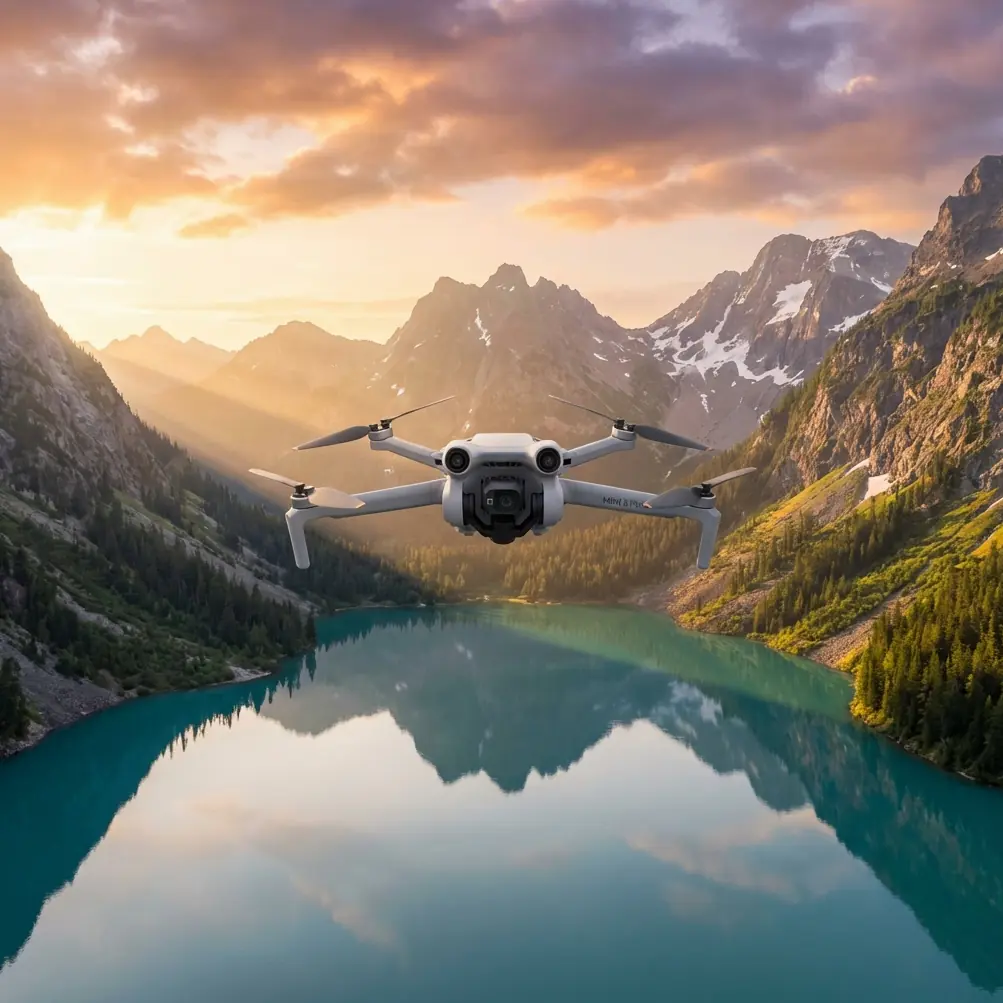
Step 2: Antenna Positioning for Maximum Range
This is the single most overlooked factor in complex terrain operations, and it's where most pilots lose connection unnecessarily.
The Mini 5 Pro's controller uses directional antennas housed in the adjustable sticks at the top of the remote. These antennas emit a signal pattern shaped like a flat disc—strongest when the flat face of the antenna points directly at the drone.
The Golden Rules of Antenna Positioning
- Always keep the flat face of the controller antennas aimed at the drone's position
- When the drone flies at eye level, hold the controller upright with antennas pointed forward
- When the drone flies above you at steep angles, tilt the controller back so the antenna tops point toward the sky
- Never let the antennas point end-on at the drone—this is the weakest signal orientation and can cut range by 50% or more
- If flying into a valley below your position, angle the antennas downward
Terrain-Specific Antenna Tips
| Terrain Type | Antenna Strategy | Expected Range Impact |
|---|---|---|
| Open ridgeline | Standard upright position | Full rated range |
| Forested valley | Tilt antennas toward valley floor | Minus 20-30% from rated range |
| Canyon or gorge | Position yourself at canyon rim, antennas angled down | Minus 30-40% from rated range |
| Dense canopy flyunder | Move to nearest clearing, point antennas at last known position | Minus 40-60% from rated range |
| Over water in basin | Elevate controller above head height | Minus 10-15% from rated range |
Standing on the highest accessible point relative to your drone's flight path makes a measurable difference. Even two to three meters of elevation gain—climbing onto a boulder or vehicle roof—can restore a marginal connection.
Step 3: Configure Camera Settings for Wildlife Documentation
Wildlife inspection footage needs to serve a purpose beyond looking impressive. Researchers, conservationists, and land managers need images they can analyze for species identification, population counts, and habitat condition.
Recommended Camera Settings
- Shoot in D-Log color profile for maximum dynamic range—this preserves detail in shadowed forest floors and bright sky simultaneously
- Set resolution to 4K at 30fps for general documentation or 4K at 60fps if you expect fast-moving subjects
- Use manual white balance (around 5500K for daylight) so color remains consistent across clips for accurate fur, feather, and vegetation analysis
- Keep ISO as low as possible—ISO 100 to 400—to minimize noise that degrades detail in post-processing
- Enable histogram overlay on your screen to catch blown-out highlights before they ruin a shot
Pro Tip — When filming animals for identification purposes, prioritize side-profile passes over top-down angles. Most field identification guides and AI recognition tools are trained on lateral views. A clear side profile at 30 meters distance is more scientifically useful than a dramatic overhead shot at 10 meters.
Step 4: Use ActiveTrack and Subject Tracking in the Field
The Mini 5 Pro's ActiveTrack system lets you lock onto a moving animal and maintain framing automatically while the obstacle avoidance system navigates around trees, rocks, and terrain features.
How to Deploy ActiveTrack for Wildlife
- Launch and position the drone at a safe distance—30 to 50 meters from the subject minimum
- Draw a box around the target animal on your controller screen
- Select Trace mode to follow behind the animal or Parallel mode to track alongside it
- Set your follow distance and altitude ceiling before engaging—the drone will respect these limits
- Monitor obstacle avoidance alerts constantly; dense vegetation can present obstacles faster than the system can calculate at high speed
When ActiveTrack Breaks Lock
ActiveTrack can lose subjects when they move under dense canopy, blend into similarly colored terrain, or change direction abruptly. When this happens:
- Do not chase manually at speed—this is when collision risk spikes
- Climb to a higher altitude to reacquire visual
- Use the map view to estimate the animal's trajectory
- Re-engage ActiveTrack once you have a clear visual again
Step 5: Capture Cinematic B-Roll with QuickShots and Hyperlapse
While your primary mission is inspection, compelling footage also serves outreach, grant applications, and public education. The Mini 5 Pro's automated flight modes produce polished results without requiring expert piloting.
Best QuickShots Modes for Wildlife Terrain
- Dronie: Pulls back and up from a point of interest—excellent for revealing an animal's habitat context
- Circle: Orbits a fixed point—ideal for nesting sites, dens, or water holes
- Helix: Ascending spiral—creates dramatic reveals of terrain features
Hyperlapse for Habitat Documentation
Set a Hyperlapse in Waypoint mode to capture time-compressed footage of animal activity at a site over 30 to 60 minutes. This is particularly effective for:
- Documenting traffic at a watering hole
- Capturing dawn or dusk movement patterns
- Recording tidal changes in coastal habitats
Mini 5 Pro vs. Alternative Drones for Wildlife Inspection
| Feature | Mini 5 Pro | Larger Prosumer Drone | Budget Mini Drone |
|---|---|---|---|
| Weight | Under 249g | 600-900g | Under 249g |
| Obstacle Avoidance | Omnidirectional | Omnidirectional | Front/rear only or none |
| ActiveTrack | Yes, advanced | Yes, advanced | Limited or absent |
| D-Log / Pro Color | Yes | Yes | No |
| Max Flight Time | Approx. 30+ min | Approx. 40+ min | Approx. 20-25 min |
| Noise Level | Very low | Moderate to high | Low |
| Permit Requirements | Minimal in most regions | Often required | Minimal in most regions |
| Wind Resistance | Moderate | High | Low |
The Mini 5 Pro occupies a unique position: it combines advanced features typically found in larger platforms with the regulatory and logistical advantages of a sub-249g aircraft. For wildlife work, the low noise signature is arguably its most critical advantage—animals that would flee from a larger drone often tolerate the Mini 5 Pro at reasonable distances.
Common Mistakes to Avoid
- Flying too close to subjects: Stress responses in wildlife—elevated heart rate, flight, nest abandonment—can begin well before an animal visibly reacts. Maintain minimum 30 meters and use digital zoom for closer framing
- Ignoring wind at altitude: Ground-level calm means nothing if there's a 25 km/h crosswind at your drone's operating altitude; always check wind forecasts at multiple elevations
- Relying entirely on obstacle avoidance: The system is excellent but not infallible—thin branches, power lines, and spider webs won't register; always maintain visual awareness
- Draining batteries to zero: In cold conditions or high altitude, battery voltage drops faster than the percentage indicator suggests; land with at least 20% remaining
- Forgetting antenna orientation mid-flight: As you move your body to track the drone visually, your antenna alignment shifts; consciously re-aim every 30 to 60 seconds
- Skipping D-Log because it looks flat on screen: The washed-out preview is normal; D-Log footage transforms in post-processing and contains far more usable data for analysis
Frequently Asked Questions
Can the Mini 5 Pro handle rain or wet conditions during wildlife inspections?
The Mini 5 Pro is not rated for waterproof operation. Light mist or brief drizzle may not cause immediate failure, but moisture on the camera lens degrades footage quality instantly, and water ingress into motors or electronics can cause irreparable damage. Always check weather radar and carry a microfiber cloth for lens maintenance between flights.
How does the Mini 5 Pro perform at high altitudes in mountain terrain?
Thinner air at elevation reduces rotor efficiency. Above 3,000 meters, expect shorter flight times, reduced payload stability in wind, and slightly less responsive handling. The drone remains flyable, but plan for 15-20% shorter flight times than sea-level performance and avoid aggressive maneuvers near terrain.
What is the best time of day to fly wildlife inspections?
Early morning and late afternoon provide the best combination of animal activity, favorable light, and typically calmer wind. Midday thermals in complex terrain can create unpredictable turbulence near ridgelines and cliff faces. Dawn flights also minimize the chance of encountering other recreational drone operators in shared airspace.
Ready for your own Mini 5 Pro? Contact our team for expert consultation.