Mini 5 Pro Mountain Venue Inspection: A Photographer’s
Mini 5 Pro Mountain Venue Inspection: A Photographer’s Field Notes on Safer, Smarter Flights
META: A practical case study on using the Mini 5 Pro to inspect mountain venues, with flight altitude tips, obstacle avoidance strategy, ActiveTrack considerations, D-Log workflow, and filming tactics for uneven terrain.
I inspect locations for a living, but not in the way a survey engineer does. My work usually begins with light, weather, lines, and access. When a client sends me a mountain venue and asks, “Can this place actually work for an event shoot?” I need answers fast: approach routes, terrain breaks, tree cover, cliff edges, usable staging zones, and where guests will feel the scale of the landscape without getting swallowed by it.
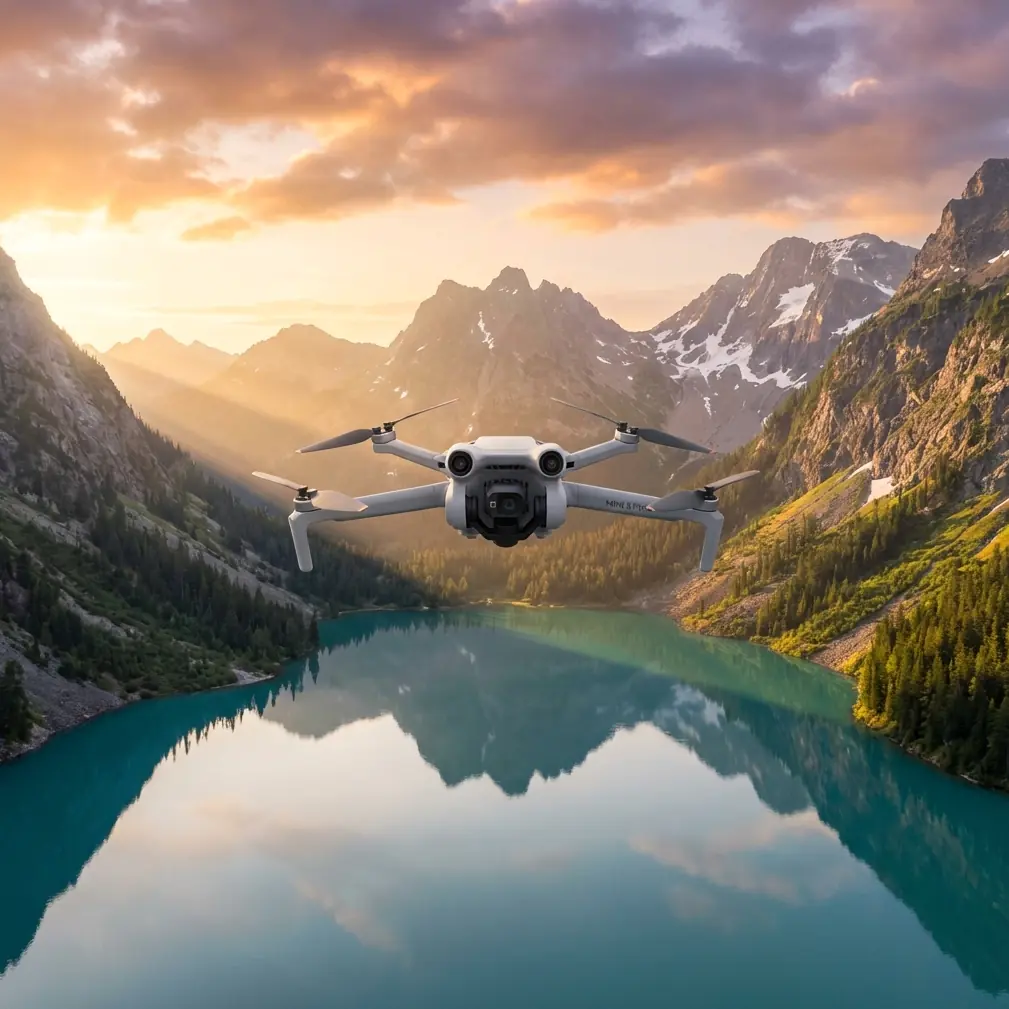
That is where the Mini 5 Pro fits unusually well.
For mountain venue inspection, the appeal is not just portability. A small aircraft changes the way you read terrain. You can launch quickly, reposition often, and inspect from multiple elevations without turning the day into a full expedition. In steep country, that matters more than spec-sheet bragging rights. You are not just gathering pretty footage. You are trying to reduce uncertainty.
This case study is built around a realistic assignment: evaluating a mountain venue before a photo-led event production. The brief is simple on paper. Confirm whether the site supports arrival coverage, ceremony framing, sunset portraits, and safe movement between activity zones. In practice, mountain terrain makes each of those questions harder than it sounds.
The site problem mountain venues create
A mountain venue rarely reveals itself from ground level. You may stand on the main platform and think visibility is excellent, only to discover from the air that a tree belt cuts off half the western ridge. A driveway that looks manageable can turn into a narrow switchback with no safe turnaround point for support vehicles. A meadow that feels open may have uneven grade changes that complicate tenting, guest flow, or camera placement.
Ground scouting alone misses too much.
The Mini 5 Pro is most useful here when treated as an inspection tool first and a cinematic tool second. Obstacle avoidance, subject tracking, QuickShots, Hyperlapse, D-Log, and ActiveTrack all have their place, but they matter only if you use them to answer operational questions.
For a mountain venue, the first operational question is altitude.
The most useful altitude insight for this scenario
If I only had one rule for inspecting a venue in mountainous terrain, it would be this: start lower than your instincts suggest, then build your map in layers.
A lot of pilots climb immediately to get the “big reveal.” That can be visually impressive, but it is a poor way to understand venue usability. In mountain terrain, high altitude compresses contours. Slopes look flatter, drop-offs look gentler, and obstacles like cable lines, isolated trees, small roofs, and edge fencing lose definition. You get spectacle, not clarity.
My most productive inspection passes usually begin around 20 to 35 meters above the local takeoff point for the first read, then move to 45 to 60 meters for relationship mapping, and only after that go higher if I need broad geographic context.
Why those lower numbers matter:
- At roughly 20 to 35 meters, you can see how pathways actually connect.
- Terrain undulations remain visible enough to judge walking difficulty.
- Trees, pergolas, poles, and rock outcrops still read as practical obstacles rather than visual texture.
- The venue’s “usable space” separates itself from its “looks open from a distance” space.
Then, at 45 to 60 meters, the site starts to make strategic sense. You can evaluate arrival flow, camera positions, backup staging zones, and whether one part of the venue interferes with another. This altitude range is often the sweet spot for mountain inspection because it preserves terrain detail while giving enough separation to understand layout.
Higher than that, I am no longer inspecting the venue itself. I am inspecting the venue in its wider environment, which is useful, but it is a different task.
One caution: in mountain locations, “height above takeoff point” and “height above terrain” are not the same thing. If the ground falls away sharply, a drone that seems conservatively low relative to the controller may actually be much higher above the slope face. That affects visual reading, signal confidence, and obstacle interpretation. It also changes how obstacle avoidance behaves in edge environments.
Obstacle avoidance is not a substitute for terrain judgment
On a mountain venue, obstacle avoidance is one of the most valuable safety features you can have, but it should not tempt you into flying casually near ridgelines, trees, or structures.
Why? Because mountain obstacles are often layered.
A branch line may sit in front of a rock wall. A roof edge may appear clean from one angle but have decorative elements or lighting fixtures projecting upward. A ridgeline can create optical flattening when the background drops away into open air. Sensor systems help, but they do not remove the need for a disciplined route.
When I inspect a mountain venue, I divide the site into three flight bands:
Near-structure band
For terraces, pavilions, decks, and ceremony areas. Slow speed. Deliberate lateral movement. Obstacle avoidance on. This is where you gather practical information on clearances and usable camera corridors.Transition band
For paths, slopes, service roads, and movement routes between activity zones. Here I am checking continuity. Can staff move equipment? Can guests transition safely? Can I reposition camera teams without cutting across key sightlines?Context band
For broader ridge, valley, and horizon relationships. This is where the site’s visual promise shows up, but I only go here after the detail work is done.
The significance of obstacle avoidance in this workflow is simple: it buys you time. It helps reduce the chance of a rushed error while inspecting complex edges. But it is most effective when the pilot already understands the terrain story. If you rely on it to discover hazards for you, you are already behind the location.
ActiveTrack and subject tracking are useful, but only for specific inspection questions
A lot of people hear “subject tracking” or “ActiveTrack” and think of sports or lifestyle shooting. For venue inspection, I use it differently.
If a coordinator, site manager, or assistant walks the expected guest route, tracking can reveal whether that route actually works on camera and in real life. You see where the path narrows, where visual clutter enters frame, where trees interrupt line of sight, and where elevation change makes movement look awkward or unstable. That is operationally meaningful.
For mountain venues, though, I do not use ActiveTrack blindly. Steep terrain, shifting backgrounds, and intermittent obstructions can make automated tracking less predictable than in a flat, open park. The feature is strongest when the route is already understood and the goal is to confirm how movement reads from above and behind.
A practical use case:
- Have one person walk from parking arrival to the main platform.
- Track from a modest height rather than a dramatic one.
- Watch for route pinch points, steep cut-ins, and spots where a second operator on the ground would struggle to move safely with camera gear.
That short sequence often tells me more than a static aerial still.
QuickShots and Hyperlapse are not just creative extras
On a mountain venue, QuickShots can help reveal whether a location has repeatable visual structure. That matters if the venue will be used for recurring events, branded content, or destination marketing. A controlled, repeatable orbit or pull-away can show whether the site consistently presents well from a few key directions or only from one flattering angle.
Hyperlapse is surprisingly useful for environmental reading. In mountain regions, weather and light can transform a venue within minutes. A short Hyperlapse near the golden-hour window can expose how quickly a ridge line loses light, when the valley begins to haze, and whether a key platform falls into shadow earlier than expected.
For photography planning, this is gold. A venue may look beautiful in a still frame at one moment, yet be operationally frustrating because the best light window is too short. Hyperlapse helps you catch that before event day.
Why I prefer D-Log for mountain scouting footage
Even for inspection work, I often record in D-Log when conditions are contrast-heavy.
Mountain venues regularly force a camera to handle bright sky, reflective rock, dark tree cover, and shaded structures in the same frame. Standard-looking footage may be fine for quick previews, but D-Log gives you more room to recover highlight and shadow detail during review. That is especially valuable when you are trying to determine whether a ceremony deck disappears into tree shade at a certain hour or whether a ridge remains separable from the sky in backlit conditions.
This is one of those details that sounds post-production heavy, but its operational significance is straightforward: better tonal flexibility leads to better planning decisions. You are not grading for style alone. You are grading to inspect.
A real inspection sequence I would use
For a mountain venue assignment with the Mini 5 Pro, my sequence usually looks like this:
1. Establish the launch point
I choose a stable area with clean line of sight to the primary venue zone. In mountain terrain, launch convenience is less important than visibility and route control.
2. First low pass at 20 to 35 meters
This is where I inspect the core venue shape. I am looking for:
- true usable platform size
- edge conditions
- nearby tree interference
- roofline and terrace clearance
- safe route options for operators and guests
3. Mid-altitude pass at 45 to 60 meters
Now the site relationships become clear:
- parking to venue distance
- service access practicality
- secondary shooting positions
- whether major landscape features help or hurt the event layout
4. Side-angle slope read
I avoid relying only on top-down views. A side pass reveals grade, retaining walls, embankments, and hidden level changes that affect staging.
5. Walking-route tracking test
This is where ActiveTrack or manual follow works well. I test the movement line from arrival to focal point.
6. Light and shadow check
If timing allows, I capture a short Hyperlapse. That gives me a more honest understanding of changing mountain light than a few isolated clips.
7. D-Log review
Back at the workstation, I pull detail from the footage and mark concerns: dark pockets, glare zones, hidden edges, and framing bottlenecks.
If you want to compare route ideas or inspection angles with someone who flies these locations regularly, I usually suggest sending a short site map and a few reference stills through this mountain venue drone chat line.
What the Mini 5 Pro changes for a photographer
As a photographer, what I value most in this kind of drone is not one feature in isolation. It is the combination.
Obstacle avoidance helps in cluttered edge zones. ActiveTrack helps test real human movement through the venue. QuickShots give a fast way to evaluate whether the location has dependable cinematic geometry. Hyperlapse helps decode the speed of environmental change. D-Log helps recover information when mountain contrast gets severe.
Each feature supports a different inspection question.
That is why mountain venue work rewards pilots who can think beyond “get the dramatic shot.” The dramatic shot is the easy part. The harder and more useful skill is understanding how an uneven, elevated site behaves across access, safety, framing, and light.
The Mini 5 Pro, used properly, can answer those questions quickly enough to affect real planning decisions.
The mistake I see most often
Pilots new to venue inspection tend to chase the horizon too early.
They climb, point outward, and capture sweeping mountain scenery. The footage looks impressive. The client still does not know where the equipment truck should unload, whether the ceremony platform is exposed to harsh backlight, or whether the cliff-edge cocktail area is visually stunning but operationally awkward.
A good inspection flight is not a tourism reel. It is a location audit with visual intelligence built in.
If you keep that mindset, the Mini 5 Pro becomes much more than a compact drone. It becomes a fast reading tool for difficult terrain, especially when every meter of altitude changes what the venue seems to be.
And in the mountains, what the venue seems to be is often not what it is.
Ready for your own Mini 5 Pro? Contact our team for expert consultation.