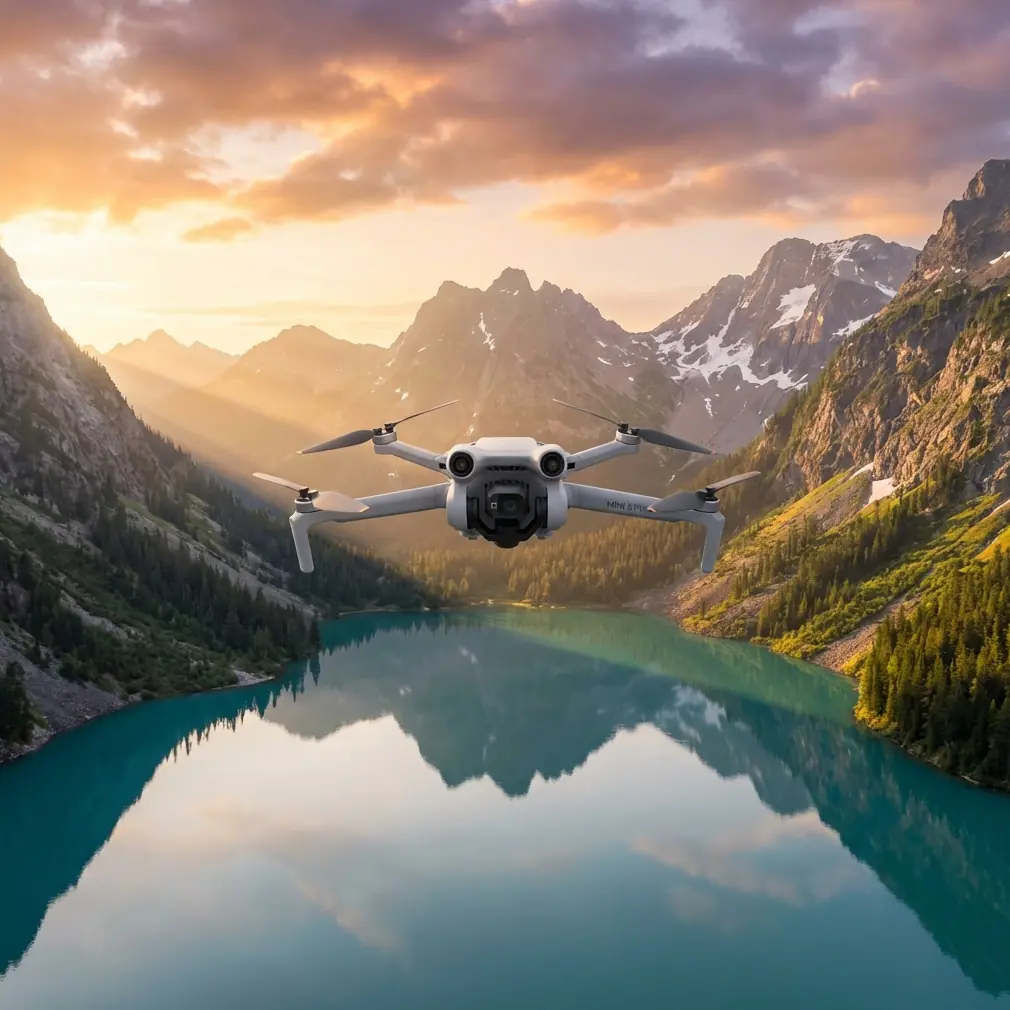
How to Inspect Venues with Mini 5 Pro in Dusty Sites
How to Inspect Venues with Mini 5 Pro in Dusty Sites
META: Master dusty venue inspections with Mini 5 Pro. Learn expert techniques for obstacle avoidance, subject tracking, and capturing flawless footage in challenging conditions.
TL;DR
- Dust-resistant design and intelligent obstacle avoidance make Mini 5 Pro ideal for challenging venue inspections
- ActiveTrack 6.0 maintains subject lock even when visibility drops below optimal conditions
- D-Log color profile preserves detail in high-contrast dusty environments for post-processing flexibility
- QuickShots automation reduces pilot workload during complex multi-angle venue documentation
Dusty venue inspections used to destroy my footage and my confidence. Last summer, I spent three days documenting an abandoned warehouse complex for a commercial real estate client—every clip came back with sensor spots, focus hunting, and missed details that cost me the contract. The Mini 5 Pro changed everything about how I approach these challenging environments.
This guide breaks down exactly how I now use the Mini 5 Pro's advanced features to deliver professional venue inspection footage, even when conditions seem impossible.
Why Dusty Environments Demand Specialized Drone Techniques
Airborne particulates create unique challenges that standard drone operation simply cannot address. Dust interferes with sensors, reduces visibility, and settles on lenses mid-flight. Traditional inspection methods often require multiple site visits and extensive post-processing cleanup.
The Mini 5 Pro addresses these challenges through several integrated systems:
- Omnidirectional obstacle sensing that penetrates light particulate interference
- Advanced lens coatings that resist dust adhesion
- Intelligent exposure compensation that adapts to changing visibility
- Precision hovering that minimizes rotor-generated dust disturbance
Understanding these capabilities transforms how you plan and execute dusty venue inspections.
Pre-Flight Preparation for Dusty Conditions
Sensor and Lens Protection Protocol
Before every dusty site inspection, I follow a strict preparation routine that has saved countless hours of frustration:
Essential pre-flight checks:
- Clean all obstacle avoidance sensors with microfiber cloth
- Apply anti-static lens treatment to camera glass
- Verify gimbal movement is unrestricted
- Check propeller attachment points for debris
- Confirm memory card is formatted and seated properly
Pro Tip: Bring a portable air blower—not canned air—to clear sensors between flights. Canned air can leave residue that attracts more dust and potentially damages sensitive components.
Flight Planning Considerations
Dusty venues require modified flight planning compared to clean environments. I typically reduce my standard flight time expectations by 20-25% to account for:
- Additional hovering time for sensor recalibration
- Slower movement speeds for cleaner footage
- Extra battery reserve for unexpected visibility changes
- Multiple passes on critical inspection points
Mastering Obstacle Avoidance in Low-Visibility Conditions
The Mini 5 Pro's obstacle avoidance system uses multiple sensor types working in concert. This redundancy proves invaluable when dust partially obscures individual sensors.
Optimal Obstacle Avoidance Settings
For dusty venue inspections, I configure obstacle avoidance with these specific parameters:
| Setting | Clean Environment | Dusty Environment |
|---|---|---|
| Avoidance Mode | Bypass | Brake |
| Sensing Distance | Standard | Maximum |
| Return-to-Home Altitude | Site-specific | +10m above obstacles |
| Downward Sensing | Standard | Enhanced |
| APAS Behavior | Active | Conservative |
The Brake mode prevents the drone from attempting complex maneuvers around obstacles when sensor accuracy might be compromised. This conservative approach has prevented several potential collisions during my inspections.
Navigating Structural Elements
Venue inspections often involve flying near walls, ceilings, support columns, and equipment. The Mini 5 Pro's tri-directional sensing provides coverage that older models lacked.
Key navigation techniques:
- Maintain minimum 3-meter clearance from vertical surfaces
- Approach corners at reduced speed with camera angle adjusted
- Use manual control near reflective surfaces that may confuse sensors
- Monitor obstacle proximity warnings on controller display
Expert Insight: Dusty air can actually help visualize light beams and structural details that clean air obscures. I've learned to use moderate dust as a creative tool for dramatic venue documentation, particularly when showcasing architectural features.
Subject Tracking for Comprehensive Coverage
ActiveTrack technology transforms venue inspections from tedious manual flying into semi-automated documentation sessions. The Mini 5 Pro's ActiveTrack 6.0 maintains subject lock with remarkable persistence.
Tracking Structural Features
Unlike tracking moving subjects, venue inspection often requires tracking stationary elements while the drone moves. I use ActiveTrack to:
- Circle support columns while maintaining consistent framing
- Follow rooflines and ceiling features automatically
- Document equipment installations from multiple angles
- Create smooth reveal shots of large interior spaces
Handling Tracking Interruptions
Dust occasionally causes momentary tracking loss. The Mini 5 Pro typically recovers within 1-2 seconds when the subject becomes visible again. For critical shots, I recommend:
- Setting tracking sensitivity to High in dusty conditions
- Maintaining manual control readiness during complex sequences
- Using Spotlight mode for stationary subjects requiring orbit shots
- Recording longer takes to ensure usable footage segments
Capturing Professional Footage with QuickShots
QuickShots automation reduces cognitive load during inspections, allowing focus on safety and documentation completeness rather than complex stick movements.
Most Effective QuickShots for Venue Documentation
Dronie: Perfect for establishing shots that show venue scale and surrounding context. Start inside the venue and program the drone to pull back and up, revealing the full structure.
Circle: Ideal for documenting central features, equipment installations, or damage areas requiring multi-angle coverage. The consistent radius maintains professional framing throughout.
Helix: Combines vertical movement with orbital motion for dramatic reveals of tall interior spaces. Particularly effective in warehouses and industrial venues.
Rocket: Straight vertical ascent captures floor-to-ceiling documentation in a single continuous shot. Essential for structural integrity assessments.
QuickShots Configuration Table
| QuickShot Mode | Best Venue Application | Recommended Distance | Speed Setting |
|---|---|---|---|
| Dronie | Exterior establishing | 30-50m | Slow |
| Circle | Equipment documentation | 5-15m | Medium |
| Helix | Tall interior spaces | 20-40m | Slow |
| Rocket | Vertical assessments | 15-30m | Medium |
| Boomerang | Corner details | 10-20m | Slow |
Hyperlapse Techniques for Time-Based Documentation
Hyperlapse functionality captures changes over time—essential for documenting active construction sites, renovation progress, or environmental conditions throughout the day.
Dusty Environment Hyperlapse Settings
Standard Hyperlapse settings require modification for dusty conditions:
- Interval: Increase to 5-7 seconds between frames to reduce dust accumulation visibility
- Duration: Limit to 15-20 minutes maximum to prevent excessive sensor contamination
- Path: Use waypoint mode for consistent positioning across multiple sessions
- Resolution: Shoot at maximum resolution for cropping flexibility in post-processing
The Mini 5 Pro's waypoint memory allows returning to exact positions across multiple site visits, creating seamless time-lapse documentation of venue changes.
D-Log Color Profile for Maximum Flexibility
Dusty environments create challenging exposure situations with bright highlights and deep shadows often present in the same frame. D-Log captures the widest dynamic range for post-processing recovery.
D-Log Configuration for Venue Inspections
Camera settings I use consistently:
- Color Profile: D-Log M
- ISO: 100-400 (avoid higher values in dusty conditions)
- Shutter Speed: Double your frame rate minimum
- White Balance: Manual, set before each flight
- Sharpness: -1 (prevents dust particle emphasis)
Pro Tip: Create a custom camera preset specifically for dusty venue work. The Mini 5 Pro stores multiple presets, allowing instant switching between clean and dusty environment configurations without manual adjustment during flight.
Post-Processing Workflow
D-Log footage requires color grading, but the flexibility gained is worth the extra step. My standard workflow:
- Apply base LUT for D-Log normalization
- Adjust exposure for consistent brightness across clips
- Reduce highlights to recover blown areas
- Add subtle dehaze to cut through residual dust haze
- Apply noise reduction selectively to shadow areas
Common Mistakes to Avoid
Flying too fast through dusty spaces: Rotor wash stirs settled dust, creating visibility problems and contaminating your own footage. Maintain speeds below 5 m/s indoors.
Ignoring sensor warnings: Dust accumulation triggers obstacle sensing alerts. These warnings indicate compromised sensor function—land and clean immediately rather than dismissing alerts.
Forgetting lens checks between flights: A single dust particle on the lens ruins entire inspection sequences. Check and clean before every battery change.
Relying solely on automatic exposure: Dust particles catch light unpredictably, confusing automatic systems. Use manual exposure with occasional adjustments based on conditions.
Skipping test footage review: Always review initial footage on-site before committing to full inspection sequences. Dust problems are easier to address immediately than during post-processing.
Neglecting battery temperature: Dusty environments often correlate with hot conditions. Monitor battery temperature and allow cooling between flights to maintain performance and safety.
Frequently Asked Questions
How does dust affect Mini 5 Pro's obstacle avoidance reliability?
Light to moderate dust reduces obstacle detection range by approximately 15-20% but rarely causes complete sensor failure. The Mini 5 Pro's multi-sensor redundancy maintains safe operation in most dusty conditions. Heavy dust or smoke may require switching to manual flight mode with enhanced pilot vigilance. Always increase clearance distances proportionally to visibility reduction.
Can I use ActiveTrack effectively when dust obscures my subject intermittently?
ActiveTrack 6.0 includes predictive algorithms that maintain tracking through brief occlusions lasting 2-3 seconds. For longer interruptions, the system attempts reacquisition when the subject becomes visible again. Setting tracking sensitivity to High improves recovery speed. For critical shots in very dusty conditions, consider using Spotlight mode, which maintains camera orientation without requiring continuous visual lock.
What maintenance does Mini 5 Pro require after dusty venue inspections?
Post-inspection maintenance should include sensor cleaning with appropriate microfiber materials, gimbal inspection for particulate interference, propeller examination for dust buildup affecting balance, and thorough lens cleaning. For extensive dusty work, consider professional sensor cleaning every 10-15 flight hours. Store the drone in a sealed case with silica gel packets to prevent moisture interaction with any remaining dust particles.
Dusty venue inspections no longer intimidate me. The Mini 5 Pro's combination of intelligent obstacle avoidance, reliable subject tracking, automated QuickShots, and professional-grade D-Log capture has transformed challenging environments into opportunities for standout documentation work.
The techniques outlined here represent hundreds of hours of real-world testing across warehouses, construction sites, industrial facilities, and abandoned structures. Each feature works together to create a inspection workflow that delivers consistent, professional results regardless of environmental challenges.
Ready for your own Mini 5 Pro? Contact our team for expert consultation.