Expert Inspecting Power Lines in Dusty Conditions with Mini
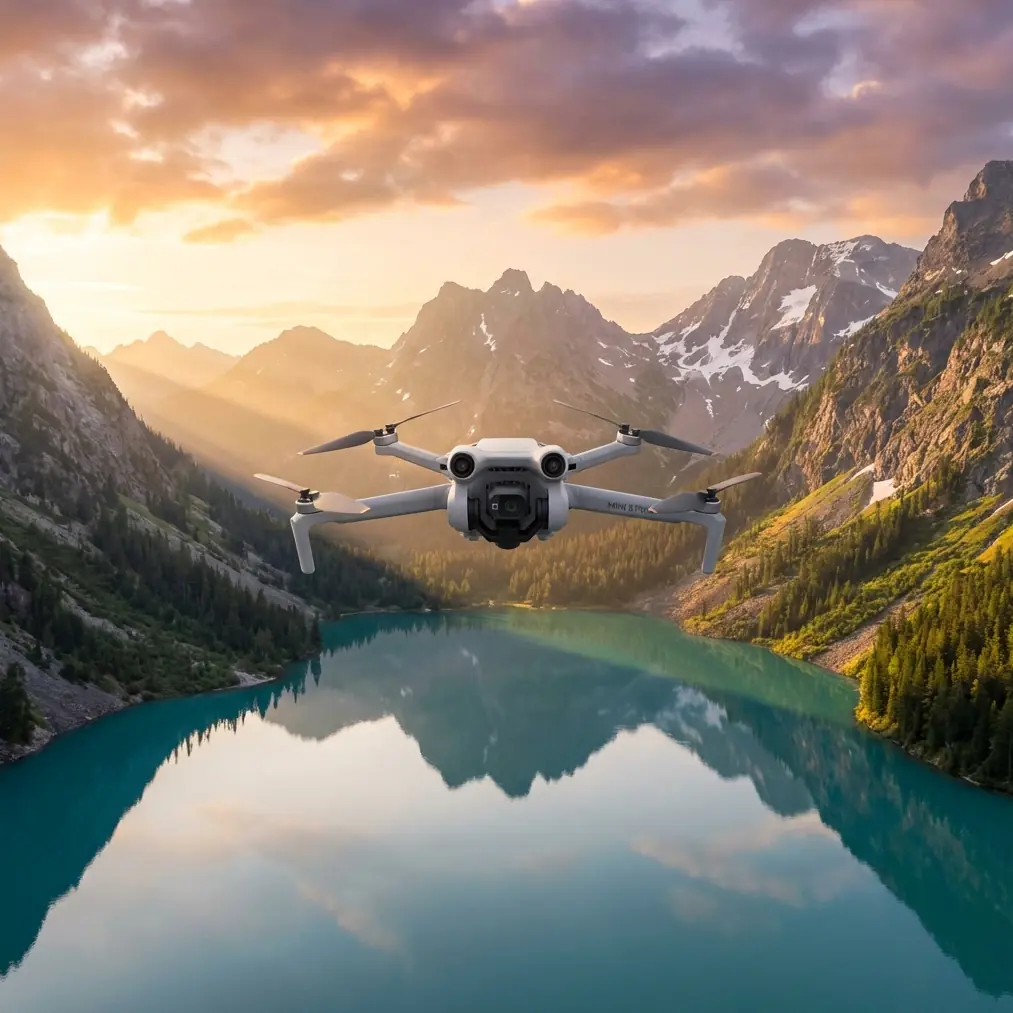
Expert Inspecting Power Lines in Dusty Conditions with Mini 5 Pro
META: A practical Mini 5 Pro workflow for dusty power line inspections, built around UAV remote sensing principles like real-time image transmission, DEM/DOM capture, obstacle awareness, and fast photogrammetric mapping.
Power line inspection in dusty environments punishes weak workflows before it punishes weak aircraft. Dust strips contrast out of the scene, obscures fine conductor detail, contaminates lenses, and makes every unnecessary repositioning a liability. That is why the most useful way to think about the Mini 5 Pro is not as a flying camera, but as a compact remote-sensing tool that can feed an inspection decision loop quickly and with enough spatial accuracy to matter.
That distinction matters.
Remote-sensing literature has long emphasized a few advantages that directly map to field inspection work: long endurance, real-time image transmission, flexible deployment, lower operating cost, and the ability to probe higher-risk areas without putting people in them. Those are not abstract benefits. On a dusty transmission corridor, they shape whether you can confirm insulator contamination, detect encroaching vegetation, document pole-top hardware, and leave with data your engineering team can actually use.
This guide breaks down how I would approach a civilian utility inspection with the Mini 5 Pro in those conditions, using the underlying logic of UAV remote sensing rather than generic flying tips.
Why dusty power line inspections are really a data problem
When visibility is compromised, the mission objective shifts from “get close and look around” to “collect reliable, interpretable data fast.” One of the strongest points from UAV remote-sensing practice is that image data can be transmitted in real time while processing begins on the ground at the same time. In disaster work, that speed is critical because first-hand site data drives the response. In utility inspection, the same principle applies on a smaller clock.
If your field crew can review incoming imagery as the aircraft is still airborne, they can immediately decide whether a suspect component needs another pass, whether a span should be covered from a different angle, or whether there is enough overlap to build a usable orthomosaic later. That reduces repeat flights in dirty air and improves continuity across the corridor.
Dusty conditions also make spatial context more valuable than a single hero shot. The source material highlights that, after stitching and precise correction, UAV imagery can produce DOM and DEM outputs. Operationally, that means a Mini 5 Pro inspection should not stop at close-up visuals. If the site allows it, you want a corridor-level image set that can support a map-based review afterward. A good DOM helps planners locate exact tower positions and access routes; a DEM can help interpret terrain constraints and line approach angles where erosion or unstable embankments are part of the maintenance picture.
The Mini 5 Pro mindset: inspect like a surveyor, not a hobby pilot
A lot of inspection failures start with improvisation. Dusty utility work rewards repeatability.
The reference material points out that UAV photogrammetry systems can achieve very high image overlap, with one cited figure reaching 90%. That number is not just for mapping specialists. For Mini 5 Pro operators, it is a reminder that overlap is insurance. In dust, some frames will be softer, flatter, or partially degraded by haze. A flight plan with strong overlap gives your processing software options and gives you a better chance of extracting a clean visual record from an imperfect environment.
For power lines, I usually divide the mission into three layers:
Corridor context pass
A higher, safer route that captures the line, structures, access tracks, vegetation pressure, and surrounding terrain.Structure-focused inspection pass
Controlled orbits or side-offset approaches around poles or towers to examine insulators, crossarms, dampers, spacers, and fittings.Exception pass
A short, targeted return to any component where dust, angle, or glare reduced confidence on the first pass.
This layered method mirrors remote-sensing logic: broad acquisition first, refined interpretation second, verification third.
Pre-flight planning for dusty sites
Before launching the Mini 5 Pro, I would set the mission up around three constraints: airflow, visibility, and signal confidence.
1. Manage the dust source, not just the drone
The aircraft is not the only thing stirring dust. Support vehicles, foot traffic, and launch position can ruin the first five minutes of a mission. Use a takeoff point slightly upwind of loose surface material where possible. A landing pad is not optional here; it is a protective layer for the gimbal and intake areas.
A third-party accessory that genuinely improves this kind of work is a folding elevated landing pad with weighted corners. It sounds minor until you operate in a roadside utility corridor. Raising the launch surface slightly above the dust plume and preventing pad lift from rotor wash reduces contamination during takeoff and landing, where many compact drones ingest the most grime.
2. Tune the camera for decision-making, not aesthetics
Dust can flatten the scene and trick operators into overexposing. If the Mini 5 Pro offers D-Log in your workflow, use it when lighting is harsh and when post-review matters more than immediate punchy color. D-Log preserves grading headroom, which can help recover subtle detail on insulator surfaces and metal hardware in hazy light.
That said, for fast field verification, I still like having a monitoring look that makes edge detail easy to read. Record with a flexible profile, but monitor with enough contrast to judge contamination, cracking, or missing hardware faster.
3. Build in safer automation without surrendering judgment
Obstacle avoidance and ActiveTrack-style tracking tools are useful, but power lines are one of the worst places to become complacent. Thin conductors, changing backgrounds, and dusty air can all reduce machine confidence. Use obstacle sensing as a backup layer, not as permission to fly aggressively.
Subject tracking can still help on linear inspections when following a defined structure path, especially if it reduces abrupt stick inputs and keeps motion consistent for later review. Consistency helps both the pilot and the photogrammetry pipeline.
A practical Mini 5 Pro inspection workflow
Here is the field sequence I recommend.
Step 1: Run a quick atmospheric check at low altitude
Climb to a modest height and perform a short hover translation to see how much dust remains suspended and how it affects image clarity. This is where real-time image transmission becomes operationally significant. You are not guessing based on what your eyes see from the ground; you are validating what the sensor sees now.
If the live feed shows reduced contrast or dust veiling, delay the main run for a few minutes or change the launch point. That is often smarter than trying to “fix it in post.”
Step 2: Capture the corridor pass with deliberate overlap
Fly a controlled route parallel to the line with enough frame overlap for later stitching. The source text references precise correction and stitching workflows as the basis for producing usable remote-sensing maps. In utility work, the equivalent output is a consistent visual corridor record that can be revisited after the field day ends.
If your software stack supports mapping from the Mini 5 Pro image set, think ahead to DOM generation. Even if the project is not a formal survey, a corrected orthographic view can be extremely useful for identifying tower IDs, vegetation encroachment patterns, access path condition, and erosion around foundations.
Keep the speed moderate. Dusty air already reduces image quality margin. There is little value in rushing through a corridor only to discover motion softness and weak overlap.
Step 3: Shift to structure-level inspection angles
Once the corridor context is captured, move into closer inspection geometry. The remote-sensing reference notes that low-altitude, low-speed image acquisition is particularly effective for documenting conditions in water management and construction areas because it truthfully and intuitively reflects distribution and intensity on the ground. The same low-and-slow principle works for utility assets.
For each pole or tower:
- Start with a wider establishing frame.
- Move to a side-offset angle to separate hardware from the background.
- Capture slightly varied vertical angles for insulators and attachment points.
- Avoid hovering directly in dust plumes rising from roads or vehicle movement.
This is where obstacle avoidance helps most: not as an autopilot replacement, but as a margin enhancer when working near irregular structures, guy wires, or adjacent vegetation.
Step 4: Use short intelligent moves where they improve consistency
QuickShots and Hyperlapse are usually discussed as creative tools, but there is a professional angle to both.
A short automated arc can standardize the way you document repeating structures, making before-and-after comparisons more reliable across maintenance intervals. Hyperlapse is less about cinematic output here and more about environmental pattern recognition. A compressed sequence can reveal dust flow direction, traffic-generated visibility issues, or changing light on a corridor during the inspection window.
Used carefully, those features can produce cleaner comparative records than fully manual flying, especially when multiple operators are involved over time.
Step 5: Review on site and process selectively
Do not leave a dusty power line site assuming everything is captured. Review critical assets before packing up. Because UAV remote sensing supports real-time transmission and simultaneous ground-side processing, you should use that advantage. Even lightweight field processing can confirm whether a suspect span has enough usable data.
If your team needs help choosing the right field accessories or review workflow, I’d point them to this direct support channel for setup advice in real inspection scenarios: message the drone team here.
Why DEM and DOM still matter for utility teams
Some operators hear DEM and DOM and assume the job has drifted into mapping jargon. It has not.
The reference material specifically states that UAV remote-sensing workflows can produce both DEM and DOM after data stitching and correction. For power line inspection, these outputs become practical when the environment itself contributes to asset risk.
A DOM gives a corrected, top-down visual base layer. That helps with:
- access planning for service crews,
- tracking vegetation proximity,
- documenting construction disturbance near the corridor,
- building a consistent inspection archive.
A DEM adds elevation context. That helps with:
- identifying erosion channels approaching foundations,
- understanding slope-driven runoff near poles,
- spotting terrain changes that affect access or stability,
- contextualizing line clearances in uneven ground.
Dusty conditions often coincide with dry, disturbed sites, temporary construction access, or exposed soils. In those settings, elevation and surface context are not extras. They are part of the maintenance picture.
Where the Mini 5 Pro fits surprisingly well
The source presentation describes UAV remote sensing as a strong complement to satellite remote sensing and crewed aerial methods, not a replacement. That framing is useful for the Mini 5 Pro.
A compact platform is not there to do everything. It excels when you need:
- fast deployment,
- close-range image collection,
- flexible low-altitude passes,
- quick revisits of problem components,
- safer stand-off inspection in awkward or dusty zones.
It becomes especially effective when paired with disciplined image capture and a clean post-flight sorting process. The aircraft’s value is multiplied when every flight contributes to a wider inspection record rather than a folder of disconnected clips.
Common mistakes in dusty line inspections
The same few errors show up repeatedly:
Flying too fast for the atmosphere
Dust reduces image clarity. Speed only compounds that loss.
Trusting obstacle systems too much near wires
Obstacle avoidance is helpful, but power lines are still visually difficult targets.
Capturing only close-ups
Without context imagery, your maintenance team may know what is wrong but not where it sits in the corridor picture.
Skipping overlap
The reference figure of 90% overlap should remind every operator that redundancy improves both mapping and interpretation.
Treating live transmission as a convenience
It is a decision tool. Use the feed to validate visibility, framing, and reflight needs while the drone is still in the air.
Final field notes from an operator’s perspective
If I were inspecting power lines in dusty conditions with the Mini 5 Pro, my priorities would be simple:
First, preserve the aircraft and lens from needless contamination.
Second, capture corridor context before chasing detail.
Third, exploit real-time transmission so decisions happen on site, not back at the office.
Fourth, maintain overlap and repeatable angles so the data remains useful after the flight.
Fifth, remember that corrected imagery, DOM products, and elevation context can turn a basic inspection sortie into a more complete infrastructure record.
That is the real promise behind bringing UAV remote-sensing thinking into Mini 5 Pro operations. You are not merely getting airborne footage. You are building an inspection dataset that is faster to collect, safer to obtain in higher-risk areas, and more actionable once the dust settles.
Ready for your own Mini 5 Pro? Contact our team for expert consultation.