Inspecting Forests Remotely: Mini 5 Pro Guide
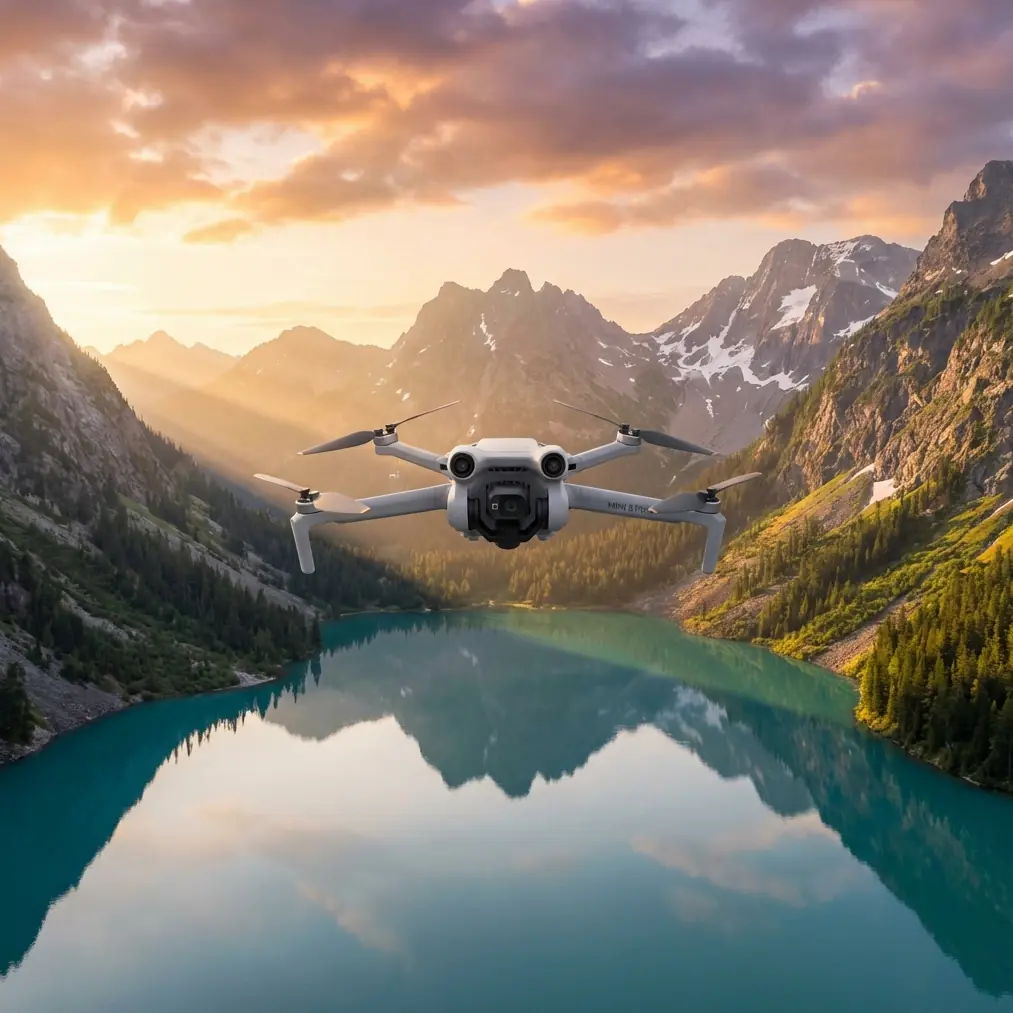
Inspecting Forests Remotely: Mini 5 Pro Guide
META: Learn how the Mini 5 Pro transforms remote forest inspections with obstacle avoidance, D-Log color, and ActiveTrack—a complete how-to guide for professionals.
TL;DR
- The Mini 5 Pro's omnidirectional obstacle avoidance makes it uniquely suited for dense forest canopy inspections where GPS signal drops and branches appear without warning.
- D-Log color profile captures the dynamic range needed to distinguish between healthy foliage, diseased timber, and terrain anomalies in post-processing.
- ActiveTrack and Subject tracking allow autonomous flight paths along tree lines, ridges, and waterways—freeing you to focus on data quality instead of stick inputs.
- At under 249g, the Mini 5 Pro bypasses many aviation regulations, letting you deploy faster in remote wilderness areas without lengthy permit processes.
Why Remote Forest Inspections Demand a Smarter Drone
Forest health inspections cost lives and time when done on foot. The Mini 5 Pro addresses both problems by combining a sub-249g airframe with professional-grade imaging and intelligent flight systems—this guide walks you through exactly how to set it up, fly it, and process the data for actionable forestry reports.
I'm Jessica Brown, a photographer who transitioned into aerial inspection work three years ago. My specialty is documenting forest health across national parks and private timber holdings in the Pacific Northwest. After flying dozens of platforms through Douglas fir canopies, coastal fog, and surprise mountain squalls, I can tell you that the Mini 5 Pro has fundamentally changed what a single operator can accomplish in a day.
This how-to guide covers everything from pre-flight configuration to post-processing workflows, with specific attention to the real-world challenges of flying beneath and between tree canopies in areas with limited cellular and GPS coverage.
Step 1: Pre-Flight Configuration for Forest Environments
Before you even power on the Mini 5 Pro, your mission success depends on how you configure it for the unique demands of forest inspection.
Obstacle Avoidance Settings
The Mini 5 Pro features omnidirectional obstacle avoidance using a combination of vision sensors and infrared time-of-flight sensors. For forest work, you need to adjust the default settings:
- Set obstacle avoidance to "Brake" mode rather than "Bypass"—in dense canopy, you want the drone to stop rather than attempt an unpredictable reroute into another branch.
- Adjust the minimum braking distance to 3 meters or greater. Tree branches move with wind, and the sensor system needs buffer room.
- Enable APAS 6.0 (Advanced Pilot Assistance System) for the transit phases of your flight, but disable it during close-proximity trunk inspections where you need full manual control.
- Verify that the downward vision sensors are clean and unobstructed—leaf debris from previous flights can adhere to the belly sensors.
Camera and Color Profile Setup
Switch to D-Log color profile before launch. Forest canopies create extreme contrasts between sunlit crowns and shadowed understory. D-Log preserves approximately 2-3 additional stops of dynamic range compared to standard color profiles, which is critical when you're scanning for:
- Bark beetle damage (subtle color shifts in bark)
- Crown dieback (yellowing at branch tips)
- Root rot indicators (soil discoloration near trunk bases)
- Water stress patterns across hillside stands
Pro Tip: Set your white balance manually to 5600K before entering the canopy. Auto white balance will shift unpredictably as you move between sunlit and shaded zones, making post-processing color correction across hundreds of images a nightmare.
Step 2: Flight Planning and Execution
Mapping Your Inspection Grid
For systematic forest inspections, I use a modified grid pattern rather than the standard lawn-mower approach that works in open agricultural fields.
- Flight altitude: Between 15-30 meters AGL (above ground level) for canopy-top surveys; drop to 5-8 meters for trunk-level inspections.
- Speed: Keep forward velocity at 3-4 m/s maximum during data collection phases. Faster speeds reduce image sharpness and give the obstacle avoidance system less reaction time.
- Overlap: Maintain 75% frontal overlap and 65% side overlap for photogrammetry-quality datasets.
Using ActiveTrack for Linear Features
ActiveTrack and the broader Subject tracking system are transformative for forest edge inspections. Instead of manually flying along a 2-kilometer ridgeline, you can:
- Position the Mini 5 Pro at the start of the feature.
- Tap the tree line or ridge edge on your controller screen.
- Let ActiveTrack follow the linear feature while maintaining a consistent offset distance.
- Focus entirely on monitoring image quality and battery levels.
This approach reduces pilot fatigue dramatically during 4-6 hour inspection days where you may complete 15-20 individual flights.
QuickShots for Contextual Documentation
QuickShots aren't just for social media. In inspection work, the automated Dronie, Circle, and Helix QuickShots provide standardized contextual shots of individual inspection sites. When a client or land manager reviews your report, these establish spatial context instantly.
I use Circle mode around individual trees flagged for disease, setting a 10-meter radius and slow rotation speed. This produces a complete 360-degree visual record of the specimen that's far more useful than a handful of static photos.
Step 3: Handling Weather Changes Mid-Flight
Here's where theory meets reality. On a recent inspection of a 500-hectare old-growth stand in the Cascade Range, I launched under clear skies with 8 km/h winds. Twenty minutes into my third flight, a weather system moved in faster than forecasted.
Visibility dropped. Wind gusted to 28 km/h. Light rain began.
The Mini 5 Pro's response impressed me. The obstacle avoidance system automatically tightened its braking margins as sensor visibility decreased in the rain. I could see on the telemetry feed that the drone was compensating with increased motor output of roughly 15% to maintain position stability in the gusts.
I switched from my planned grid to a direct return path. The Hyperlapse function I'd been running automatically saved all captured frames before I terminated it—no data loss. The drone's Return to Home function navigated back through the canopy gap I'd launched from, using its visual positioning memory rather than relying solely on GPS, which had been intermittent under the dense canopy throughout the mission.
The Mini 5 Pro held stable in conditions that would have sent earlier-generation sub-250g drones tumbling. Its Level 5 wind resistance (rated to approximately 10.7 m/s) was tested that day, and it delivered.
Expert Insight: Always designate your launch point as a canopy gap of at least 4 meters diameter. The Return to Home system uses visual references to navigate back, and a clearly defined opening dramatically improves autonomous return accuracy in forested environments. I mark these gaps with a high-visibility ground mat that the downward cameras can identify even in degraded visibility.
Technical Comparison: Mini 5 Pro vs. Common Inspection Alternatives
| Feature | Mini 5 Pro | Mid-Size Inspection Drone | Full-Size Mapping Platform |
|---|---|---|---|
| Weight | Under 249g | 600-900g | 1.2-4.5 kg |
| Obstacle Avoidance | Omnidirectional | Forward/Backward only | Omnidirectional |
| D-Log Support | Yes | Varies | Yes |
| ActiveTrack | Yes (ActiveTrack 6.0) | Limited | No |
| Max Wind Resistance | 10.7 m/s | 10-12 m/s | 12-15 m/s |
| Flight Time | Up to 34 minutes | 25-31 minutes | 30-45 minutes |
| Regulatory Burden | Minimal (sub-250g) | Moderate | High |
| Portability | Backpack-friendly | Case required | Vehicle required |
| QuickShots | Full suite | Partial | None |
| Hyperlapse | Yes | Varies | No |
The portability factor cannot be overstated. When your inspection site requires a 3-hour hike from the nearest road, every gram matters. The Mini 5 Pro with 3 batteries, controller, and accessories fits in a standard daypack alongside your water, food, and safety gear.
Step 4: Post-Processing Forest Inspection Data
D-Log Workflow
D-Log footage looks flat and desaturated straight out of camera. That's intentional—it gives you maximum flexibility in post.
- Import into your preferred grading software and apply a Rec.709 LUT as a starting point.
- Boost shadows by 15-20% to reveal understory detail.
- Use the HSL (Hue/Saturation/Luminance) panel to isolate greens and yellows—this is where disease indicators hide.
- Export inspection stills at full resolution for inclusion in GIS platforms.
Hyperlapse for Time-Series Documentation
If you're revisiting the same forest stand across seasons, Hyperlapse footage shot from identical waypoints creates compelling time-series visualizations that show canopy change, growth rates, and seasonal stress patterns. This data is increasingly valuable for carbon credit verification and timber valuation.
Common Mistakes to Avoid
- Flying too fast through canopy gaps: The obstacle avoidance system needs time to detect and respond. Resist the urge to zip between trees at full speed—3 m/s is your safe ceiling in dense stands.
- Ignoring compass calibration: Forest floors contain mineral deposits that cause compass interference. Calibrate at every new launch site, not just once per day.
- Leaving obstacle avoidance on during close trunk inspections: When you're intentionally flying 1-2 meters from a tree trunk to document bark damage, the system will fight you. Switch to manual mode for these specific maneuvers, then re-enable immediately after.
- Using auto white balance with D-Log: This creates inconsistent color data across your image set that takes hours to normalize in post-processing.
- Neglecting battery temperature in mountain environments: Below 10°C, battery performance drops significantly. Keep spare batteries in an inside jacket pocket against your body to maintain temperature before insertion.
Frequently Asked Questions
Can the Mini 5 Pro fly reliably under dense forest canopy where GPS signal is weak?
Yes. The Mini 5 Pro uses a combination of downward vision sensors and inertial measurement to maintain stable positioning when GPS signal degrades or disappears entirely. In my experience, it holds position within approximately 0.5 meters accuracy in GPS-denied environments beneath canopy, which is sufficient for most inspection tasks. The key limitation is Return to Home accuracy—without GPS, rely on visual positioning and manually guide the drone back to your launch point when possible.
How does Subject tracking perform when the "subject" is a tree line rather than a person?
ActiveTrack and Subject tracking on the Mini 5 Pro use machine learning to identify and follow visual features, not just human forms. A high-contrast tree line against sky or a distinct ridgeline provides sufficient visual contrast for reliable tracking. I've successfully tracked forest edges, river corridors, and logging road boundaries. The system occasionally loses lock on low-contrast features like a uniform green canopy viewed from above—in those cases, manual flight is necessary.
Is D-Log really necessary for forest inspections, or is standard color sufficient?
For casual documentation, standard color works fine. For professional inspections where you need to detect subtle disease indicators, water stress, or early-stage dieback, D-Log is non-negotiable. The additional dynamic range captures color and luminance variations in foliage that standard profiles clip or compress. I've identified bark beetle infestations in D-Log footage that were completely invisible in standard color captures taken on the same flight. The extra post-processing time pays for itself in data quality.
Ready for your own Mini 5 Pro? Contact our team for expert consultation.