Mini 5 Pro Best Practices for Low-Light Field Inspection
Mini 5 Pro Best Practices for Low-Light Field Inspection: What Actually Matters in the Air
META: A practical Mini 5 Pro field inspection guide focused on low-light flying, antenna positioning, obstacle avoidance, ActiveTrack, D-Log capture, and mapping-grade habits inspired by real aerial survey specifications.
Low-light field inspection sounds simple until you are standing on uneven ground, trying to hold signal at the edge of a large property, watching shadows erase the detail you came out to capture.
That is where the Mini 5 Pro either becomes a useful inspection tool or just another compact drone with a good spec sheet.
I’m writing this from the perspective of someone who cares less about brochure language and more about whether a flight produces usable information. For agricultural checks, boundary reviews, drainage verification, access-road condition checks, and visual documentation around dusk or on overcast days, the real question is not whether the Mini 5 Pro can fly in low light. It can. The question is how to operate it so the footage and stills remain readable, consistent, and worth bringing back to the office.
A helpful way to think about this comes from formal aerial survey practice. One rural cadastral survey design document specifies image work aimed at 2 cm maximum image resolution, with GPS-triggered exposure and synchronized recording of exposure point POS and GPS information. That may sound far removed from a small civilian inspection drone, but the operational lesson is direct: in poor light, discipline matters more than convenience. If you want reliable field imagery, every decision about timing, angle, signal path, and flight consistency starts to count.
The low-light problem is really three problems
People often lump “low light” into one issue. In field inspection, it is usually three separate problems happening at once.
First, detail drops in shadow.
Second, obstacle visibility gets worse for both pilot and aircraft.
Third, signal management becomes more important because you are tempted to push farther to “just check one more section” before heading back.
The Mini 5 Pro is well suited to this kind of work because compact drones can be deployed fast and flown close to the task area without bringing a bulky kit into muddy rows, soft field edges, or narrow service tracks. But small size does not remove the need for structured flight habits. In fact, it makes them more necessary.
Why survey-grade thinking improves everyday inspection flights
That same reference document includes specific light-control rules tied to terrain. For flat ground, the solar altitude angle should be above 20° with shadow multiples kept below 3. In hilly terrain and ordinary towns, the threshold rises to above 25°, with tighter shadow control. In steep terrain or dense high-rise environments, the imaging window gets even narrower.
For a Mini 5 Pro user inspecting fields in low light, this is the big takeaway: shadows are not just aesthetic. They are a data problem.
If you are checking crop stress, pooling water, washout along access lanes, fence lines, ditch continuity, or the edge definition of planted sections, low-angle light can hide exactly the transitions you need to see. The survey world has known this for years. That is why serious aerial work does not simply say “fly whenever the sky looks dramatic.” It controls the light because the light changes what can be interpreted.
So if your inspection goal is factual assessment, not cinematic mood, avoid the darkest edge of dusk whenever possible. Aim for late afternoon over full twilight, or for bright overcast conditions that flatten harsh shadow contrast. If you must fly near sunset, keep the mission shorter, fly lower and more deliberately, and prioritize the features most likely to disappear in shade first.
The Mini 5 Pro setup that helps in dim conditions
Low-light inspection is where several familiar features stop being buzzwords and start becoming practical tools.
Obstacle avoidance is not optional in fading light
Field inspection rarely means a perfectly open, obstacle-free environment. There are irrigation rigs, power lines at field edges, isolated trees, utility poles, machinery, sheds, and sometimes cable runs that are harder to see from the ground than expected.
As visibility falls, obstacle avoidance becomes less of a comfort feature and more of a workload reducer. It will not replace pilot judgment, but it can buy you margin when your attention is split between framing, signal, and terrain contours. In low-light work, that margin matters.
The key is to fly in a way that supports the sensing system rather than challenges it. Avoid fast lateral runs close to tree lines. Give the drone a cleaner path when passing near structures. If you are inspecting drainage channels or lane edges, use slower, straighter passes instead of aggressive angle changes.
ActiveTrack and subject tracking can stabilize repetitive checks
For moving farm vehicles, utility carts, or recurring perimeter passes around a known path, ActiveTrack can reduce stick noise and help maintain smoother framing. That matters in poor light because every abrupt correction increases the chance of blur, uneven angle changes, or missed details in shadow.
I would not use subject tracking as a substitute for piloting in cluttered environments, but for open-area follow observations, it can help keep your visual record more consistent. Consistency is useful when comparing one pass against another later.
D-Log earns its place when contrast gets messy
Low light in fields often means a hard mix of bright sky and dark ground. That is exactly the sort of contrast that can make normal color profiles feel cramped. If the Mini 5 Pro gives you D-Log, use it when your workflow allows for grading afterward.
Why? Because inspection is not always about making a beautiful image straight out of camera. It is about preserving enough highlight and shadow information to recover detail later. If a drainage rut, crop transition, or fence corner falls into a dark patch, a flatter profile may give you a better chance of pulling it back in post.
That said, if your team needs instant handoff with no grading time, standard color may still be the better operational choice. The right answer depends on whether your bottleneck is in the field or at the desk.
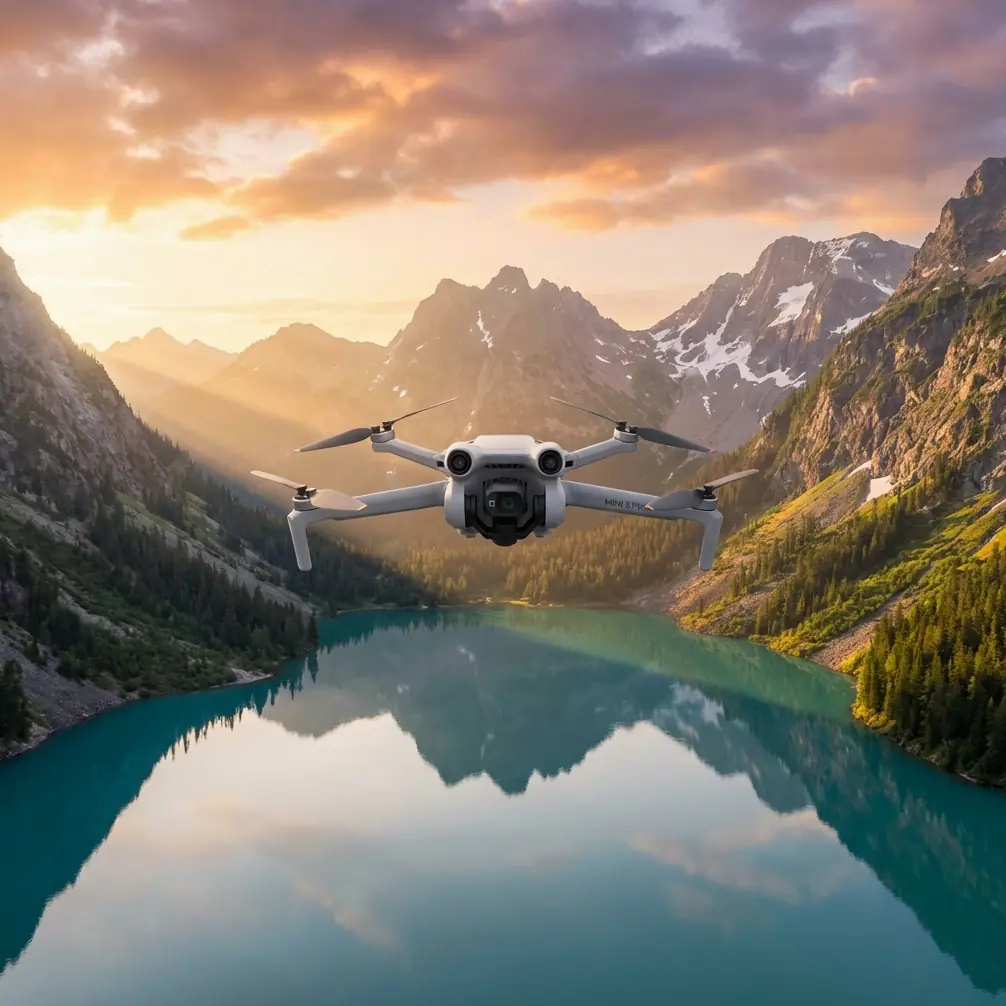
Antenna positioning: the small habit that affects range more than people admit
You asked for antenna positioning advice, and this is one of those details that gets oversimplified online.
For maximum range and signal stability, do not point the antenna tips directly at the drone. The strongest part of the transmission pattern is usually broadside to the antenna faces, not off the ends. In plain terms, you want the flat sides of the antenna orientation presented toward the aircraft, with the controller held so that your body does not block the signal path.
A few practical rules help:
- Stand with a clear line of sight to the aircraft whenever possible.
- Raise the controller slightly instead of burying it against your torso.
- Re-aim as the drone changes position, especially when it moves far to the side.
- If the aircraft is high overhead, tilt your controller orientation to keep the antenna faces aligned with its position rather than locking into one hand posture for the whole flight.
- Avoid standing beside trucks, metal sheds, or machinery that can interfere with a clean signal environment.
This matters even more in low-light field inspection because operators tend to stretch flights into the dimmest parts of the day, when visual orientation is already getting weaker. Better signal discipline gives you one less thing to fight.
If you want a quick field checklist tailored to your property layout, this direct setup chat for Mini 5 Pro operators is a practical place to ask.
Flight timing matters more than camera hype
One of the more revealing details in the survey reference is the instruction that extremely steep terrain or dense high-rise areas should be photographed only within a narrow window around local noon. The reason is obvious once you have tried to interpret imagery full of blocked shadows: some conditions simply do not forgive bad timing.
For field inspection, the same principle applies in a softer form.
If your task is:
- checking crop uniformity,
- identifying wheel-rut damage,
- reviewing drainage flow patterns,
- documenting boundary markers,
- or verifying access road conditions,
then the best time is not necessarily the most dramatic sky. It is the time when surface features separate cleanly without long blacked-out zones.
This becomes especially relevant if you hope to use QuickShots or Hyperlapse for repeatable visual storytelling around site progress. Those modes can be useful, but only if the scene still contains interpretable ground detail. A polished orbit over a field edge is not much help if the drainage break you needed to document is buried in shadow.
What the reference numbers tell us about practical field discipline
A few figures from the survey document are worth translating into Mini 5 Pro operating habits.
1.8 billion pixels is not the lesson — coverage planning is
The source references a system with 1.8亿, or roughly 180 million total pixels, and a 30° oblique camera angle with 40° side-view lens tilt. That is a different class of capture setup than a compact foldable drone, but the operational significance still carries over: multiple viewing angles reveal what straight-down imagery misses.
For Mini 5 Pro users, this means do not rely on a single overhead pass if the inspection target has depth or edge structure. In low light, combine:
- a moderate nadir or near-nadir pass for layout,
- an oblique pass for berms, ditches, tree lines, and fencing,
- and a slower side-reveal pass if you need to inspect surface relief or standing water near edges.
A single angle can hide important defects. Oblique perspective often exposes them.
GPS-timed exposure is a reminder to value repeatability
The document’s GPS fixed-point exposure and synchronized logging of exposure positions are not just survey jargon. They underline a principle that many small-drone operators ignore: repeatability increases usefulness.
If you inspect the same field block every week, launch from the same spot when practical, fly the same route, keep altitude and heading consistent, and note the time and light conditions. The Mini 5 Pro becomes far more valuable when it is used as a repeat observation platform rather than a casual camera.
64G storage and high-speed card workflows still matter in the field
The source also mentions 64G storage capacity and high-speed SD card storage with unified readout through miniUSB. The hardware specifics may differ from your own kit, but the workflow lesson is universal. Low-light inspection often drives more retakes, more bracketing, and more short verification clips than daylight work. Use fast cards, offload promptly, label flights clearly, and separate “survey-like documentation” from “general reference footage.”
Messy file handling ruins a lot of otherwise successful drone work.
A practical low-light mission sequence for Mini 5 Pro field inspection
Here is the routine I recommend when the light is dropping and the mission still needs to get done.
1. Start with the farthest priority area
Do not warm up near home point for too long. Inspect the far section first while the light is still usable and your battery reserve is highest.
2. Fly a clean overview pass
Use a simple route to establish the field’s overall condition. This is where obstacle avoidance and stable, moderate speed pay off.
3. Shift to oblique detail passes
Anything with shape, depth, or edge contrast benefits from an angled view. Ditches, embankments, culverts, access tracks, and fence transitions are easier to read this way.
4. Use ActiveTrack selectively
If a moving subject matters to the inspection, such as a utility vehicle crossing wet ground or equipment traffic near a problem section, use tracking in open space where it reduces pilot workload rather than increasing risk.
5. Capture in D-Log if post-processing is planned
If the scene contains bright sky and dark ground in the same frame, preserving dynamic range is often worth the extra editing step.
6. Watch your return threshold earlier than usual
Low light is not the time to squeeze every last minute from the battery. Bring the aircraft back while orientation, signal confidence, and visual separation are still comfortable.
The Mini 5 Pro is best when treated like a tool, not a toy
That may sound blunt, but it is the difference between casual flying and dependable inspection output.
The aerial survey reference behind this discussion was built around measurable tolerances, controlled lighting conditions, synchronized capture, and disciplined equipment workflows. Your Mini 5 Pro does not need to imitate a full cadastral mapping crew to benefit from those same principles. It just needs an operator who understands that image quality is not only about the camera. It is about mission design.
When light is limited, the best operators simplify. They fly shorter routes, choose cleaner lines, maintain better antenna orientation, avoid needless lateral aggression near obstacles, and capture angles that answer a real field question.
That is what turns a compact drone into a reliable inspection instrument.
Ready for your own Mini 5 Pro? Contact our team for expert consultation.