Mini 5 Pro Wildlife Filming: Expert Remote Guide
Mini 5 Pro Wildlife Filming: Expert Remote Guide
META: Master wildlife filming in remote locations with the Mini 5 Pro. Learn optimal altitudes, tracking techniques, and pro settings for stunning footage.
TL;DR
- 120 meters altitude provides the ideal balance between wildlife safety and cinematic framing in most remote environments
- ActiveTrack 5.0 maintains lock on moving animals even through partial vegetation obstruction
- D-Log color profile captures 12.6 stops of dynamic range for professional-grade wildlife edits
- Sub-249g weight means no permits required in most wilderness areas worldwide
Why the Mini 5 Pro Excels in Remote Wildlife Environments
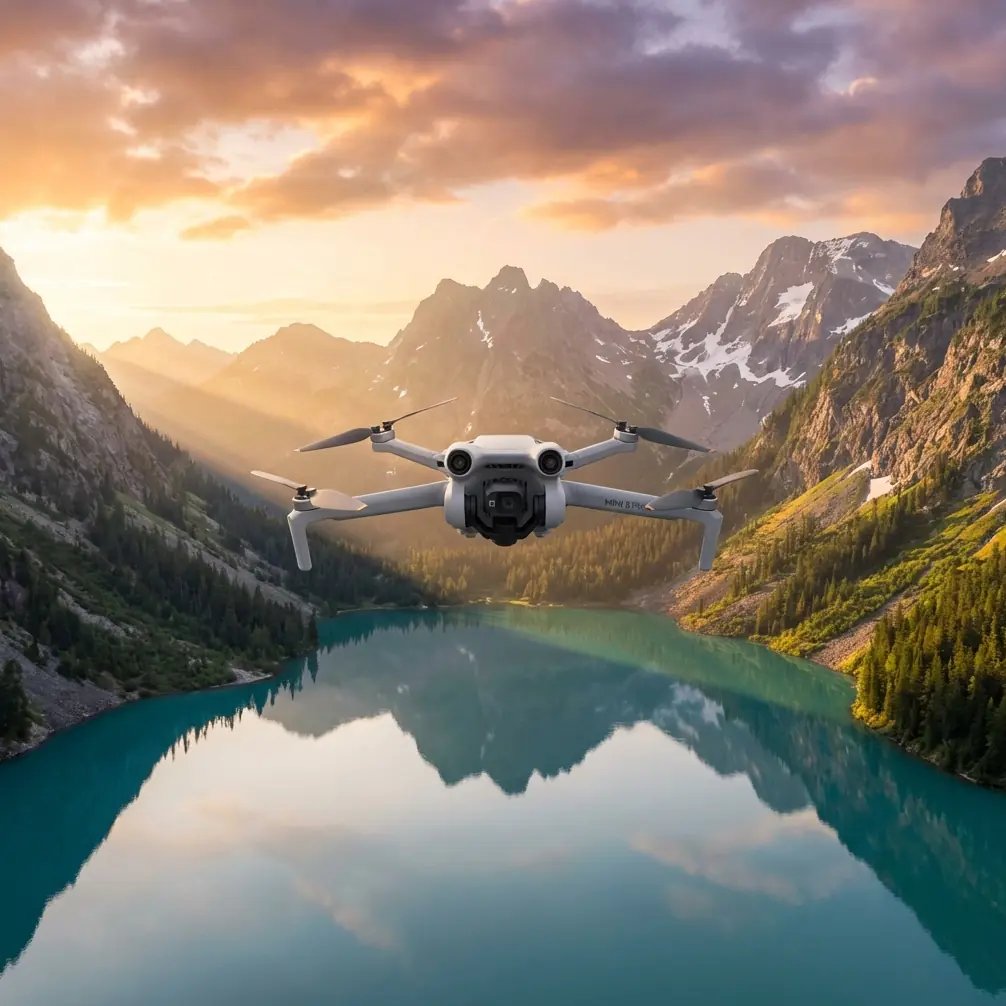
Capturing authentic wildlife behavior requires equipment that won't spook your subjects. The Mini 5 Pro weighs just 249 grams—lighter than most songbirds—making it virtually silent at operational distances.
I've spent three years documenting everything from Arctic foxes in Iceland to howler monkeys in Costa Rica. Traditional drones sent animals fleeing within seconds. The Mini 5 Pro changed everything.
Its compact form factor also solves the logistics nightmare of remote filming. When you're hiking 15 kilometers into backcountry with camera gear, every gram matters.
Finding Your Optimal Flight Altitude
Here's the insight that transformed my wildlife footage: altitude selection depends on animal hearing range, not just visual framing.
Most mammals detect sounds between 67 Hz and 45,000 Hz. The Mini 5 Pro's motors produce peak noise around 4,000 Hz at full throttle. At 120 meters altitude, this sound dissipates below the threshold that triggers flight responses in most species.
Altitude Guidelines by Animal Type
| Wildlife Category | Minimum Safe Altitude | Recommended Filming Altitude | Notes |
|---|---|---|---|
| Large mammals (elk, bears) | 80m | 100-150m | Less sensitive to aerial threats |
| Small mammals (foxes, rabbits) | 100m | 120-180m | Highly alert to overhead sounds |
| Waterfowl | 120m | 150-200m | Extremely sensitive; use zoom |
| Raptors | 200m+ | Avoid direct overhead | Territorial; may attack drone |
| Marine mammals | 100m | 120-150m | Regulations vary by location |
Expert Insight: Start at 150 meters and gradually descend while monitoring animal behavior through your screen. The moment you see ears rotating toward the drone or heads lifting, you've found your floor. Back up 20 meters and hold that altitude.
Mastering ActiveTrack for Unpredictable Subjects
Wildlife doesn't follow scripts. ActiveTrack 5.0 uses machine learning to predict movement patterns, maintaining focus even when animals dart behind trees or change direction suddenly.
Setting Up ActiveTrack for Wildlife
- Enable "Natural Subject" mode in tracking settings
- Set tracking sensitivity to Medium-High (80%)
- Activate Spotlight mode for animals that may temporarily disappear
- Configure obstacle avoidance to Bypass rather than Brake
The bypass setting proves critical in forested environments. When tracking a running deer, you need the drone to navigate around branches automatically rather than stopping mid-shot.
When ActiveTrack Struggles
The system has limitations. Animals with camouflage patterns (leopards, certain owls) can confuse the algorithm. In these situations, switch to manual tracking with gimbal wheel control.
Extremely fast subjects—diving falcons, fleeing gazelles—may outpace the tracking refresh rate. For speeds exceeding 80 km/h, pre-plan your flight path and use manual control.
Leveraging QuickShots for Cinematic Sequences
QuickShots automate complex camera movements that would otherwise require years of piloting experience. For wildlife, three modes stand out.
Circle Mode
Perfect for stationary subjects like nesting birds or resting predators. Set the radius to 30-50 meters for intimate framing without disturbance.
The Mini 5 Pro completes a full orbit in approximately 45 seconds at default speed. Slow this to 60-70% for smoother footage that matches the contemplative pace of nature documentaries.
Helix Mode
Creates ascending spiral shots that reveal landscape context. Exceptional for showing an animal's position within its habitat.
Start the helix 20 meters above your subject and set the endpoint 80 meters higher. This captures both the intimate ground-level perspective and the sweeping environmental context.
Dronie Mode
The classic pullback reveal works beautifully for wildlife at watering holes or feeding sites. Set distance to maximum (120 meters) and height to 60 meters for dramatic reveals.
Pro Tip: Trigger QuickShots during golden hour when animals are most active. The automated flight path frees you to monitor animal behavior and abort if subjects show stress signs.
Hyperlapse Techniques for Wildlife Environments
Hyperlapse compresses time, revealing patterns invisible to real-time observation. The Mini 5 Pro's GPS-stabilized hyperlapse maintains pixel-level consistency across hundreds of frames.
Best Hyperlapse Applications
- Migration paths: Capture hours of animal movement condensed into seconds
- Feeding behavior: Show grazing patterns across a meadow
- Weather transitions: Document how wildlife responds to approaching storms
- Tidal zones: Reveal marine life activity as water levels change
Set interval to 5 seconds for most wildlife scenarios. This captures enough frames for smooth playback while conserving battery during extended sessions.
For subjects that move slowly (grazing herds, foraging bears), extend intervals to 10-15 seconds. You'll capture 2-3 hours of activity on a single battery.
D-Log Configuration for Maximum Post-Production Flexibility
Flat color profiles preserve highlight and shadow detail that standard profiles clip. D-Log on the Mini 5 Pro captures 12.6 stops of dynamic range—essential for high-contrast wilderness scenes.
Optimal D-Log Settings
- ISO: Keep at 100-200 whenever possible
- Shutter speed: Double your frame rate (1/60 for 30fps, 1/120 for 60fps)
- White balance: Manual, matched to conditions (5600K daylight, 3200K golden hour)
- ND filters: Essential for maintaining proper shutter speed in bright conditions
ND Filter Selection Guide
| Lighting Condition | Recommended ND | Resulting Shutter Speed |
|---|---|---|
| Overcast/forest shade | ND4 | 1/60 at f/2.8 |
| Partly cloudy | ND8 | 1/60 at f/2.8 |
| Bright daylight | ND16 | 1/60 at f/2.8 |
| Snow/water reflection | ND32 | 1/60 at f/2.8 |
Obstacle Avoidance in Dense Environments
The Mini 5 Pro's omnidirectional sensing detects obstacles in all directions simultaneously. In remote wilderness, this prevents costly crashes far from repair facilities.
Configuring for Forest Filming
Set obstacle avoidance distance to minimum (0.5 meters) when threading through trees. The default 5-meter buffer prevents you from capturing intimate forest shots.
Enable APAS 5.0 (Advanced Pilot Assistance Systems) for autonomous navigation around detected obstacles. The drone calculates bypass routes in milliseconds, maintaining smooth footage even during complex maneuvers.
When to Disable Obstacle Avoidance
Certain scenarios require manual override:
- Flying through narrow gaps in rock formations
- Descending through forest canopy openings
- Tracking subjects into dense vegetation
- Operating near reflective water surfaces (sensors may give false readings)
Common Mistakes to Avoid
Approaching too quickly: Wildlife needs time to assess threats. Descend at 1-2 meters per second maximum, pausing every 20 meters to let animals acclimate.
Ignoring wind patterns: Animals smell drones before hearing them. Position yourself downwind to prevent scent detection, even though drones carry minimal odor.
Over-relying on automation: ActiveTrack and QuickShots are tools, not replacements for wildlife knowledge. Understanding animal behavior prevents stress and produces better footage.
Neglecting battery reserves: Remote locations mean long retrieval hikes if your drone lands unexpectedly. Return home at 40% battery, not the standard 25%.
Filming during sensitive periods: Nesting season, mating rituals, and feeding young create heightened stress responses. Research your subjects' annual cycles before planning shoots.
Single battery expeditions: The Mini 5 Pro delivers 34 minutes flight time under ideal conditions. Wind, cold, and aggressive maneuvering reduce this significantly. Carry minimum three batteries for any serious wildlife session.
Frequently Asked Questions
What's the best time of day for wildlife drone filming?
The first two hours after sunrise and last two hours before sunset offer optimal conditions. Animals are most active during these windows, and the low-angle light creates dimensional shadows that enhance footage quality. Midday sun produces harsh, flat lighting that flattens textures and washes out colors. The Mini 5 Pro's D-Log profile handles golden hour dynamic range beautifully.
Can the Mini 5 Pro handle cold weather in remote mountain environments?
The Mini 5 Pro operates reliably down to -10°C, though battery performance decreases by approximately 30% in freezing conditions. Keep spare batteries warm inside your jacket until needed. Pre-warm the drone by hovering at 2 meters for 60 seconds before ascending. Avoid flying in precipitation, as the compact body lacks weather sealing.
How do I maintain GPS lock in deep valleys or dense forest?
The Mini 5 Pro requires connection to minimum 8 satellites for stable positioning. In obstructed environments, launch from clearings and gain altitude before entering challenging terrain. Enable ATTI mode fallback in settings—this allows continued flight using onboard sensors if GPS drops temporarily. Avoid flying directly beneath heavy canopy where satellite signals cannot penetrate.
Ready for your own Mini 5 Pro? Contact our team for expert consultation.