Mini 5 Pro for Venues in Complex Terrain
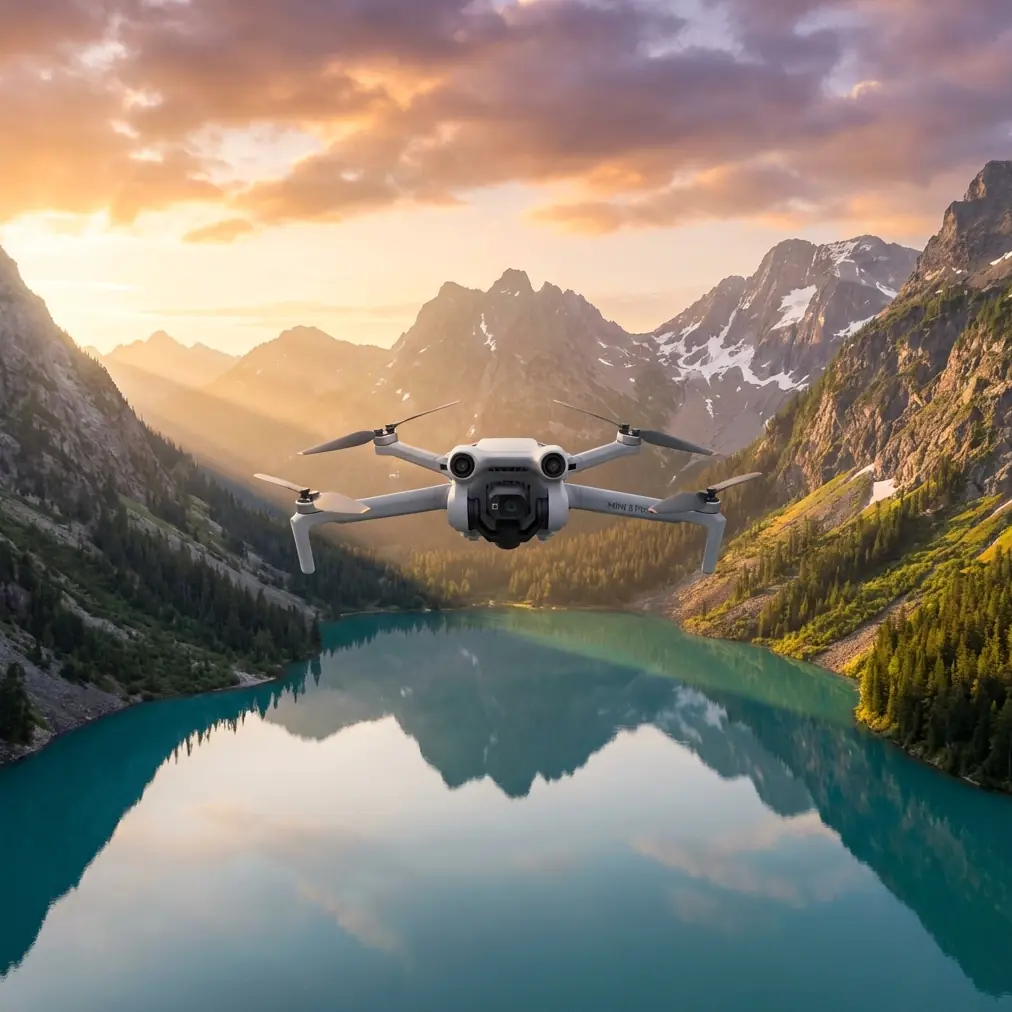
Mini 5 Pro for Venues in Complex Terrain: A Field Method That Starts With GSD, Not Guesswork
META: Learn how to plan Mini 5 Pro venue shoots in uneven terrain using GSD-based thinking, flight speed discipline, obstacle avoidance, ActiveTrack, D-Log, and practical battery management from real field workflow.
If you film venues tucked into hillsides, wrapped around water, or broken up by terraces, access roads, retaining walls, and tree lines, the usual drone advice stops being useful very quickly. Complex terrain punishes vague planning. It also exposes a common mistake: pilots obsess over altitude alone, when what really determines whether the footage and stills are usable is ground detail.
That is where a mapping principle becomes surprisingly relevant to the Mini 5 Pro.
A 2009 civil UAV photogrammetry study made a point that still matters now: flight height by itself does not accurately express image capability. Ground Sample Distance, or GSD, is the more meaningful measure because it speaks directly to how well you can identify targets and how accurately you can place them. In plain terms, GSD tells you what one pixel represents on the ground. For venue work, that changes how you think about every pass over a sloped wedding estate, resort, amphitheater, vineyard, golf property, or mountainside event site.
Even if your goal is not formal surveying, the operational lesson is the same. If you need clean establishing shots, reliable reveal sequences, and useful visual records for planners, architects, or marketing teams, you need to think in terms of detail on the ground, not just “I flew at 120 meters.”
Why GSD matters more than altitude when terrain gets messy
The reference material gives a simple but powerful example. With a 17 mm focal length and a 7.2 µm pixel size, flying at 118 m produced a GSD of 5 cm. At 236 m, GSD became 10 cm. That doubling is not trivial. It means the visual information density on the ground was cut in half.
For venue filming, this has immediate consequences.
A 5 cm ground representation is much better at preserving edge clarity in practical features that clients care about: aisle layouts, curb lines, seating rows, drainage channels, staging boundaries, landscaped paths, and the relationship between structures and terrain. At 10 cm, broad geometry may still read fine, but the smaller cues that make a venue feel organized and premium start to soften. This matters even more in complex terrain because elevation changes already distort the viewer’s sense of spacing and access.
The old study linked 5 cm GSD with 1:500 mapping needs and 10 cm with 1:1000. You do not need to be delivering survey sheets to benefit from that benchmark. It gives you a concrete way to decide when a venue pass is “cinematic only” and when it is detailed enough to support planning, layout review, or pre-event logistics.
That is the first shift I recommend for Mini 5 Pro operators: define the detail you need before you define the route.
If the client needs broad branding footage for a hero video, you can live with looser ground detail in the wider aerials. If the venue manager wants to show vehicle approach routes, service access, tent placement zones, or guest circulation around uneven ground, you need tighter image detail and more disciplined pass design.
A Mini 5 Pro workflow for difficult venues
The Mini 5 Pro brings tools that are extremely helpful in these environments, but the tools only perform well when the mission logic is sound. Obstacle avoidance, ActiveTrack, QuickShots, Hyperlapse, and D-Log are not magic features. They are multipliers. The underlying plan still matters most.
Here is the method I use.
1. Break the venue into elevation bands
Instead of planning one continuous “orbit and reveal,” divide the property into terrain zones. A venue on a hill rarely behaves like a single flat location. The ceremony lawn, parking area, waterfront deck, upper access road, and service entrance may each sit at different relative heights.
This is where the reference study’s focus on relative flight height becomes practical. A fixed launch altitude can hide the fact that your real clearance and image scale are changing constantly over the ground below. That means one side of the venue may be captured with much finer detail than another, even within the same shot path.
On the Mini 5 Pro, I plan separate segments:
- broad high pass for shape and context
- mid-level lateral pass for circulation and elevation relationships
- low controlled reveals over the most important activity zones
This prevents the common problem where a pilot starts high, glides into a lower valley edge, and accidentally shifts the visual scale enough that the sequence feels inconsistent.
2. Use obstacle avoidance as a safety layer, not as your route designer
Complex venue terrain often includes trees, tent poles, decorative lighting, temporary rigging, retaining walls, signage, and uneven rooflines. Obstacle avoidance is valuable here, especially on reveal shots and side-tracking moves. But it should not be the reason you attempt an overcomplicated line.
A better approach is to use obstacle avoidance to protect a route that is already conservative. If I am filming a venue with tall cypress borders and sloping lawn terraces, I set a line that would still be safe if I had to interrupt the move manually. Then I let the aircraft’s avoidance system help smooth minor corrections.
Operationally, this matters because terrain complexity increases pilot workload. The more you rely on automation to invent a path in real time, the less predictable your framing becomes. For a venue film, consistency is often more valuable than daring.
3. Reserve ActiveTrack for subjects moving through predictable corridors
ActiveTrack can be excellent for golf carts, venue staff walkthroughs, or a couple walking a marked path between distinct landscape elements. It is much less reliable when the route crosses heavy canopy, decorative structures, or steep transitions that repeatedly interrupt line of sight.
That is another place where GSD thinking helps. If the subject is a small part of a wide terrain-heavy frame, you need enough ground clarity around them for the shot to remain readable. On a complicated venue, the surroundings often carry as much storytelling weight as the person or vehicle being tracked.
I usually use ActiveTrack only after I have flown a manual rehearsal. If the corridor has obvious vertical hazards or abrupt contrast shifts between sunlit slopes and shaded structures, I switch back to a controlled manual follow. The Mini 5 Pro can track. That does not mean the venue should dictate the shot.
4. Use QuickShots and Hyperlapse selectively
QuickShots are useful when a venue team wants immediate social-ready options: a short dronie over an overlook deck, a reveal from behind a tree line, or a pullback showing the venue nested in surrounding terrain. Hyperlapse works well for cloud movement over mountain venues, setup progression on a large event lawn, or traffic flow into a ridge-top property.
But in complex terrain, auto-generated movement patterns can easily place too much visual emphasis on the wrong topographic feature. A spiral may favor an awkward retaining wall. A rocket move may flatten the relationship between upper and lower site levels. A Hyperlapse route may look elegant in open space but become visually noisy when the foreground is cluttered.
So I treat those modes as supplements, not anchors. Get your essential manual passes first. Then use automated modes to add variety once the core coverage is secure.
The forgotten variable: flight speed
One of the most useful details in the reference material has nothing to do with cinematic style and everything to do with image integrity.
In the test setup, using a digital camera limit of one-third pixel, or 2.4 µm, with an exposure time of 1/800 s, relative height of 236 m, and terrain height difference of 30 m, the calculated maximum ground speed was 23.3 m/s. In actual flight, the team limited speed to 15 m/s, about 54 km/h.
That is an old mapping system, not a Mini 5 Pro. Still, the operational lesson is current: your allowable speed may be much lower than your aircraft can physically achieve if you care about image precision.
For venue filming, excess speed causes three familiar problems:
- fine texture on landscaping and built edges turns mushy
- parallax becomes harder to control in uneven terrain
- obstacle-rich spaces leave less margin for correcting line errors
I see many pilots fly venue passes too fast because the screen image looks acceptable in the moment. Later, the footage reveals soft detail in stonework, paving, floral rows, deck edges, or seating geometry. If your client wants the venue to feel polished, those details matter.
With the Mini 5 Pro, disciplined speed is especially important when shooting D-Log in lower-contrast conditions. D-Log gives you grading flexibility, but it does not rescue motion blur or weak spatial detail. If the venue sits on mixed elevations and you are crossing from sun into shadow, reducing speed often improves both readability and editorial flexibility more than any post-production fix.
A battery management tip that matters in the field
Here is the field habit that saves more shoots than any spec sheet feature: do not plan batteries around total flight time. Plan them around terrain resets.
At complex venues, battery drain is not just about minutes in the air. It is about the number of altitude recoveries, hover-based reframing moments, and repeated setup passes caused by wind and changing visual geometry. A hillside property can burn usable battery much faster than a flat open field, even when the timeline looks similar on paper.
My rule is simple. I dedicate one battery to wide context work, one to medium-altitude structure passes, and one to low-risk creative work such as reveals, ActiveTrack attempts, or Hyperlapse. I avoid mixing critical coverage and experimental footage on the same battery.
Why? Because the hardest mistake to recover from at a venue is discovering that your best low-angle window happens after you have already spent your pack fighting terrain and redoing a rushed orbit. Save a fresh battery for the shots that depend on precise timing and calm decisions.
Another practical note: on sloped or layered sites, I return earlier than I would at a flat venue. Not because the aircraft cannot keep flying, but because uneven terrain makes the return path psychologically and operationally tighter. You want margin for a clean climb, a stable approach, and one unexpected correction.
If you are building a serious venue workflow and want to compare pack strategy, route planning, or accessory setup, you can message a drone specialist here.
Color and deliverables: why D-Log earns its place at venues
Venue shoots often happen in brutal lighting combinations: bright stone, dark tree cover, reflective water, white tents, shaded steps, and skin tones moving between all of them. D-Log is useful because it protects more tonal information across those transitions.
This is not only about “cinematic look.” It is about making the property legible. If the lower terrace falls into mud while the upper ceremony deck clips in sunlight, the terrain story collapses. Clients may not describe the issue in technical terms, but they will feel that the venue looks confusing or less refined.
When I know the venue has strong elevation shifts, I prioritize D-Log for establishing passes and any move where the camera transitions from shadowed foreground into bright open background. Then I keep my motion restrained enough that the richer tonal data remains easy to grade shot-to-shot.
Putting it all together on a real venue day
A practical Mini 5 Pro sequence for a complex hillside venue might look like this:
- start with a high reconnaissance pass to understand terrain layers and visual obstacles
- define the key detail level needed for the client’s actual use, borrowing GSD-style thinking rather than relying on altitude alone
- fly slow lateral and diagonal passes that preserve relationships between upper and lower venue zones
- use obstacle avoidance to backstop conservative routes
- deploy ActiveTrack only where the movement corridor is clean and predictable
- capture a few QuickShots or Hyperlapse sequences after the essential coverage is complete
- protect the grade by using D-Log in difficult contrast
- manage batteries by shot class, not by abstract runtime
The old photogrammetry reference may seem far removed from a compact modern drone, but its core insight is exactly right for Mini 5 Pro venue work: image usefulness is defined by what the ground detail actually delivers, not by the flight height written in your notes. Its speed-control example is just as relevant. A capable aircraft still needs a disciplined operator.
That is the difference between simply flying over a venue and truly describing it from the air. One creates footage. The other creates clarity.
Ready for your own Mini 5 Pro? Contact our team for expert consultation.