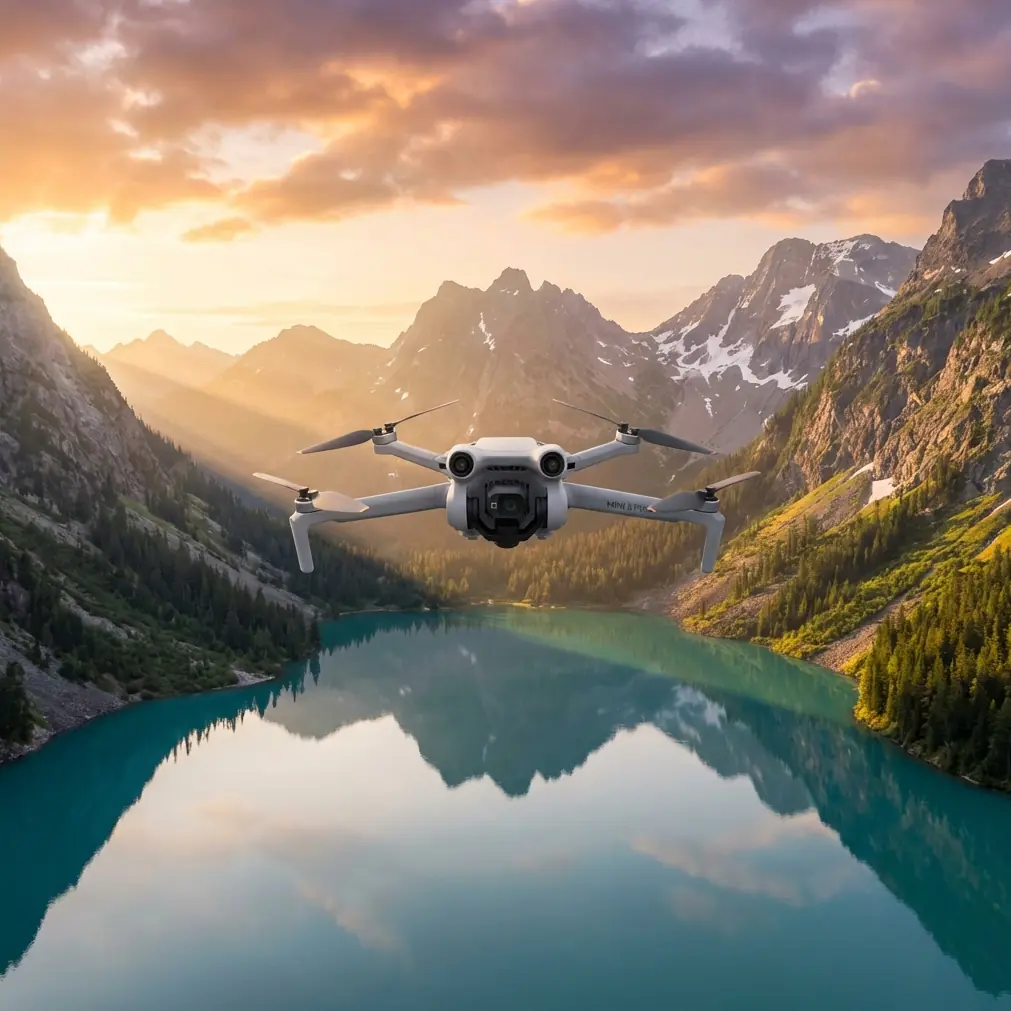
Filming High-Altitude Solar Farms with Mini 5 Pro
Filming High-Altitude Solar Farms with Mini 5 Pro: What Actually Matters in the Field
META: Practical Mini 5 Pro tutorial for filming solar farms at high altitude, with tips on obstacle avoidance, ActiveTrack, D-Log workflows, and handling electromagnetic interference through antenna adjustment.
High-altitude solar sites look simple from the ground: endless panel rows, clean geometry, dramatic ridgelines, crisp light. In the air, they become one of the more demanding environments for a compact drone shoot. Thin air changes how the aircraft feels. Bright reflective surfaces complicate exposure. Repeating panel patterns can confuse depth perception. Add localized electromagnetic interference from inverters, transformers, transmission lines, and long cable runs, and you quickly learn that “just fly a few passes” is not a method.
If you’re planning to film a solar farm with the Mini 5 Pro, the right approach is less about cinematic hype and more about discipline. This is especially true at elevation, where the margin for error narrows. The goal is stable, readable footage that helps developers, EPC firms, inspection teams, and asset managers communicate scale, layout, access roads, substation relationships, and environmental context.
This tutorial is built around that real-world mission.
Start with the site, not the drone
A solar farm is a structured industrial environment. That matters because the flight plan should reflect the site’s operational logic.
Before takeoff, identify four things:
- Array orientation
- Elevation changes across the site
- Locations of inverters, substations, and overhead lines
- Wind direction at the ridge or open plain level
On high-altitude projects, wind can be much less predictable than it feels from the launch point. A site that seems calm beside a service vehicle may produce crosswind drift over exposed panel rows. The Mini 5 Pro may be compact, but compact aircraft don’t get a pass on aerodynamics. Build your first shots around the safest and most repeatable paths, not the most dramatic ones.
For solar documentation, that usually means beginning with broad establishing passes: a high oblique reveal, a lateral tracking shot along the panel blocks, and a slow ascending pullback that shows how the installation sits in the terrain.
Why high altitude changes your shot planning
High altitude affects more than battery confidence. It changes the handling feel of the aircraft, especially in transition shots where you want smooth, deliberate motion. Climbs can feel less eager. Braking and directional corrections can look harsher in footage if you’re not anticipating them.
The operational fix is straightforward:
- Use gentler stick inputs than you would at lower elevation
- Allow more space at the end of each move
- Avoid aggressive last-second course corrections
- Plan fewer combined-axis maneuvers on the first battery
This is where obstacle avoidance becomes more than a spec-sheet talking point. On a solar site, you’re not usually threading through trees, but you are dealing with service poles, fence lines, weather stations, cable trays, and occasional terrain undulations that can creep into a low-angle pass. A robust obstacle sensing system helps preserve clean motion because you can focus on line discipline rather than flying in a constant state of correction.
Still, obstacle avoidance is support, not strategy. Reflective panel surfaces and repetitive geometry can produce visual ambiguity. Give the system room to work.
The hidden issue on solar farms: electromagnetic interference
The most overlooked challenge on utility-scale and commercial solar projects is electromagnetic interference. It doesn’t hit every site the same way, but when it does, you’ll notice it quickly: signal instability, hesitation in control responsiveness, warning prompts, or less confidence in the live feed.
The practical response is not panic. It’s antenna management.
If you encounter interference near inverter pads, transformers, or transmission infrastructure, the first field correction is to adjust the antenna orientation relative to the aircraft’s position, rather than simply climbing higher or pushing farther away blindly. That matters because a poor antenna angle can make an already noisy RF environment worse. A good adjustment often restores a more reliable link without forcing you to abandon the shot.
Operationally, here’s what I recommend:
- Face the aircraft directly when possible during technical passes
- Reposition your body or controller to maintain the strongest alignment
- Avoid standing beside large metal structures or vehicles if signal quality starts fluctuating
- If warnings appear near electrical equipment, back off laterally first, then reassess
- Keep line of sight clean and don’t let ridges, containers, or equipment shelters sit between you and the drone
This is one of those details that sounds small until it saves a flight. On a high-altitude solar farm, antenna adjustment is often the difference between a smooth inspection-style capture and a stop-start session full of dropped confidence.
Build your shots around use, not just beauty
Solar clients rarely need random cinematic motion. They need footage that explains the asset.
A useful Mini 5 Pro shot list for solar farms includes:
1. High establishing orbit
Use this to show the full footprint of the project, access roads, perimeter fencing, nearby terrain, and the relationship between panel blocks and electrical infrastructure.
2. Low lateral along panel rows
This reveals alignment, scale, row spacing, and terrain contour. Keep speed controlled. Too fast and the shot becomes a blur of reflections.
3. Rising pullback from inverter or combiner area
This is effective for showing how local equipment connects visually to the larger installation.
4. Access-road tracking shot
Useful for project overviews, operations updates, and investor reporting. It also creates a stable visual transition between zones of the site.
5. Top-down grid reveal
A clean overhead shot can communicate layout better than any low cinematic sweep. It’s not flashy, but it’s often the most informative.
This is where QuickShots can help, but selectively. On industrial sites, automation is useful when it produces repeatability, not when it imposes a generic motion path. QuickShots are best treated as efficient tools for secondary footage, not your primary documentation method.
When ActiveTrack works — and when it doesn’t
ActiveTrack can be valuable on solar farms if you’re following a maintenance vehicle, a technician walking an access route, or a site team moving between sections. It adds context and scale, especially in stakeholder videos or progress updates.
But there’s a catch. A solar farm is visually repetitive. Long rows of near-identical panels can challenge subject separation, particularly if the subject is small in frame or moving through mixed contrast conditions. If you use subject tracking, set up the scene so the tracked subject has clear visual distinction from the background.
Good uses:
- Vehicle movement on access roads
- Personnel walk-throughs at moderate distance
- Intro sequences where site staff guide the viewer through key infrastructure
Bad uses:
- Tiny subjects between highly reflective rows
- Fast movement near electrical compounds
- Tracking when signal quality is already unstable from interference
The operational significance here is simple: ActiveTrack reduces pilot workload during narrative shots, but on a high-altitude industrial site, you need to know when manual control is the safer and cleaner choice.
Exposure control over reflective panels
Solar arrays are brutal on auto exposure. The scene can swing between dark mounting hardware, bright sky, and mirror-like panel glare within a single move. If you leave everything to automatic settings, your footage may pulse visibly as the camera tries to compensate.
This is exactly why D-Log matters on this kind of assignment.
A flatter profile gives you more flexibility to hold highlight detail on bright panel surfaces while preserving enough information in the terrain and infrastructure around them. For project marketing teams and engineering stakeholders alike, this matters because blown highlights destroy texture. Once the panel field turns into a white sheen, the shot loses information.
A few practical habits help:
- Lock exposure before committing to a pass
- Watch the angle of the sun relative to the arrays
- Avoid broad moves directly into peak reflective glare unless it serves a purpose
- Capture one safe, neutral pass before attempting stylized angles
- Use D-Log when post-production latitude matters
For sunrise and late afternoon work, Hyperlapse can also be highly effective. Solar farms are ideal subjects for time-compression because the geometry reads well from above, and cloud shadows moving across panel blocks can create a strong sense of site scale. Just choose a path with minimal signal complexity and enough clearance to avoid terrain or structures during the sequence.
Flight safety around infrastructure
Not every obstacle on a solar farm is visually obvious from takeoff. Weather masts, CCTV poles, substation fencing, and wire runs can appear suddenly in a low-angle path.
This is where older action-camera thinking is worth remembering. In the GoPro HERO4 Silver manual, the housing guidance emphasized something very basic but operationally sound: before use in harsh conditions, the enclosure had to be fully closed and the rear seal checked for debris to ensure a proper seal. It also distinguished between a standard backdoor rated to 40 meters and a touchscreen backdoor that only provided 3 meters of waterproof protection. Different configurations changed what the equipment could survive.
That same mindset applies to the Mini 5 Pro on a solar assignment. Configuration changes consequences. Different shooting modes, obstacle settings, tracking options, and route choices all alter your risk profile. Don’t assume one setup fits every pass.
Another useful detail from that same manual: the non-waterproof frame backdoor allowed better audio capture and could reduce wind noise at speeds up to 100 miles per hour on fast-moving mounts, but it should only be used when there was no meaningful risk from sand, dust, or water. Again, a tradeoff. Better performance in one area, less protection in another.
On a high-altitude solar site, the drone equivalent is obvious:
- A low, fast cinematic pass may look better, but it reduces margin around poles and terrain
- A tracking mode may simplify movement, but it adds dependency on scene recognition
- A reflective, high-contrast shot may look dramatic, but it can complicate exposure and obstacle reading
Professionals think in tradeoffs. That’s what keeps the footage usable and the aircraft safe.
A practical field workflow for Mini 5 Pro at solar sites
Here’s the sequence I use when conditions are uncertain:
Pre-flight
- Walk the launch area
- Identify electromagnetic risk zones
- Check wind at ground level and visually assess ridge exposure
- Plan first battery around simple, high-value shots
Battery 1
- Capture the highest-priority overview footage
- Test signal stability near, not over, electrical infrastructure
- Observe how the aircraft responds in climb, braking, and crosswind
Battery 2
- Move into lower-angle row tracking shots
- Use obstacle avoidance conservatively
- Try ActiveTrack only if subject separation is clean and signal is solid
Battery 3
- Capture creative material: Hyperlapse, QuickShots, orbit variations, or golden-hour passes
- Re-shoot any mission-critical footage while light still allows consistency
If you’re working with a project team and need a second opinion on route planning or interference behavior, I’ve found that quick pre-mission coordination saves more time than post-flight troubleshooting. If helpful, you can message a drone specialist directly before your next site visit.
What separates good solar footage from useful solar footage
Useful footage answers questions. How large is the site? How steep is the terrain? How close is the substation? How are rows oriented? What does access look like? Can a non-technical stakeholder understand the site in 30 seconds?
The Mini 5 Pro is well suited to this kind of work because it can move quickly from overview capture to detailed narrative sequences without the operational burden of a larger aircraft. But the drone only does its job if the pilot respects the environment.
At high altitude, that means smoother inputs. Around solar infrastructure, it means taking electromagnetic interference seriously and correcting with antenna adjustment before the link degrades into a larger problem. In bright reflective conditions, it means protecting highlights and using D-Log intentionally. And across the whole mission, it means using features like obstacle avoidance, ActiveTrack, QuickShots, and Hyperlapse as tools with specific roles, not as defaults.
That’s the difference between footage that looks good on a phone and footage a developer, asset manager, or EPC team can actually use.
Ready for your own Mini 5 Pro? Contact our team for expert consultation.