How to Film Mountain Fields with Mini 5 Pro
How to Film Mountain Fields with Mini 5 Pro
META: Master mountain field filming with the Mini 5 Pro. Learn essential pre-flight prep, camera settings, and flight techniques for stunning aerial footage.
TL;DR
- Clean obstacle sensors before every mountain flight to ensure safety features work flawlessly in dusty field conditions
- Use D-Log color profile at 4K/60fps for maximum dynamic range when capturing golden hour landscapes
- Deploy ActiveTrack 5.0 to follow tractors, wildlife, or hiking subjects across uneven terrain
- Master Hyperlapse modes to compress hours of farming activity or weather changes into cinematic sequences
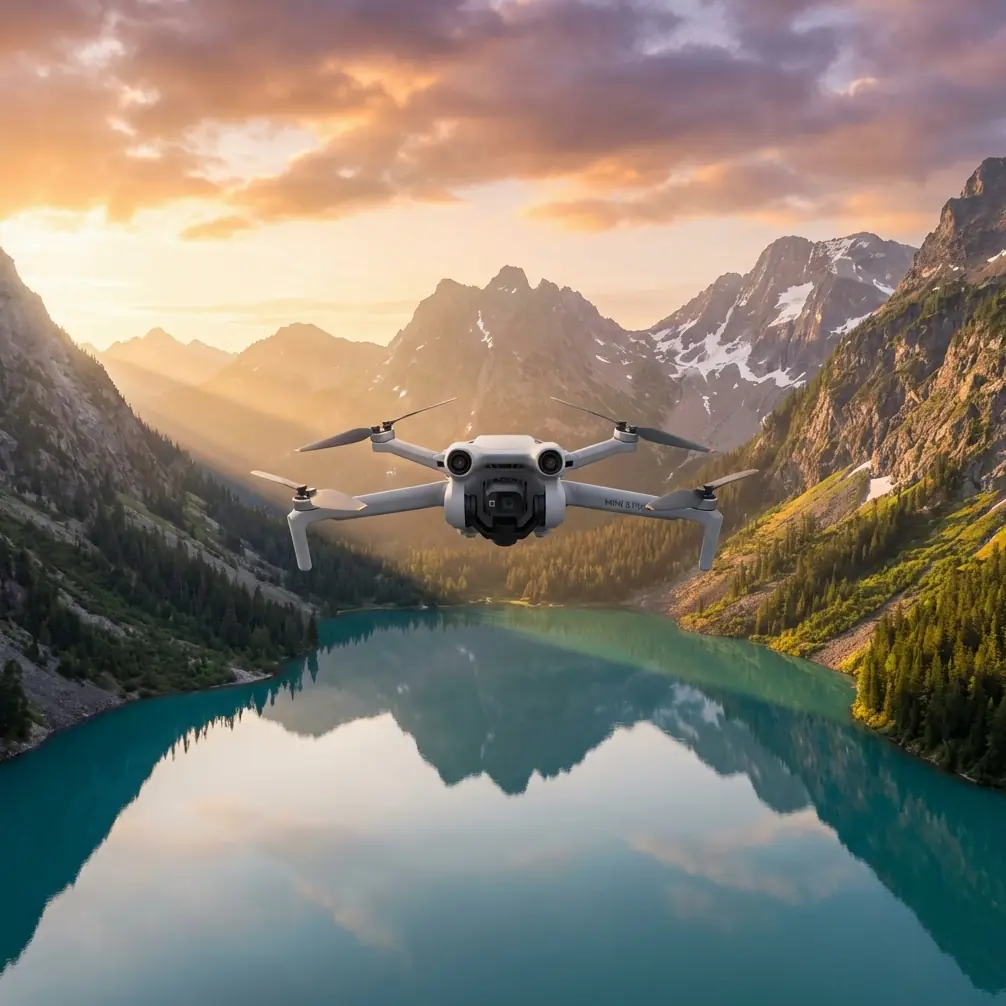
Mountain field cinematography presents unique challenges that separate amateur footage from professional-grade content. The DJI Mini 5 Pro weighs just 249 grams yet packs a 1-inch CMOS sensor capable of capturing the vast scale of agricultural landscapes with remarkable detail.
This guide walks you through every step—from critical pre-flight sensor cleaning to advanced shooting techniques that transform ordinary field footage into compelling visual stories.
Why Pre-Flight Cleaning Matters for Mountain Operations
Dust, pollen, and debris accumulate rapidly in agricultural environments. Your Mini 5 Pro's obstacle avoidance system relies on omnidirectional sensors positioned around the aircraft body. Even a thin film of dust degrades their performance significantly.
The 60-Second Sensor Cleaning Protocol
Before launching in any field environment, complete this essential maintenance routine:
- Front vision sensors: Wipe with a microfiber cloth using gentle circular motions
- Rear and lateral sensors: Check for grass particles or seed debris
- Downward sensors: Critical for landing—remove any mud splatter from previous flights
- Gimbal lens: Use a lens pen or air blower to eliminate dust spots that ruin footage
- Propellers: Inspect for nicks or warping that affect stability in mountain winds
Pro Tip: Carry a dedicated sensor cleaning kit in your flight bag. A small air blower, microfiber cloth, and lens pen weigh almost nothing but prevent costly mistakes.
This cleaning step takes under a minute but ensures your obstacle avoidance system performs at 100% accuracy. In mountain terrain with unexpected trees, power lines, and elevation changes, reliable sensors aren't optional—they're essential.
Essential Camera Settings for Field Cinematography
The Mini 5 Pro's imaging capabilities rival drones twice its size. Configuring these settings correctly before takeoff saves editing headaches later.
Resolution and Frame Rate Selection
| Scenario | Resolution | Frame Rate | Best Use Case |
|---|---|---|---|
| Landscape establishing shots | 4K | 24fps | Cinematic feel, smaller files |
| Subject tracking | 4K | 60fps | Smooth slow-motion options |
| QuickShots sequences | 4K | 30fps | Balanced quality and flexibility |
| Hyperlapse captures | 4K | Auto | Time compression effects |
| Low-light golden hour | 4K | 24fps | Maximum sensor performance |
D-Log Configuration for Maximum Flexibility
Shooting in D-Log unlocks the Mini 5 Pro's full 12.4 stops of dynamic range. Mountain fields present extreme contrast challenges—bright sky, shadowed valleys, and reflective crops all in a single frame.
Configure these D-Log settings:
- Color Profile: D-Log M
- ISO: Start at 100 for daylight, increase only as needed
- Shutter Speed: Follow the 180-degree rule (double your frame rate)
- White Balance: Manual setting based on conditions (5600K for daylight)
- ND Filters: Essential for proper exposure control
Expert Insight: Mountain fields at sunrise often require ND8 or ND16 filters to maintain proper shutter speeds. The Mini 5 Pro's small lens accepts magnetic filter systems that swap in seconds.
Mastering Subject Tracking Across Uneven Terrain
ActiveTrack 5.0 represents a generational leap in autonomous subject following. The system uses machine learning algorithms to predict subject movement and maintain smooth, cinematic framing.
Setting Up ActiveTrack for Field Subjects
The Mini 5 Pro excels at tracking these common mountain field subjects:
- Agricultural vehicles: Tractors, combines, and ATVs moving through crops
- Livestock: Cattle, horses, or sheep grazing across pastures
- Human subjects: Farmers, hikers, or models for lifestyle content
- Wildlife: Deer, elk, or birds (maintain legal distances)
To initiate tracking:
- Frame your subject in the center of the screen
- Draw a box around the subject using the DJI Fly app
- Select Trace mode for following behind or Parallel for side angles
- Set your preferred distance and altitude
- Tap Go and monitor the flight path
The obstacle avoidance system works simultaneously with ActiveTrack. Your cleaned sensors now prove their value—the drone automatically navigates around trees, fences, and terrain features while maintaining subject lock.
QuickShots for Efficient Content Creation
When time is limited, QuickShots deliver professional results with minimal input. The Mini 5 Pro offers these automated sequences:
- Dronie: Classic pullback reveal showing subject and landscape context
- Rocket: Vertical ascent with downward camera angle
- Circle: Orbital path around a fixed point
- Helix: Ascending spiral combining circle and rocket movements
- Boomerang: Figure-eight pattern for dynamic energy
- Asteroid: Dramatic sphere effect starting close and pulling to panorama
Each QuickShot takes 15-30 seconds to execute and produces immediately usable footage. Stack multiple QuickShots for varied content from a single location.
Hyperlapse Techniques for Storytelling
Mountain fields transform throughout the day. Hyperlapse captures these changes in compressed, mesmerizing sequences that standard video cannot match.
Hyperlapse Mode Selection
| Mode | Movement | Best Application |
|---|---|---|
| Free | Manual flight path | Creative custom routes |
| Circle | Orbital around point | Showcasing central subjects |
| Course Lock | Straight line | Revealing landscape scale |
| Waypoint | Pre-programmed path | Repeatable professional shots |
Capturing Agricultural Activity
A 2-hour Hyperlapse of harvesting activity compresses into 10-15 seconds of captivating footage. The Mini 5 Pro's 47-minute flight time (with Intelligent Flight Battery Plus) enables extended captures impossible with previous generations.
Configure these Hyperlapse settings for field work:
- Interval: 2-3 seconds for slow-moving subjects like tractors
- Duration: Calculate based on desired output length
- Resolution: Always 4K for cropping flexibility
- Altitude: Higher positions (100-200 feet) capture more activity
Pro Tip: Start Hyperlapse sequences 30 minutes before the main action begins. The buildup creates narrative tension that makes the payoff more satisfying.
Common Mistakes to Avoid
Even experienced pilots make these errors when filming mountain fields. Learn from others' failures:
Ignoring Wind Patterns
Mountain terrain creates unpredictable wind acceleration. Valleys funnel air currents, ridgelines generate turbulence, and thermal updrafts appear without warning.
- Check wind speeds at multiple altitudes before committing to a flight path
- Maintain 40% battery reserve for fighting headwinds on return
- Avoid flying downwind of ridgelines where rotors create dangerous turbulence
Overlooking Legal Requirements
Agricultural areas often include restricted airspace:
- Crop dusting operations require coordination
- Private property needs landowner permission
- Wildlife refuges may prohibit drone flights entirely
- Controlled airspace near rural airports requires authorization
Neglecting ND Filter Adjustments
Bright mountain sunlight overwhelms the sensor without proper filtration. Overexposed skies and crushed shadows result from incorrect exposure.
- Carry a complete ND filter set (ND4, ND8, ND16, ND32)
- Adjust filters as lighting conditions change throughout the shoot
- Check histogram regularly—the Mini 5 Pro's screen visibility suffers in bright conditions
Rushing the Composition
The temptation to capture everything leads to unfocused footage. Professional results require intentional framing:
- Scout locations on foot first before launching
- Identify three to five specific shots before takeoff
- Execute each shot multiple times with slight variations
- Review footage between flights to confirm quality
Frequently Asked Questions
Can the Mini 5 Pro handle mountain wind conditions?
The Mini 5 Pro maintains stable flight in winds up to Level 5 (24 mph). Its lightweight design actually provides advantages—the aircraft flexes with gusts rather than fighting them rigidly. However, mountain winds often exceed this threshold, especially near ridgelines. Always check conditions at your intended flight altitude, not just ground level.
What's the best time of day for filming mountain fields?
Golden hour—the first and last hour of sunlight—produces the most cinematic results. Long shadows reveal terrain texture, warm light flatters landscapes, and reduced contrast makes exposure management easier. Midday sun creates harsh shadows and washed-out colors that require extensive color grading to salvage.
How do I maintain GPS lock in remote mountain areas?
The Mini 5 Pro uses both GPS and GLONASS satellite systems for positioning. In deep valleys, satellite visibility decreases. Launch from elevated positions when possible, wait for strong GPS signal (12+ satellites) before flying, and avoid relying on automated features in areas with weak signal. The obstacle avoidance system provides backup protection when GPS accuracy degrades.
Mountain field cinematography rewards preparation and patience. The Mini 5 Pro delivers professional capabilities in a package that travels anywhere. Clean those sensors, configure your settings deliberately, and let the technology handle the complex flight dynamics while you focus on creative vision.
Ready for your own Mini 5 Pro? Contact our team for expert consultation.