Mini 5 Pro for Mountain Coastline Filming
Mini 5 Pro for Mountain Coastline Filming: A Field Tutorial That Prioritizes Control Over Hype
META: A practical Mini 5 Pro tutorial for filming coastlines in mountain terrain, covering obstacle avoidance, ActiveTrack, QuickShots, Hyperlapse, D-Log workflow, and a useful third-party accessory setup.
Mountain coastlines punish sloppy drone flying.
The air is rarely stable. Wind rolls up cliff faces, then drops into pockets of dead calm. Light shifts every few minutes as clouds move across ridgelines. One second you are framing a clean reveal of the sea; the next, your subject is backlit, the horizon is tilted by crosswind, and the drone is trying to negotiate rocks, scrub, and uneven terrain on the return leg.
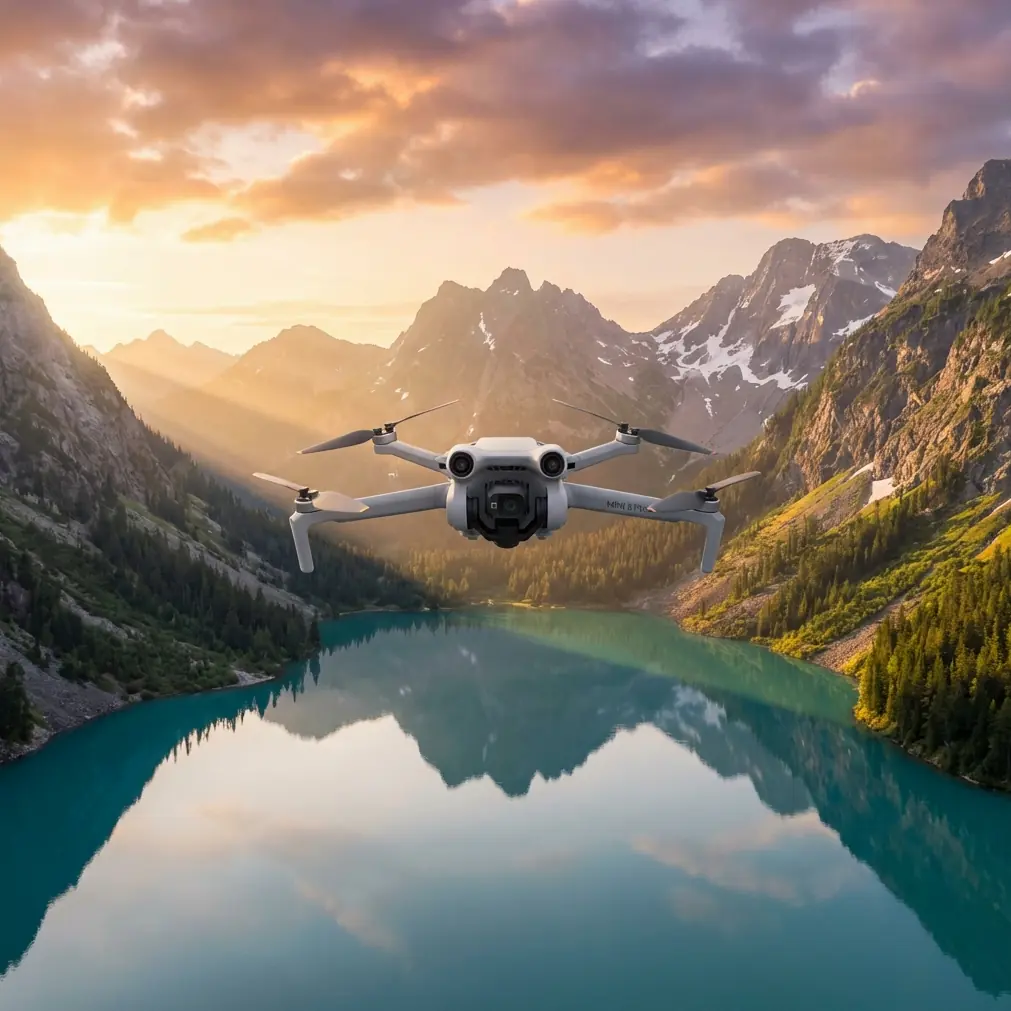
That is exactly why the Mini 5 Pro is such an interesting tool for this kind of work. Not because a small drone makes the job easy. It does not. It makes the job possible in places where a larger aircraft becomes a burden. If your shooting day involves hiking to overlooks, moving between cliff paths, and grabbing short weather windows, portability stops being a convenience and starts becoming part of your shot list.
This tutorial is built around one specific scenario: filming a coastline in mountain terrain with the Mini 5 Pro. Not a generic “best settings” roundup. A real field approach that ties together obstacle avoidance, subject tracking, QuickShots, Hyperlapse, D-Log, and one third-party accessory that can genuinely expand what you can capture.
Start with the mountain, not the drone
Before powering up, study how the landscape will interfere with your plan.
Coastal mountain terrain creates three separate problems:
- Vertical relief — cliffs, ridges, and sudden elevation changes can confuse your visual sense of clearance.
- Wind layering — airflow near a launch point may feel manageable while conditions 50 meters out are far rougher.
- High-contrast lighting — bright water and dark rock in the same frame can push small-camera dynamic range hard.
Those conditions shape how you should use the Mini 5 Pro’s intelligent features. Obstacle avoidance, ActiveTrack, QuickShots, and Hyperlapse are useful here, but only when they are treated as tools with limits, not autopilot magic.
A lot of ruined mountain-coast footage comes from pilots choosing a mode first and a line second. Reverse that. Decide the movement you want, then select the feature that can execute it safely.
Shot planning for coastline terrain
When I’m working a mountain coastline, I usually divide the sequence into four types of shots:
- Anchor establishing shot: wide pullback from cliff edge to reveal the sea
- Contour pass: sideways move tracing the shape of the ridge or shoreline
- Subject-led motion shot: hiker, vehicle, or boat moving through frame with ActiveTrack
- Time-compression shot: Hyperlapse to show cloud movement, tide motion, or changing light
That structure matters because each shot stresses the drone differently.
The reveal shot asks for steady backward movement with solid obstacle awareness. The contour pass tests lateral control in wind. Subject tracking depends on separation between the moving subject and terrain. Hyperlapse rewards patience and stable air more than piloting aggression.
If you know that in advance, you avoid using one mode for everything.
Obstacle avoidance in mountain terrain: useful, but never enough by itself
Obstacle avoidance is one of the first features people mention, but mountain coastlines are where you learn its practical value and its boundaries very quickly.
On a coastline road or open beach, avoidance is mostly an insurance layer. Near cliffs and broken ridges, it becomes part of the workflow. That said, rock faces, sparse branches, uneven terrain, and sharp elevation changes can still produce situations where “the drone can sense obstacles” is not the same as “the drone can solve your route.”
Operationally, this means two things:
- Use obstacle avoidance to support conservative flight lines, not to justify tight ones.
- Leave more side clearance than you think you need when flying laterally along a slope.
That second point matters. Lateral passes are visually powerful in mountain terrain because they show contour. They are also riskier than front-facing reveal shots because the terrain can protrude unpredictably. If the Mini 5 Pro has to decide between braking, drifting, or rerouting near a cliff edge in gusty air, your footage usually suffers before your safety margin does.
I prefer to scout a pass manually first at a slower speed, then repeat it for the take. The first run is not for filming. It is for learning where the terrain lies to you.
ActiveTrack and subject tracking: when it works beautifully, and when it fights the landscape
ActiveTrack is valuable on coastal mountain shoots, especially if your subject is moving through a narrow path, ridge trail, or lookout access road. It frees you to concentrate on composition and altitude rather than manually balancing yaw, pitch, and framing every second.
But the operational significance is this: subject tracking works best when the subject remains visually distinct from the background.
That sounds obvious until you try tracking a hiker wearing dark clothing against dark rock at sunset, with the ocean flashing specular highlights in the background. In those moments, the drone is not just following a person. It is trying to interpret a messy scene with competing visual signals.
So for better tracking results:
- Start tracking when the subject is well separated from the terrain.
- Avoid beginning an ActiveTrack shot right beside bushes, railings, or jagged rock edges.
- Keep the subject moving on a predictable line for the first few seconds.
- Gain altitude early if the trail is bordered by obstacles.
This is where obstacle avoidance and ActiveTrack work together. Subject tracking without a clean clearance buffer is asking too much of any compact drone in mountain terrain. Give the system room to breathe.
For coastline filming, one of my favorite uses is a high three-quarter trailing shot of a hiker moving toward a cliff viewpoint, with the ocean slowly opening in the background. It feels dynamic without requiring reckless proximity flying.
QuickShots are best used as “connective tissue”
QuickShots can be dismissed by experienced pilots, but that is usually because they are treated as centerpiece shots. In a mountain coastline sequence, they work better as transitions.
A short automated reveal, orbit, or pull-away can bridge scenes efficiently. Used sparingly, these clips create pacing. Used constantly, they make the sequence feel templated.
The Mini 5 Pro is well suited to these short-form, repeatable movements because compact drones are often deployed in changing weather where setup time matters. If clouds are moving fast over a ridgeline, there is real value in getting a polished motion shot quickly before the light collapses.
The trick is to choose QuickShots that match the geography.
- Reveal-style moves suit headlands and cliff edges.
- Circular motions work only if there is enough open air around the subject.
- Pull-away shots are strongest when the landscape behind the subject opens dramatically.
Do not force an orbit in cramped terrain just because the mode exists. Coastline mountains are not symmetrical studio spaces. Sometimes the best decision is the simplest one: a straight pullback with stable horizon and good light.
Hyperlapse: where the location does half the storytelling
If there is one feature that deserves more serious use in this environment, it is Hyperlapse.
Mountain coastlines are full of slow movement that our eyes register but normal clips often underplay: cloud shadows crossing slopes, fog sliding through a saddle, tide patterns shifting below a lookout, cars tracing a switchback road, golden light fading off a rock wall. Hyperlapse compresses all that into something the viewer can feel immediately.
Its operational value is not just visual style. It helps establish weather, scale, and time of day in a way standard cinematic passes often cannot.
A few practical rules matter here:
- Fly Hyperlapse only when the air is stable enough for consistent framing.
- Avoid compositions where the horizon occupies the exact center unless that symmetry is intentional.
- Use foreground elements like ridges or cliff edges to emphasize motion parallax.
For mountain coastlines, I like a slight sideward drift rather than a static hover. It gives the clouds and sea movement depth while preserving the terrain’s shape.
Why D-Log matters over water and rock
This is one of the most overlooked parts of shooting coastlines: the scene contrast is brutal.
Dark vegetation, black or brown rock, white foam, reflective water, and bright sky can all sit in one frame. If you want flexibility later, D-Log is worth using. Not because “pro mode” sounds better, but because coastline footage often needs help in both highlights and shadows at the same time.
That is the operational significance of D-Log here. It gives you more room when balancing:
- bright ocean reflections,
- shadowed cliff faces,
- and a sky that can swing from flat gray to intense sunbreaks in minutes.
The tradeoff is simple: D-Log requires a post workflow. If you are not planning to grade, standard color may be the smarter choice. But if your goal is a polished mountain-coast sequence, D-Log is usually the safer capture format, especially during sunrise or late afternoon.
I generally expose cautiously over water. The sea can trick you into pushing brightness too far, and clipped highlights are hard to rescue once the sun starts sparkling off the surface.
The third-party accessory I actually recommend for this scenario
Most accessories sold for compact drones solve imaginary problems. For filming coastlines in mountain terrain, one third-party add-on can genuinely earn space in the bag: an ND filter set.
Not glamorous. Very useful.
When you are shooting over bright water, even mild sunlight can force fast shutter speeds that make motion look harsh and brittle. An ND filter helps you hold more natural motion blur, especially in sweeping passes and Hyperlapse sequences. That gives footage a more controlled, less jittery feel.
This matters even more with a compact platform like the Mini 5 Pro, where every bit of visual refinement counts. The drone may be small, but the scene is enormous. Anything that helps the motion look calmer improves the final result.
If I had to choose one accessory for this kind of work, it would be that. Not extra gimmicks. Just a filter set matched to the light.
A field workflow that keeps the shoot efficient
Here is the sequence I use when time and weather are limited:
1. Launch from the safest high-visibility point
Do not launch from the “most cinematic” spot if it compromises return visibility or GPS confidence. In mountain terrain, a smart launch point saves more shots than an ambitious one.
2. Fly a short reconnaissance leg
Check wind behavior, horizon stability, and how the coastline reads from altitude. This is where you discover if the shot in your head actually works.
3. Capture the anchor reveal first
Conditions usually worsen or change. Get the broad establishing shot while your battery, concentration, and light are all fresh.
4. Move to ActiveTrack shots next
If you are filming a hiker or vehicle, do those while subject energy is still high and communication is clear.
5. Use QuickShots for transitions
Collect two or three. Not ten. Think edit support, not feature overload.
6. Save Hyperlapse for the best atmospheric moment
Cloud build-up, tide shift, moving fog, or sunset transition. Hyperlapse earns its place when the environment is visibly changing.
7. Review exposure before the final battery
Coastline conditions can drift quickly. A setting that worked 20 minutes ago may now be clipping sky or crushing detail in the rocks.
Small drone, serious discipline
The Mini 5 Pro format encourages spontaneity. That is one of its strengths. You can hike with it, relocate fast, and react to changing conditions without carrying a large flight case through mountain paths.
But compact drones also tempt people into careless flying because the aircraft feels approachable. That is the wrong mindset for coastal mountain work. The environment is still complex. Wind still matters. Terrain still lies. Automation still has blind spots.
The pilots who get the best footage here are not the ones who push the drone hardest. They are the ones who simplify the mission. One clean reveal. One controlled tracking shot. One well-timed Hyperlapse. One gradeable D-Log sequence. That is often enough to build a strong edit.
If you are trying to refine your own mountain-coast setup or compare accessory options for the Mini 5 Pro, I’d suggest sending your shooting scenario through this direct WhatsApp line: message a drone specialist here. A short conversation about terrain, light, and filters can save a wasted trip.
Final shooting checklist for Mini 5 Pro on a mountain coastline
Before takeoff, confirm these basics:
- obstacle avoidance is enabled and understood as a safety layer, not a route planner
- ActiveTrack is only used where the subject can stay visually distinct
- QuickShots are selected to fit the landform, not the other way around
- Hyperlapse is reserved for stable air and visible environmental change
- D-Log is chosen when you expect to grade high-contrast footage later
- ND filters are packed for bright sea reflections and smoother motion rendering
That combination makes sense for this exact kind of location. It is not theory. It is a practical way to get more usable footage from a small aircraft in one of the most visually rewarding and operationally tricky environments a creator will face.
Ready for your own Mini 5 Pro? Contact our team for expert consultation.