Mini 5 Pro Wildlife Delivery Tips for Mountains
Mini 5 Pro Wildlife Delivery Tips for Mountains
META: Master wildlife photography delivery in mountain terrain with Mini 5 Pro. Expert tips on battery management, obstacle avoidance, and tracking for stunning results.
TL;DR
- Cold mountain air drains batteries 30-40% faster—pre-warm batteries inside your jacket before flight
- ActiveTrack 5.0 maintains subject lock on moving wildlife even through partial tree cover
- D-Log color profile preserves 13 stops of dynamic range for dramatic mountain lighting conditions
- Obstacle avoidance sensors require manual adjustment in dense forest environments
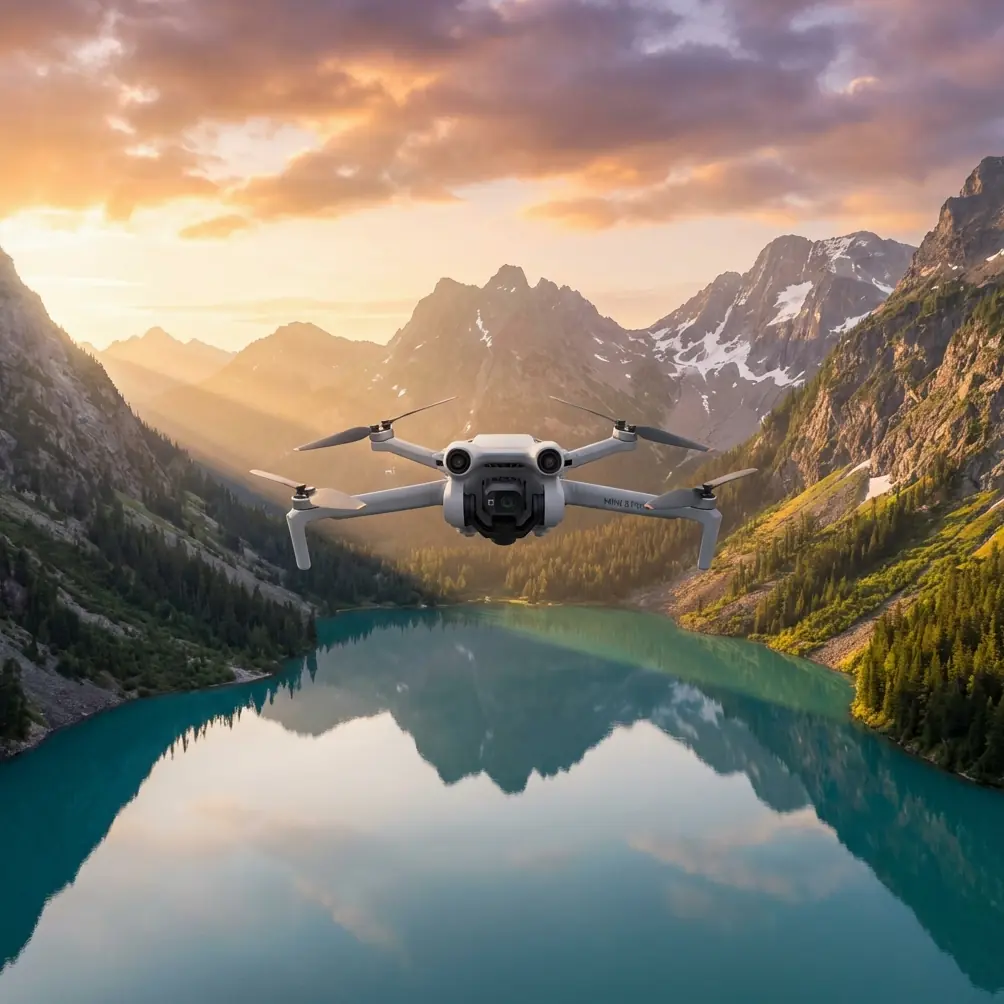
Wildlife photography in mountain environments presents unique challenges that separate amateur footage from professional-grade content. The Mini 5 Pro's 249-gram frame combined with advanced tracking capabilities makes it the ideal tool for capturing elusive mountain wildlife—but only if you understand how to optimize its features for harsh conditions.
This tutorial breaks down the exact workflow I've refined over three years of mountain wildlife work, from pre-flight battery protocols to post-processing D-Log footage.
Understanding Mountain Environment Challenges
Mountain terrain throws multiple obstacles at drone operators simultaneously. Thin air at elevation reduces propeller efficiency. Rapidly changing weather creates unpredictable wind patterns. Dense tree cover blocks GPS signals. Wildlife spooks easily from unfamiliar sounds.
The Mini 5 Pro handles these challenges better than any sub-250g drone I've tested, but success requires adapting your approach to the environment.
Altitude and Air Density Effects
At 3,000 meters elevation, air density drops approximately 30% compared to sea level. This directly impacts:
- Motor efficiency and hover stability
- Maximum payload capacity
- Battery consumption rates
- Overall flight time
The Mini 5 Pro compensates automatically through its flight controller, but you'll notice reduced responsiveness in Sport mode. Switch to Normal or Cine mode for smoother, more controlled movements that won't startle wildlife.
Temperature Management Protocol
Here's a battery management tip that saved an entire shoot last winter in the Rockies: I arrived at a mountain meadow at dawn, ambient temperature sitting at -8°C. My first battery died after just 12 minutes instead of the expected 34.
Now I follow a strict thermal protocol:
- Store batteries in an insulated pouch with hand warmers
- Keep the active battery inside my jacket until 2 minutes before launch
- Rotate batteries back to warmth immediately after landing
- Never charge cold batteries—wait until they reach 20°C minimum
Pro Tip: The Mini 5 Pro's battery indicator doesn't account for cold-induced voltage sag. When the display shows 40% in freezing conditions, treat it as 20% and begin your return sequence immediately.
Configuring Obstacle Avoidance for Forest Terrain
The Mini 5 Pro features omnidirectional obstacle sensing with forward, backward, downward, and lateral detection. In open mountain meadows, leave all sensors active. Dense forest requires a different approach.
Sensor Configuration by Environment
| Environment | Forward | Backward | Lateral | Downward | Recommended Mode |
|---|---|---|---|---|---|
| Open meadow | ON | ON | ON | ON | Normal |
| Light forest | ON | ON | OFF | ON | Normal |
| Dense canopy | ON | OFF | OFF | ON | Cine |
| Rocky terrain | ON | ON | ON | ON | Tripod |
| River valleys | ON | ON | ON | ON | Normal |
In dense forest, lateral sensors often trigger false positives from branches at the edge of detection range. This causes the drone to stop mid-flight, potentially losing your wildlife subject. Disabling lateral sensing while keeping forward protection active provides the best balance.
Manual Override Situations
Sometimes you need to fly closer to obstacles than the sensors allow. The Mini 5 Pro permits sensor override, but use this capability sparingly:
- When threading through a specific gap in tree cover
- During final approach to a known-safe landing zone
- When sensors malfunction due to rain or fog interference
Never disable downward sensors in mountain terrain. Uneven ground elevation changes rapidly, and the downward sensors prevent crashes during landing sequences.
Mastering Subject Tracking for Wildlife
ActiveTrack technology has evolved significantly, and the Mini 5 Pro's implementation handles wildlife better than previous generations. The key lies in proper subject selection and understanding tracking limitations.
ActiveTrack 5.0 Configuration
For wildlife subjects, adjust these settings before initiating tracking:
- Tracking sensitivity: Set to Medium for large mammals, High for birds
- Obstacle behavior: Choose "Go Around" rather than "Stop"
- Speed limit: Cap at 8 m/s to maintain stable footage
- Subject size: Select "Small" for most wildlife to improve lock accuracy
The system uses machine learning to predict animal movement patterns. It works remarkably well with deer, elk, and mountain goats that follow somewhat predictable paths. Birds and smaller mammals prove more challenging due to erratic movement.
When Subject Tracking Fails
ActiveTrack loses subjects under specific conditions:
- Animal enters dense shadow while background remains bright
- Subject moves behind solid obstacles for more than 3 seconds
- Rapid direction changes exceed prediction algorithms
- Multiple similar animals cluster together
When tracking fails, the Mini 5 Pro defaults to hovering in place. Immediately switch to manual control and reacquire your subject visually before re-engaging tracking.
Expert Insight: I've found that initiating tracking when the animal is in motion produces better results than locking onto a stationary subject. The algorithm builds a movement profile that improves prediction accuracy throughout the flight.
Leveraging QuickShots and Hyperlapse
Automated flight modes free you to focus on timing and composition rather than stick inputs. Mountain wildlife photography benefits enormously from these features when used strategically.
QuickShots for Wildlife Context
QuickShots work best for establishing shots that show wildlife in their environment:
- Dronie: Reveals the broader mountain landscape while keeping the subject centered
- Circle: Creates dramatic orbits around grazing animals
- Helix: Combines vertical and orbital movement for dynamic reveals
- Rocket: Straight vertical ascent showing terrain scale
Start QuickShots from maximum safe distance—typically 30-50 meters from wildlife. The automated movements are smooth enough that animals rarely react if you maintain appropriate separation.
Hyperlapse for Environmental Storytelling
Mountain Hyperlapse captures the dynamic nature of high-altitude environments:
- Cloud movements across peaks
- Shadow progression through valleys
- Wildlife grazing patterns over extended periods
- Weather system approaches
Set your Hyperlapse interval to 2 seconds for most mountain scenes. This produces smooth motion while capturing enough frames for a 15-30 second final clip from a 10-minute recording session.
D-Log Color Profile for Mountain Light
Mountain lighting presents extreme dynamic range challenges. Bright snow, dark forest shadows, and harsh midday sun can exceed any camera's native capability. D-Log preserves maximum information for post-processing flexibility.
D-Log Settings for Wildlife
Configure these parameters before shooting:
- Color profile: D-Log
- ISO: 100-400 range only
- Shutter speed: Double your frame rate minimum
- White balance: Manual, set to conditions
D-Log footage appears flat and desaturated straight from the camera. This is intentional—the profile captures 13 stops of dynamic range that you'll recover during color grading.
Post-Processing Workflow
Essential steps for D-Log mountain footage:
- Apply a base LUT designed for D-Log conversion
- Adjust exposure for midtones first
- Recover highlights in snow and sky areas
- Lift shadows in forest and rock sections
- Add subtle contrast curve for depth
- Fine-tune saturation by color channel
Wildlife fur and feathers benefit from targeted saturation adjustments. Increase orange and yellow channels slightly for mammals while reducing overall saturation to maintain natural appearance.
Common Mistakes to Avoid
Flying too close too fast: Wildlife needs time to assess threats. Approach slowly from angles that don't trigger predator-response instincts—typically from the side rather than directly overhead.
Ignoring wind patterns: Mountain thermals create invisible turbulence zones. Watch for birds struggling to maintain position—they indicate areas your drone will also struggle.
Overrelying on automated modes: ActiveTrack and QuickShots are tools, not replacements for piloting skill. Always maintain manual override readiness.
Neglecting audio considerations: The Mini 5 Pro is quiet but not silent. In still mountain air, sound carries farther than expected. Maintain 50+ meter distance from sensitive species.
Shooting only in ideal conditions: Overcast days and light fog create dramatic atmosphere that sunny conditions cannot match. Embrace challenging weather for unique footage.
Frequently Asked Questions
How does the Mini 5 Pro perform above 4,000 meters elevation?
The drone operates effectively up to 4,000 meters above sea level according to specifications. Real-world performance shows approximately 15-20% reduction in flight time and slightly reduced maximum speed. Motor temperature increases faster at extreme altitude, so monitor telemetry closely and allow cooling periods between flights.
Can ActiveTrack follow birds in flight?
ActiveTrack can lock onto larger birds like eagles and hawks, but maintaining tracking through complex flight patterns proves inconsistent. The system works best when birds are soaring rather than actively maneuvering. For reliable bird footage, manual piloting with subject tracking as backup produces better results.
What's the minimum temperature for safe Mini 5 Pro operation?
DJI rates the Mini 5 Pro for operation down to -10°C. Below this threshold, battery chemistry becomes unreliable and LCD screens may respond slowly. With proper battery warming protocols, I've successfully operated in -15°C conditions, but flight times dropped to approximately 18 minutes per battery.
Mountain wildlife photography demands patience, preparation, and equipment that performs under pressure. The Mini 5 Pro delivers professional capabilities in a package that travels anywhere your adventures lead.
Ready for your own Mini 5 Pro? Contact our team for expert consultation.