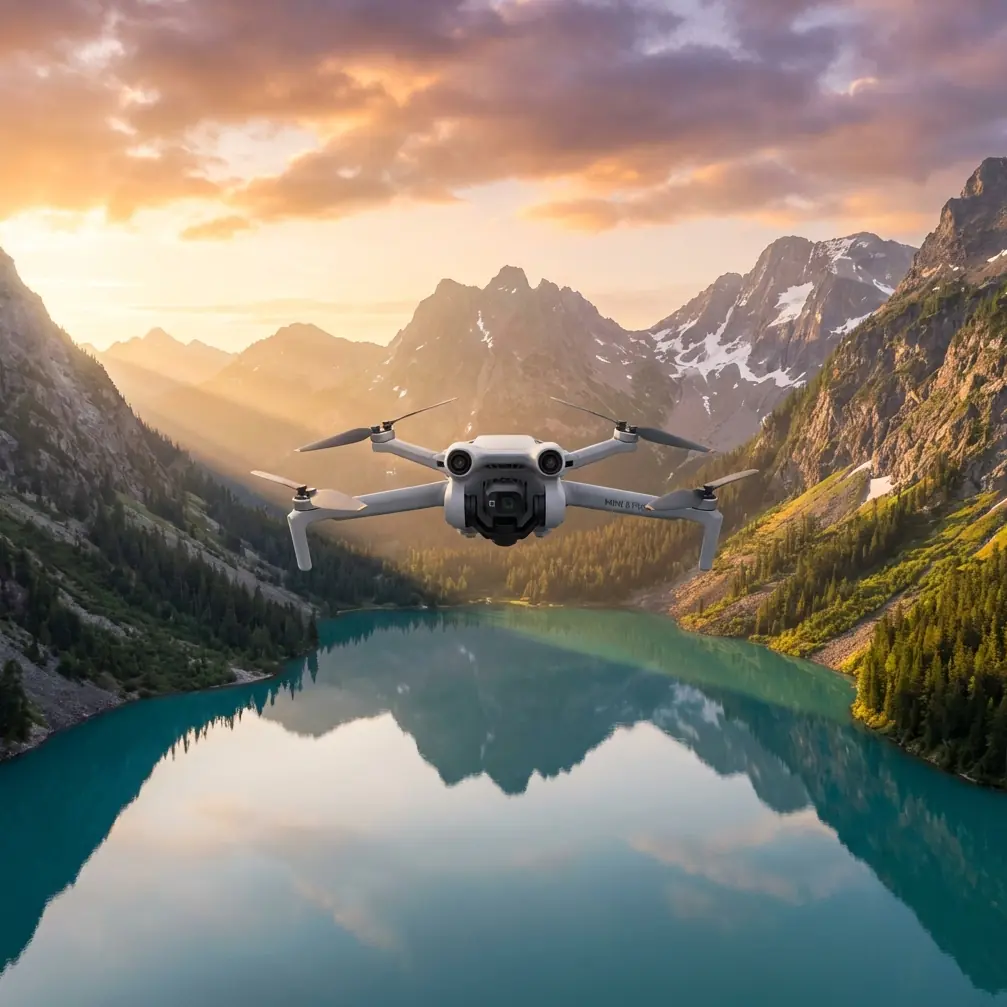
Mini 5 Pro for Solar Farm Capture in Extreme Temperatures
Mini 5 Pro for Solar Farm Capture in Extreme Temperatures: What Railway Survey Work Teaches Us
META: A field-driven look at using Mini 5 Pro for solar farm imaging in extreme heat and tough RF conditions, with lessons drawn from proven UAV mapping workflows in large corridor surveys.
Solar farms look simple from the air until you try to document one properly.
Rows repeat. Glare shifts by the minute. Heat shimmer softens detail. Inverter stations and transmission equipment can complicate signal behavior. And when the site is huge, the real problem is not getting a few dramatic shots. It is building a reliable workflow that holds up across a long day, a large footprint, and a dataset that people can actually use.
That is where the most useful lessons for Mini 5 Pro operators come from an unexpected place: professional railway aerial surveying.
I have spent enough time around both photographers and mapping crews to see the overlap. A cinematic pilot might think in terms of framing, motion, and light. A survey team thinks in terms of consistency, coverage, and measurable output. On a solar project in extreme temperatures, you need both mindsets at once.
The reference case that stands out here involved a high-speed rail project in southwest China, covering about 70 square kilometers in an irregular corridor. The deliverable was a 1:2000 topographic map, captured by UAV at an average relative flight altitude of 600 meters with a 0.15 meter ground resolution, producing roughly 2,000 images. The team split the work into 4 sub-areas, processed each separately in Pix4Dmapper, then merged them into one final result.
If you operate a Mini 5 Pro around utility-scale solar assets, that workflow logic matters more than the airframe mismatch might suggest.
Why a railway mapping case matters to solar farm work
Rail corridors and solar farms share a few operational headaches.
Neither is truly “simple” just because the geometry repeats. Both often involve elongated or irregular project footprints. Both demand a mix of overview capture and closer inspection. Both can punish weak planning because coverage gaps are easy to miss on-site and expensive to fix later. And both can create environmental stress that exposes every shortcut in your workflow.
Traditional rail terrain mapping depended heavily on manual field measurement, which was labor-intensive, slow, and vulnerable to terrain and weather. That same inefficiency shows up when solar farm teams rely on ad hoc manual drone capture with no segmentation plan. You may come home with a full memory card and still not have a usable visual record of combiner boxes, panel row alignment, drainage channels, road access, and edge conditions.
The railway team solved scale with structure. They did not treat a 70 square kilometer area as one giant mission. They broke it into four computationally manageable sections and only merged after processing. For Mini 5 Pro users, that principle is gold.
On a solar farm, do not fly the entire site as one vague creative outing. Divide the site into operational blocks based on row orientation, inverter clusters, service roads, terrain changes, or grid tie sections. That makes your capture safer, your batteries easier to manage in extreme temperatures, and your post-production far more coherent.
Extreme heat changes how you should think about the Mini 5 Pro
Solar farms are often at their most visually revealing when the environment is least comfortable for the pilot. High irradiance days create the brightest panel reflections, the strongest thermal stress on site equipment, and the harshest atmospheric conditions for visual work.
Even if the Mini 5 Pro is built for compact field deployment rather than heavy industrial surveying, the operating philosophy from professional systems still applies: lightweight efficiency matters, but durability and predictable setup matter more.
One detail from the reference data that deserves attention is the design of the iFly D1, a professional multirotor built with imported carbon fiber prepreg, using three-blade hollow carbon fiber propellers, and rated for operations up to 5,000 meters altitude. That platform exists for tough environments where lift, strength, and transport efficiency matter. No, the Mini 5 Pro is not that aircraft. But the operational lesson is clear: when conditions are punishing, you do not win by improvising. You win by minimizing avoidable setup friction and preserving flight stability.
For solar crews, that means arriving with a disciplined launch routine:
- pre-plan mission blocks before stepping into the heat
- keep batteries temperature-managed before takeoff
- verify compass and signal behavior away from dense electrical equipment
- confirm return path logic before moving deeper into repetitive panel rows
Heat drains attention before it drains hardware. Most bad flights on solar sites begin there.
The overlooked issue: electromagnetic interference and antenna adjustment
People talk a lot about wind and glare at solar farms. They do not talk enough about electromagnetic interference.
The problem is not that every solar site is hostile to small drones. The problem is that interference can be local, inconsistent, and easy to misread. Around inverters, transformers, monitoring equipment, or adjacent transmission infrastructure, you may notice signal quality changing even when line of sight looks perfect.
This is where antenna handling stops being a footnote.
When I am working a large solar array, I avoid assuming that “open sky” equals clean signal. If the feed starts to behave unpredictably, I adjust my body position and controller orientation first, then reassess the aircraft heading relative to me. Small changes in antenna alignment can make a meaningful difference, especially when long parallel panel rows encourage you to keep flying straight into marginal reception.
Operationally, the smart move is simple: do not let the aircraft get far down a corridor before you confirm the link is stable from that part of the site. Fly a shorter proving leg, evaluate signal consistency, adjust antenna direction deliberately, and only then continue.
That kind of discipline mirrors the railway survey mindset. In the rail case, the team did not force all the imagery into one processing event and hope it worked. They structured complexity into manageable units. You should do the same with live RF conditions. Treat each zone as its own communications environment until proven otherwise.
Mini 5 Pro features such as obstacle avoidance and ActiveTrack are useful, but neither should become a crutch around electrical infrastructure. Obstacle sensing helps around fencing, lighting poles, maintenance sheds, and uneven terrain transitions. ActiveTrack can be useful for maintenance vehicle follow sequences or road-access context shots. But signal integrity remains the foundation. If the link is poor, the smartest autonomy feature in the world is still operating on a weak conversation.
Planning a solar farm shoot like a mapping project
The strongest idea in the railway source material is not the aircraft. It is the workflow.
That survey used Pix4Dmapper to process each of the 4 sub-areas separately, then merged the projects for final data extraction. For a Mini 5 Pro operator, especially one wearing both photographer and documentation lead hats, the direct adaptation is this: capture for assembly, not just for moments.
A practical structure looks like this:
1. Establish the site grid
Define sectors based on panel orientation and access roads. If the site is irregular, resist the urge to impose tidy rectangles that ignore the real layout. Follow the site logic, not your map app’s convenience.
2. Shoot each block with a purpose
One pass for broad overview. One pass for lower-elevation reveal angles. One pass for key asset nodes: inverters, substations, perimeter fencing, drainage paths, and access roads.
3. Keep overlap in mind
Even if your final deliverable is not a formal orthomosaic, overlap gives you options later. The rail team generated dense point cloud outputs and used them for direct measurement of length, area, and earthwork volume. That matters because a well-captured image set can evolve from “marketing visuals” into planning support.
On solar projects, clients often realize after the flight that they want row counts, laydown area documentation, construction progress comparison, vegetation encroachment evidence, or road-length context. Coverage discipline protects you from reshoots.
4. Process in sections
Large, repetitive visual environments are post-production traps. Segment first. Color-balance and organize by block. Then build the site-wide story.
That is how you keep a Mini 5 Pro workflow from collapsing under its own convenience.
What the rail case says about detail capture
The reference project’s 0.15 meter ground resolution is not just a nice technical stat. It tells you how seriously the team treated usable detail. They were not flying to produce a vague impression of terrain. They were capturing imagery that could support measurement.
For solar farm work, that same discipline changes how you frame your flights.
A high pass should answer site-scale questions:
- How is the array distributed across the parcel?
- Where are the access roads and operational choke points?
- What terrain or drainage patterns interact with the installation?
A lower pass should answer asset questions:
- Are panel rows visually consistent?
- Are maintenance roads intact and passable?
- Is there obvious encroachment, pooling, shading, or alignment drift?
A cinematic pass should answer communication questions:
- Can a stakeholder unfamiliar with the site understand its scale and layout quickly?
- Can the project team use the visuals in reports, investor updates, or progress briefings?
This is where D-Log becomes genuinely useful. In harsh sun, especially over reflective panel surfaces, preserving highlight latitude can save a sequence that standard profiles would clip. Hyperlapse and QuickShots also have a place, but mostly as supporting tools. A controlled Hyperlapse from the perimeter can show site scale and atmospheric conditions elegantly. QuickShots can provide polished establishing angles for nontechnical audiences. Still, on a working solar job, these are secondary to repeatable documentation passes.
Fixed-wing thinking, even when flying a compact multirotor
Another useful reference detail is the iFly U3 fixed-wing platform: built from full aviation composite material, with a downturned wingtip design for greater stability, plus catapult launch and precision parachute recovery for efficient mapping operations.
Again, the point is not that Mini 5 Pro users should imitate a fixed-wing airframe. The point is that professional survey systems are built around mission efficiency and stable coverage. They are not chasing novelty. They are reducing wasted movement.
When flying a Mini 5 Pro over a solar farm, fixed-wing thinking means:
- fewer decorative route changes
- longer clean lines along array geometry
- more attention to consistent altitude relative to terrain
- less stopping and restarting unless the task requires it
It also means accepting that not every flight should try to do everything. One battery for overviews. One for low contextual passes. One for detail sectors. Separating objectives usually produces cleaner footage and fewer omissions.
When visual storytelling and operational value meet
My own bias as a photographer is to care deeply about how a site feels from the air. But industrial clients rarely need mood alone. They need imagery that carries evidence.
The rail survey source makes that clear. Their UAV data supported length, area, and earthwork volume calculations, not just pictures. That is the standard solar operators should aim toward even when using a smaller platform. A Mini 5 Pro flight can be beautiful and still be useful enough to support planning conversations.
That only happens if the pilot understands what the site team may ask for later.
If you are documenting a solar farm in extreme temperatures, think beyond the hero shot:
- construction sequencing
- drainage after weather events
- equipment access
- vegetation management
- row continuity across terrain undulation
- perimeter condition over time
Those are the images that earn repeat assignments.
If you need a practical workflow discussion for your own site conditions, including controller positioning and antenna habits around interference-prone zones, you can message the field team here.
The real Mini 5 Pro advantage on solar sites
On paper, a compact drone can look outmatched by heavy survey platforms. In practice, the Mini 5 Pro’s advantage is speed of deployment and low-friction repositioning. On a solar farm, that matters. You may need to move between blocks quickly, react to thermal haze windows, and capture short intervals of cleaner light before shimmer builds.
But convenience only becomes professional value when it is paired with survey-grade thinking.
The railway case proves the broader point. Large-area aerial work succeeds when it is segmented, processed methodically, and captured with the end use in mind. Whether the mission is a 70 square kilometer rail corridor or a utility-scale solar site under punishing heat, the same rule applies: structure beats improvisation.
Use obstacle avoidance because sites are cluttered in ways maps do not show. Use ActiveTrack when it supports a specific operational story. Use D-Log when reflective surfaces threaten highlight detail. Use QuickShots and Hyperlapse sparingly, where they add clarity rather than noise. And when the signal behaves strangely near electrical infrastructure, slow down, reassess antenna orientation, and treat the problem as a local environmental variable rather than a mystery.
That is how a Mini 5 Pro stops being just a convenient camera drone and starts acting like a credible tool for serious solar farm documentation.
Ready for your own Mini 5 Pro? Contact our team for expert consultation.