Mini 5 Pro on Windy Solar Farms: A Field Mapping Case Study
Mini 5 Pro on Windy Solar Farms: A Field Mapping Case Study That Actually Holds Accuracy
META: A practical Mini 5 Pro case study for windy solar farm capture, covering control point spacing, terrain-related accuracy risks, and field techniques that reduce warp in photogrammetry outputs.
I’ve photographed a lot of infrastructure sites where the drone gets the credit, but the deliverable quality was decided long before takeoff. Solar farms are a perfect example. They look orderly from a distance—repeating rows, consistent geometry, broad access lanes—but once you start planning a real mapping mission, especially in wind, the site stops being simple. The panel rows create repetitive visual patterns. Reflective surfaces can weaken tie-point confidence. Terrain may appear flat until you discover subtle grade changes, drainage berms, cable trenches, and vegetation pockets around the perimeter.
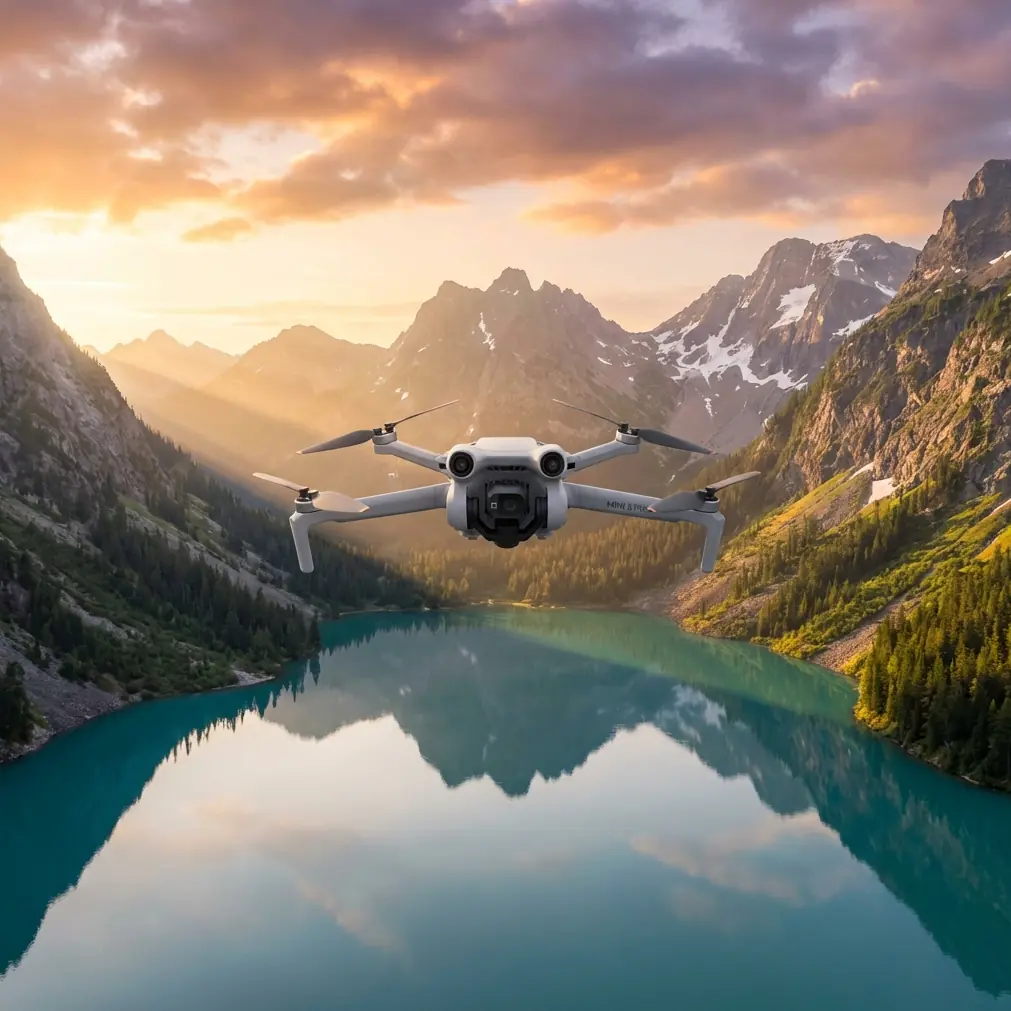
That’s where the Mini 5 Pro becomes interesting.
Not because it magically fixes survey logic. It doesn’t. But in a windy solar environment, a lightweight aircraft that can be deployed quickly, flown low and deliberately, and paired with a disciplined ground-control strategy can produce very usable photogrammetry outputs. The core lesson from this case study is straightforward: on solar farms, success with the Mini 5 Pro is less about chasing cinematic specs and more about controlling geometry, image interpretation, and point placement.
The project setup
The job was a solar installation spread across undulating ground, with long panel corridors and exposed sections that funneled wind across the site. The client wanted imagery suitable for progress documentation and model generation for planning overlays. This wasn’t a glamor shoot. It was an operational capture where consistency mattered more than flair.
The Mini 5 Pro made sense for a few reasons. First, access was tight and time windows were short. Second, wind at solar farms is often stronger than expected because the sites are open, unshaded, and free of tall obstructions. A compact platform lets you work fast between gust cycles. Third, I wanted flexible capture options: standard nadir for broad mapping, plus selective oblique passes to help with edge conditions, inverter pads, fencing, and utility structures.
I also added a third-party landing pad and high-contrast ground marker kit, which ended up being more valuable than many people would expect. On dusty gravel service roads, the landing pad reduced contamination during repeated takeoffs. The marker kit mattered even more: strong contrast on the ground dramatically improves point identification later, especially when your scene includes repetitive panel rows and visually noisy maintenance tracks.
Why solar farms can fool mapping workflows
A lot of pilots assume solar farms are easy because they’re open. In reality, they can be punishing for aerial triangulation if your control is lazy.
The reference guidance behind this article includes one point that deserves more attention in Mini 5 Pro workflows: for a typical sortie, five control points may be enough if they’re placed at the four corners and one reinforced point in the middle. That sounds efficient, and on a well-behaved site, it often is. But the same guidance also warns that when terrain relief is stronger or vegetation is more complex, control must be densified. If it isn’t, or if the points are spread unevenly across the flight area, the result can be warping and adjustment accuracy that fails specification.
That warning is not theoretical.
On a solar farm, “mostly flat” can still hide enough elevation variation to distort the model. A perimeter drainage swale, a raised equipment pad, a sloped access spine, or a patch of overgrowth near the fence line can all weaken uniformity across the block. If your control points cluster near easy access roads while the far edges remain underconstrained, the model may look fine at first glance but drift when checked against site features. That’s how small field shortcuts turn into expensive office corrections.
The Mini 5 Pro workflow that worked
I approached this Mini 5 Pro mission in two layers.
The first layer was coverage: clean, repeatable mapping passes built for consistent overlap. In wind, I resist the temptation to rush. Faster isn’t always safer for photogrammetry. Slightly more conservative flight lines help preserve image consistency and reduce the chance of yaw deviations or irregular framing between rows.
The second layer was verification: targeted oblique imagery over problem zones. This matters because solar farms contain areas where a nadir-only dataset can struggle—substation corners, fencing transitions, drainage features, and utility elements at different heights. Even if the deliverable is primarily a top-down map, supplementary oblique imagery can help the processing stage maintain stronger geometry.
The reference material specifically addresses oblique photogrammetry through a ContextCapture-oriented recommendation: a control point interval of roughly one point per 20,000 to 40,000 pixels based on the final aerial triangulation feature-point cloud. If you have differential POS data, the spacing can be relaxed toward 40,000 pixels. Without differential POS, the recommendation is stricter: at least one control point every 20,000 pixels.
That detail has real operational significance for Mini 5 Pro users, because most compact drones in this class are not being deployed with the same positional certainty as larger dedicated survey platforms. In practical terms, that means you should not borrow sparse-control habits from aircraft carrying higher-grade positioning data and expect the same result. If your positional starting point is less precise, your ground control strategy has to work harder. On a windy solar site with repetitive surfaces, that becomes even more critical.
Control points: where the mission was won
This was the deciding factor.
Instead of treating control points like a formality, I treated them as the structural frame of the model. The basic corner-plus-center layout was used as the starting pattern, but not the final answer. Because the site had terrain variation and a few visually weak areas near vegetation and water retention features, extra points were added beyond the minimum. That aligned directly with the source guidance: increase control where terrain is highly variable, where there’s extensive vegetation, or where broad water surfaces leave you with too few usable feature points.
Solar farms often have another hidden issue: repeated textures. One row of panels can look a lot like the next. That repetition can confuse matching quality if the dataset isn’t anchored well. Ground control breaks that ambiguity.
The reference source also includes a less glamorous but very useful field criterion for selecting recognizable point targets: choose objects that appear in the original imagery as a point feature no larger than 3×3 pixels, located in places with relatively small elevation changes, long-term stability, and clear measurability. That sounds technical, but in the field it translates into a practical rule: don’t mark sloppy targets, and don’t choose unstable or ambiguous features. If the center of the point can’t be identified confidently in the image, it’s a weak control point no matter how carefully it was measured on the ground.
For this solar farm, I preferred high-contrast markers placed where they would remain stable and unobstructed through the full capture session. The third-party marker kit helped here because the contrast held up well against gravel, compacted soil, and sparse vegetation. Before the main flight, I ran a short test pass to confirm the markers were actually identifiable in the imagery. That step mirrors another detail from the reference material: where possible, fly a few test images before the full mission to verify that ground markers are correctly recognizable in the image set. It’s a simple habit, and it saves a lot of frustration later.
Wind changes more than flight handling
People usually talk about wind in terms of aircraft stability. That’s only part of the problem.
On solar farms, wind changes how you sequence the work. If gusts increase later in the day, your most accuracy-sensitive lines should be flown first. If a perimeter section is exposed and another area is partially sheltered by terrain, don’t assume one mission profile fits both. Wind also influences how much confidence you should place in long, sparse control spacing. Even if the aircraft performs well, the aggregate effect of small deviations across a repetitive site can show up in processing.
This is why obstacle avoidance and route awareness still matter in what looks like an open site. Solar farms have fences, poles, CCTV masts, combiner boxes, tracker mechanisms, and occasional maintenance vehicles. The Mini 5 Pro’s obstacle-sensing and subject-awareness features are useful, but I don’t use them as a substitute for planning. I use them as a margin of safety while staying focused on image geometry.
The same goes for ActiveTrack and QuickShots. They have their place for client-facing progress visuals, but they are not the backbone of a mapping deliverable. On this assignment, I separated production goals. Mapping passes were flown for structure and repeatability. Only after that did I capture a few supplementary clips for site storytelling. Hyperlapse and tracking modes can make a solar site feel more alive in a presentation, but if they distract from the disciplined acquisition of the core dataset, they’re being used at the wrong time.
D-Log, reflectivity, and why image style still matters
One challenge at solar farms is panel reflectivity. Even when the sun angle isn’t creating dramatic glare, the surfaces can still produce tonal compression that makes visual review and interpretation harder than expected. For non-mapping footage intended for client communication, I like having D-Log available because it preserves more flexibility when balancing the contrast between dark panel surfaces, pale service roads, and bright sky.
That said, for photogrammetry, consistency beats creativity. You want image sets that are predictable, sharp, and easy for software to digest. A Mini 5 Pro operator working in wind should think like a technician first and a filmmaker second during the survey portion of the day.
Field notation is boring until it saves the project
Another detail in the reference document deserves respect: control point identification and notation. It specifies a structured numbering scheme using “P” plus four digits for one class of point, shown in red, and “J” plus four digits for another class, shown in blue—for example P0001 to P1999 and J0001 to J1999, with separate ranges used for different scale requirements.
Most Mini 5 Pro users won’t need to copy that exact administrative scheme, but the principle is operationally significant: point management must be unambiguous. On a large solar site with multiple sorties, repeated rows, and several field technicians, casual naming becomes a liability. Clear IDs reduce office confusion, prevent mismatches during aerotriangulation, and make it easier to audit problems if one section processes poorly.
I’d go one step further: if your team is building repeatable commercial workflows around compact drones, standardize your point naming before the next job, not during it. The aircraft is only one part of a reliable system.
The practical takeaway for Mini 5 Pro users
This project reinforced something I’ve seen again and again: compact drones can deliver serious results on infrastructure sites, but only when the operator respects the survey fundamentals.
For a windy solar farm, the Mini 5 Pro is most effective when you do four things well:
- Start with a control framework that matches the site, not your convenience.
- Add extra points when terrain, vegetation, or weak-feature areas demand it.
- Verify marker visibility before the full mission.
- Separate mapping logic from cinematic capture modes.
If you skip the second step, you risk the exact failure the reference warns about: uneven or insufficient control leading to warp and adjustment quality that misses the required accuracy. If you ignore the third, you may discover too late that your beautifully measured targets were barely interpretable in the images. And if you lean too heavily on automation without understanding site geometry, the Mini 5 Pro becomes underused in the one area that matters most—data reliability.
For operators working regularly in renewable energy, this is where the Mini 5 Pro earns its place. It’s not just a small drone for quick visuals. In the right hands, with disciplined control placement and sensible field verification, it can support real documentation and mapping tasks on difficult, windy sites.
If you’re building out a solar-farm workflow and want to compare marker setups or deployment ideas, I’ve found it useful to swap field notes directly here.
What made this case successful wasn’t one headline feature. It was the combination of a nimble aircraft, a careful ground-control plan, and the willingness to densify points when the site stopped behaving like a simple flat rectangle. That’s the difference between pretty aerial coverage and a dataset you can trust.
Ready for your own Mini 5 Pro? Contact our team for expert consultation.