Mini 5 Pro: Mastering Highway Shots in Low Light
Mini 5 Pro: Mastering Highway Shots in Low Light
META: Learn how to capture stunning highway footage in low light with the Mini 5 Pro. Expert tips on D-Log, obstacle avoidance, and ActiveTrack settings.
TL;DR
- Clean your obstacle avoidance sensors before every low-light flight to ensure safety systems function at full capacity over busy highways
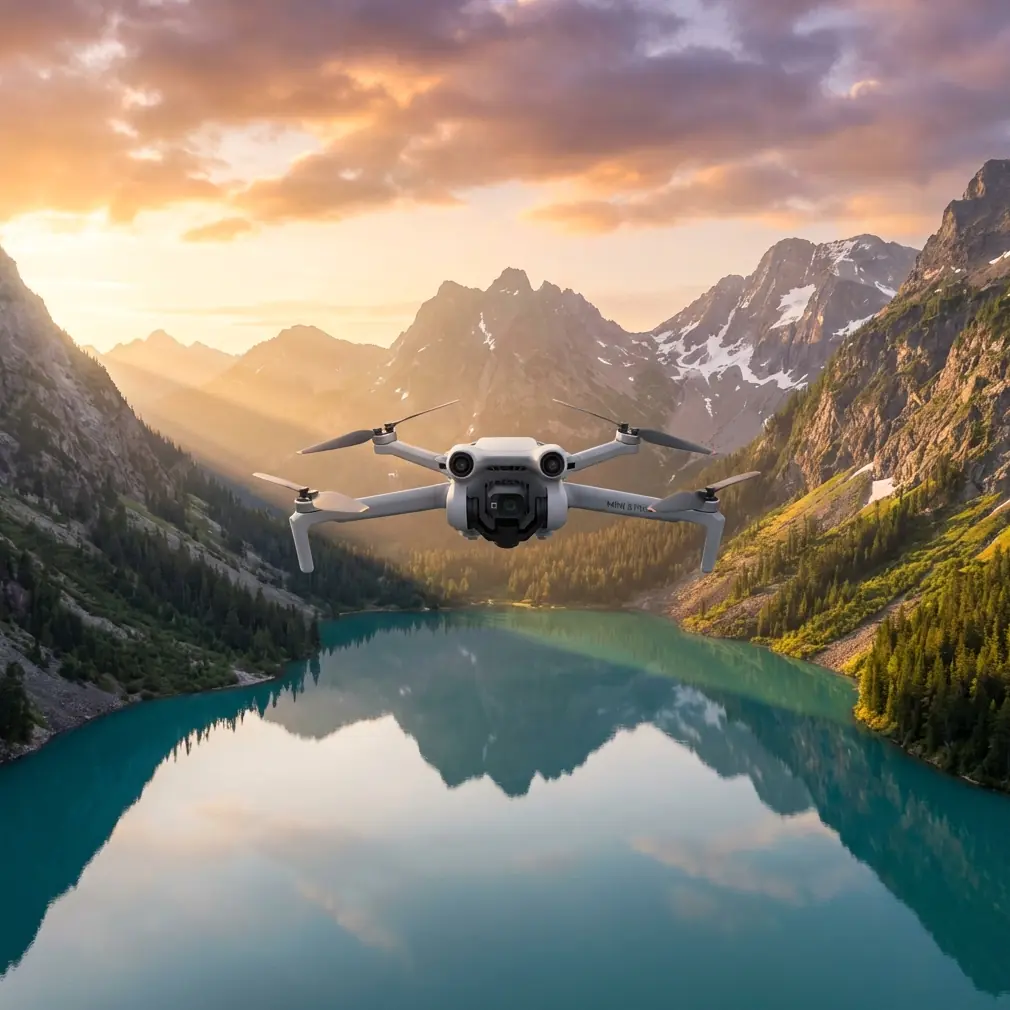
- The Mini 5 Pro's 1/1.3-inch CMOS sensor and D-Log color profile unlock cinematic highway footage even in challenging twilight conditions
- ActiveTrack and Subject tracking can lock onto moving vehicles, but they require specific configuration adjustments after dark
- Proper Hyperlapse and QuickShots settings transform ordinary highway overpasses into breathtaking light-trail compositions
Why Highway Low-Light Photography Demands a Capable Sub-249g Drone
Shooting highway scenes after sunset is one of the most technically demanding tasks for any drone pilot. The Mini 5 Pro gives you a sub-249g airframe with a sensor large enough to pull clean, noise-free images from near-darkness—and this guide walks you through every setting, safety step, and creative technique to get those shots right.
I'm Jessica Brown, a professional photographer who has spent the last three years pushing compact drones to their limits on editorial and commercial shoots. Highways at dusk and after dark have become one of my signature styles, and the Mini 5 Pro is the tool that made it realistic without hauling a heavier platform.
Let's break down the exact workflow I use—from the pre-flight sensor cleaning ritual that most pilots skip, to final color grading in post.
Step 1: The Pre-Flight Sensor Cleaning Ritual You Cannot Skip
Here's the step that separates safe low-light pilots from reckless ones. Before every single flight—especially near highways where road dust, tire particulate, and exhaust residue hang in the air—you need to clean every obstacle avoidance sensor on the Mini 5 Pro.
The drone relies on omnidirectional obstacle avoidance using a combination of vision sensors and infrared detectors positioned on the front, rear, bottom, top, and sides. A thin film of road grime on even one sensor can cause the system to misread distances, lose detection range, or throw false alerts that interrupt your shot mid-capture.
My Cleaning Checklist
- Use a microfiber lens cloth (not your shirt) on all vision sensors
- Blow compressed air across the bottom-facing infrared sensors where dust settles during landing
- Inspect the forward-facing sensors for condensation if shooting near cold highway overpasses
- Wipe the camera lens and gimbal housing last to avoid transferring particulate
- Power the drone on and confirm "Obstacle Avoidance: Normal" in the status bar before takeoff
Expert Insight — I once lost an entire shoot because a barely visible smudge on the rear obstacle avoidance sensor caused the Mini 5 Pro to refuse backward flight near a guardrail. That five-second wipe would have saved me two hours of repositioning. Build the habit now.
This ritual takes under 90 seconds and should become as automatic as checking your battery level.
Step 2: Configure Camera Settings for Low-Light Highway Conditions
The Mini 5 Pro's 1/1.3-inch CMOS sensor with an f/1.7 aperture is the foundation of its low-light performance. But auto mode will fight you in this scenario. You need full manual control.
Recommended Manual Settings for Twilight Highways
- ISO: 400–800 (start at 400 and increase only as ambient light drops)
- Shutter Speed: 1/50s for video, 2–8 seconds for long-exposure stills
- White Balance: 4000K–4500K to balance the warm sodium highway lights against the cool twilight sky
- Color Profile: D-Log for maximum dynamic range recovery in post
- Resolution: 4K/30fps for video; 48MP RAW for stills
Why D-Log Is Non-Negotiable Here
Highway scenes at night contain an extreme dynamic range—blazing headlights, glowing tail lights, dim asphalt, and deep shadow under overpasses. Shooting in D-Log preserves up to 3 additional stops of dynamic range compared to the standard color profile. The footage will look flat and washed out on your controller screen. That's correct. The data is there for color grading later.
If you shoot in a standard profile, those headlights will clip to pure white and those shadows will crush to pure black. There's no recovering that information.
Pro Tip — Set your controller screen brightness to maximum during low-light shoots. D-Log footage already looks dim, and a dark screen on top of that makes it nearly impossible to judge composition and focus in the field.
Step 3: Use ActiveTrack and Subject Tracking on Moving Vehicles
The Mini 5 Pro's ActiveTrack system can lock onto and follow moving subjects, which opens up incredible creative possibilities over highways. You can track a single vehicle along a stretch of road while the drone maintains a steady orbit or parallel flight path.
How to Configure Subject Tracking for Vehicles at Night
- Enable ActiveTrack from the flight mode menu
- Draw a selection box around the target vehicle on your controller screen
- Set tracking mode to Parallel for side-angle highway shots or Spotlight to keep the vehicle centered while you fly manually
- Reduce maximum tracking speed to 75% of the default—sudden acceleration in low light can outpace the obstacle avoidance system's reaction time
Limitations to Know
ActiveTrack relies on visual contrast to maintain a lock. After full dark, when headlights create glare and vehicles blend into asphalt, tracking accuracy drops. My rule: use ActiveTrack during twilight (30 minutes before to 45 minutes after sunset) and switch to manual flight paths after that window closes.
Step 4: Creative Techniques — QuickShots and Hyperlapse
This is where the Mini 5 Pro turns highway footage from documentation into art.
QuickShots for Automated Cinematic Moves
QuickShots are pre-programmed flight patterns that the drone executes automatically while keeping the camera locked on a subject. Over highways, these modes work exceptionally well:
- Dronie: Pulls backward and upward, revealing the full scope of an interchange
- Circle: Orbits a fixed point like a highway cloverleaf, capturing light trails in a continuous sweep
- Helix: Spirals upward around a junction, adding dramatic vertical scale
- Rocket: Ascends straight up, ideal for revealing the geometry of lane markings and ramp structures from directly above
Hyperlapse for Light Trails
Hyperlapse mode is the crown jewel for highway low-light work. The Mini 5 Pro captures a sequence of photos at set intervals, then stitches them into a time-compressed video. Over a busy highway at dusk, this transforms individual headlights into flowing rivers of light.
- Set interval to 3–5 seconds
- Choose Circle or Waypoint Hyperlapse mode for dynamic camera movement
- Duration: plan for at least 15–20 minutes of capture time to produce a smooth 10–15 second final clip
- Ensure battery is above 60% before starting—Hyperlapse cannot be resumed after a battery swap
Technical Comparison: Low-Light Drone Settings at a Glance
| Parameter | Twilight (Golden Hour End) | Blue Hour | Full Dark |
|---|---|---|---|
| ISO | 100–400 | 400–800 | 800–1600 |
| Shutter (Video) | 1/60s | 1/50s | 1/30s |
| Shutter (Stills) | 1/100s – 1s | 1–4s | 4–8s |
| D-Log | Recommended | Essential | Essential |
| ActiveTrack | Full capability | Reduced accuracy | Not recommended |
| Obstacle Avoidance | Full function | Reduced range | Significantly reduced |
| QuickShots | All modes available | All modes (slower speeds) | Dronie and Rocket only |
| Hyperlapse | Optimal window | Good with longer intervals | Challenging—tripod mode preferred |
Common Mistakes to Avoid
1. Trusting obstacle avoidance unconditionally at night. The system's detection range shrinks dramatically in low light. Always maintain manual situational awareness and avoid flying near structures below 15 meters altitude after dark.
2. Using Auto ISO. Auto ISO in low light will push the sensor to ISO 3200+, introducing visible noise that even D-Log can't save in post. Lock your ISO manually and adjust shutter speed instead.
3. Ignoring ND filters. Even at twilight, if you want motion blur on vehicle lights for video, you need an ND8 or ND16 filter to bring your shutter speed down to 1/50s or slower without overexposing.
4. Launching from highway shoulders or medians. Wind turbulence from passing trucks can destabilize the Mini 5 Pro during takeoff and landing. Always launch from a position at least 30 meters from active traffic lanes.
5. Forgetting to switch from GPS to Cine mode. Standard GPS flight mode produces jerky stick inputs in footage. Cine mode smooths all control inputs, which is critical for professional-quality slow pans over highway scenes.
6. Skipping the sensor cleaning step discussed above. Road environments are uniquely dirty. One contaminated sensor can compromise your entire obstacle avoidance system over a dangerous area.
Frequently Asked Questions
Can the Mini 5 Pro legally fly over highways at night?
Regulations vary by country and jurisdiction. In the United States, Part 107 certified pilots can fly at night with the drone's anti-collision lights enabled, but flying directly over moving traffic on public roads typically requires a waiver. Always check your local aviation authority's current rules and obtain necessary permissions before flying near active roadways.
How does D-Log differ from D-Log M on the Mini 5 Pro?
D-Log is the full-range logarithmic color profile designed for maximum dynamic range and professional color grading workflows. D-Log M is a lighter variant that retains more visible contrast on screen, making it easier to expose correctly in the field while still preserving significantly more highlight and shadow detail than standard profiles. For highway low-light work where dynamic range is extreme, full D-Log gives you the most flexibility in post-production.
What is the maximum wind resistance for stable highway shots?
The Mini 5 Pro is rated for Level 5 winds (up to 38 kph). Highways often create their own wind corridors, especially over elevated sections and between sound barriers. I recommend aborting flights when sustained winds exceed 30 kph near highway structures, as turbulence from vehicle traffic adds unpredictable gusts on top of ambient wind conditions.
The Mini 5 Pro has fundamentally changed what's possible for sub-249g drone photography in challenging conditions. Highway low-light shooting used to require heavy, expensive platforms. Now, with the right technique, sensor preparation, and camera settings, you can capture footage that rivals full-size cinema drones—all from a package that fits in a jacket pocket.
Ready for your own Mini 5 Pro? Contact our team for expert consultation.