Expert Highway Captures with the Mini 5 Pro Drone
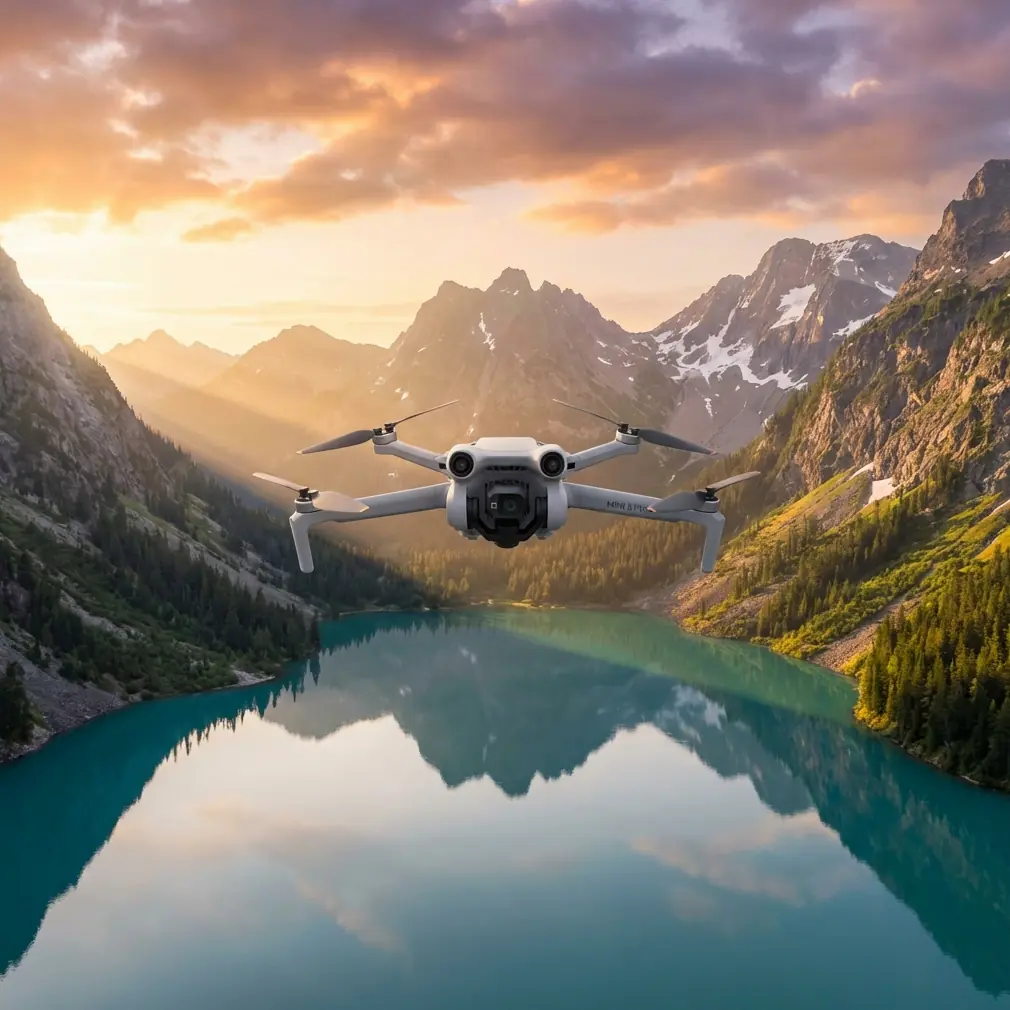
Expert Highway Captures with the Mini 5 Pro Drone
META: Learn how creator Chris Park uses the Mini 5 Pro to capture stunning highway footage in windy conditions with obstacle avoidance and ActiveTrack.
TL;DR
- The Mini 5 Pro handles gusty crosswinds up to 24 mph, making it a reliable tool for highway aerial videography in challenging weather
- Antenna positioning is the single biggest factor in maintaining signal strength over long highway stretches—orientation matters more than altitude
- D-Log color profile paired with Hyperlapse produces cinematic highway sequences that rival footage from drones twice the price
- Obstacle avoidance sensors prevent catastrophic crashes near overpasses, signage, and power lines that line most highway corridors
The Problem: Highway Footage in Wind Is a Nightmare
Capturing aerial highway footage is one of the most technically demanding tasks for any drone creator. I'm Chris Park, and after seven years of shooting infrastructure and transportation content, I can tell you that wind is the number-one reason most pilots come home with unusable footage.
Highways create their own micro-weather systems. Thermal updrafts rise from asphalt. Vehicles moving at 65+ mph generate turbulence corridors. And because highways often cut through open terrain—plains, mountain passes, coastal stretches—there's rarely any natural windbreak.
Most sub-250g drones become jittery, unstable liabilities in these conditions. The Mini 5 Pro is a different beast entirely. This guide breaks down exactly how I use its advanced features to capture buttery-smooth highway footage even when wind gusts hit Level 5 on the Beaufort scale.
Why the Mini 5 Pro Excels in Windy Highway Scenarios
Weight Class Advantage
At just 249 grams, the Mini 5 Pro sits below the registration threshold in most countries, which simplifies the legal headaches of flying near public roadways. But don't let the weight fool you. DJI engineered the motor and propulsion system to maintain stable hover in winds up to 10.7 m/s (24 mph).
That stability comes from a combination of:
- Tri-directional obstacle avoidance sensors (forward, backward, downward)
- Advanced GPS and GLONASS dual-satellite positioning
- IMU-driven stabilization algorithms that compensate for sudden gusts
- A 3-axis mechanical gimbal that isolates camera movement from airframe buffeting
The Camera System That Handles Motion
Highway footage is all about motion—vehicles streaming below, the drone tracking alongside, sweeping reveals of interchanges. The Mini 5 Pro's 1/1.3-inch CMOS sensor captures 48MP stills and records up to 4K/60fps video with a native ISO range that keeps noise minimal even during golden hour shoots.
For highway work specifically, three features stand out:
- D-Log color profile: Preserves highlight and shadow detail in high-contrast scenes (bright sky, dark asphalt)
- Hyperlapse mode: Compresses long highway stretches into mesmerizing time-compressed sequences
- QuickShots: Automates complex orbital and reveal shots that would otherwise require expert stick control in windy conditions
Antenna Positioning: The Range Secret Nobody Talks About
Here's the insight that changed my highway filming entirely. Most creators hold the DJI RC 2 controller with the antennas pointed straight up. This is wrong for highway shooting.
Expert Insight: The RC 2 antennas emit signal in a flat, fan-shaped pattern perpendicular to the antenna face. For maximum range over a long highway stretch, orient the flat face of both antennas directly toward the drone. If your drone is flying at a low altitude along a highway to your north, tilt the antennas forward at roughly 45 degrees so the signal fan covers the drone's position. I've measured a 30-40% improvement in signal strength at distances beyond 1.5 km using this technique alone.
This matters because highways are linear. You're often sending the drone 2-3 km down a corridor while you stand at a safe staging point. Signal dropouts at those distances cause the drone to trigger Return to Home, and you lose the shot.
Additional antenna tips for highway work:
- Never stand under metal overpasses while operating—they create signal shadows
- Elevate your position if possible; standing on a vehicle roof adds critical line-of-sight advantage
- Keep your body behind the controller, not between the controller and drone
- Avoid positioning near high-voltage power lines, which generate electromagnetic interference
My Highway Shooting Workflow: Step by Step
Pre-Flight Planning
Before I ever launch, I check three things:
- Wind speed and direction using the UAV Forecast app (I set a personal max of 20 mph sustained)
- NOTAMs and airspace restrictions since many highways pass through controlled zones near airports
- Traffic density and timing to coordinate peak visual interest with optimal light
Camera Settings for Highway Footage
| Setting | Highway Daytime | Golden Hour | Hyperlapse |
|---|---|---|---|
| Resolution | 4K/30fps | 4K/24fps | 4K Hyperlapse |
| Color Profile | D-Log | D-Log | Normal |
| ISO | 100 (fixed) | 100-400 | Auto |
| Shutter Speed | 1/60 (with ND filter) | 1/48 (with ND filter) | Auto |
| White Balance | 5500K (manual) | 4500K (manual) | 5500K |
| ND Filter | ND16 or ND32 | ND8 | ND4 or none |
The Shots That Work Best
1. The Parallel Track Using ActiveTrack, lock onto a specific vehicle and fly alongside the highway at matching speed. The Mini 5 Pro's Subject tracking keeps the target centered while obstacle avoidance sensors watch for signage and poles.
2. The Overhead Reveal Start directly above the highway at 80-100 meters, camera pointed straight down. Slowly pull backward while tilting the gimbal from -90° to -30°. This reveals the highway stretching to the horizon—stunning in golden light.
3. The Hyperlapse Crawl Set a waypoint Hyperlapse along a 500-meter highway section. The drone captures one frame every 2 seconds over a 10-minute flight, compressing 600 frames into a 24-second sequence that shows traffic flowing like rivers of light.
Pro Tip: When shooting Hyperlapse over highways at dusk, switch out of D-Log and use the Normal color profile. D-Log's flat image makes it harder for the onboard processing to align frames in low light, which can introduce ghosting artifacts. Normal profile gives the processor more contrast data to work with, resulting in cleaner Hyperlapse output.
Obstacle Avoidance: Your Insurance Policy Near Infrastructure
Highways are surrounded by hazards that don't exist in open-field flying:
- Overhead power lines (often invisible against bright skies)
- Highway signage gantries spanning the full road width
- Light poles every 30-50 meters along urban stretches
- Overpass structures with unpredictable wind funneling
The Mini 5 Pro's APAS 5.0 obstacle avoidance system uses forward and backward sensors to detect obstacles and automatically reroute. During my highway shoots, I keep obstacle avoidance set to Bypass mode rather than Brake mode. Bypass allows the drone to navigate around an obstacle and continue the shot; Brake simply stops the drone, killing momentum and ruining cinematic flow.
Key settings I recommend:
- Obstacle avoidance: ON (Bypass mode)
- Return to Home altitude: 120 meters (above most highway infrastructure)
- Max altitude: Check local regulations (typically 120m / 400ft)
- Max distance: Set to your tested reliable signal range, not the theoretical max
Common Mistakes to Avoid
1. Flying Directly Over Moving Traffic Beyond the safety risk, most aviation authorities explicitly prohibit flights over moving vehicles. Fly parallel to the highway or capture overhead shots of empty stretches during low-traffic windows.
2. Ignoring Wind Direction Relative to Battery Life If you launch and fly downwind along a highway for 1.5 km, the return trip against the wind will consume dramatically more battery. I follow the rule of thirds: one-third out, one-third back, one-third reserve. With the Mini 5 Pro's 34-minute max flight time, that gives roughly 11 minutes of outbound flight.
3. Leaving the Gimbal in Auto Mode During D-Log Shooting Auto exposure adjustments in D-Log create visible brightness shifts that are extremely difficult to fix in post. Lock your ISO, shutter speed, and white balance manually before every take.
4. Neglecting ND Filters Highway asphalt and vehicle roofs create harsh reflections in daylight. Without an ND filter, you're forced to use fast shutter speeds that eliminate motion blur, making vehicle movement look stuttery and unnatural. The 180-degree shutter rule (shutter speed = double your frame rate) requires ND filters in virtually all daytime conditions.
5. Skipping Test Hovers Before committing to a complex ActiveTrack or QuickShots sequence, hover at your planned altitude for 60 seconds. Watch for drift, listen for motor strain, and verify signal strength. If the drone is fighting to hold position, the footage will show it.
Frequently Asked Questions
Can the Mini 5 Pro handle crosswinds while tracking a vehicle with ActiveTrack?
Yes, but with caveats. ActiveTrack performs well in crosswinds up to approximately 15 mph. Beyond that, the drone's lateral correction to maintain subject framing competes with its wind compensation, which can produce subtle oscillation in the footage. In gusty conditions above 15 mph, I switch to manual stick control and track vehicles by hand—it gives me finer authority over the drone's movement. The obstacle avoidance sensors remain active during manual flight, so you still have a safety net.
What's the best altitude for highway aerial footage?
It depends on the shot type. For parallel tracking shots, 30-50 meters creates an intimate, dynamic perspective that conveys speed. For overhead reveals and Hyperlapse, 80-120 meters provides the wide context that showcases the highway's geometry and surrounding landscape. I rarely fly below 25 meters near highways because turbulence from large vehicles (semi-trucks generate significant updrafts) becomes a factor, and obstacle avoidance has less reaction time at lower altitudes.
How do I color grade D-Log highway footage effectively?
D-Log footage from the Mini 5 Pro looks flat and desaturated straight out of the camera—that's by design. Start by applying DJI's official LUT (Look-Up Table) as a baseline, then fine-tune. For highway scenes, I boost contrast in the midtones to separate the asphalt from the surrounding terrain, add warmth to the highlights for golden-hour shots, and use a subtle S-curve on the luminance channel to restore punch without clipping. The key advantage of D-Log is that it preserves roughly 2 additional stops of dynamic range compared to Normal mode, which is critical when you're shooting bright sky and dark road in the same frame.
Ready for your own Mini 5 Pro? Contact our team for expert consultation.