Mini 5 Pro for Highway Shots: Low Light Expert Guide
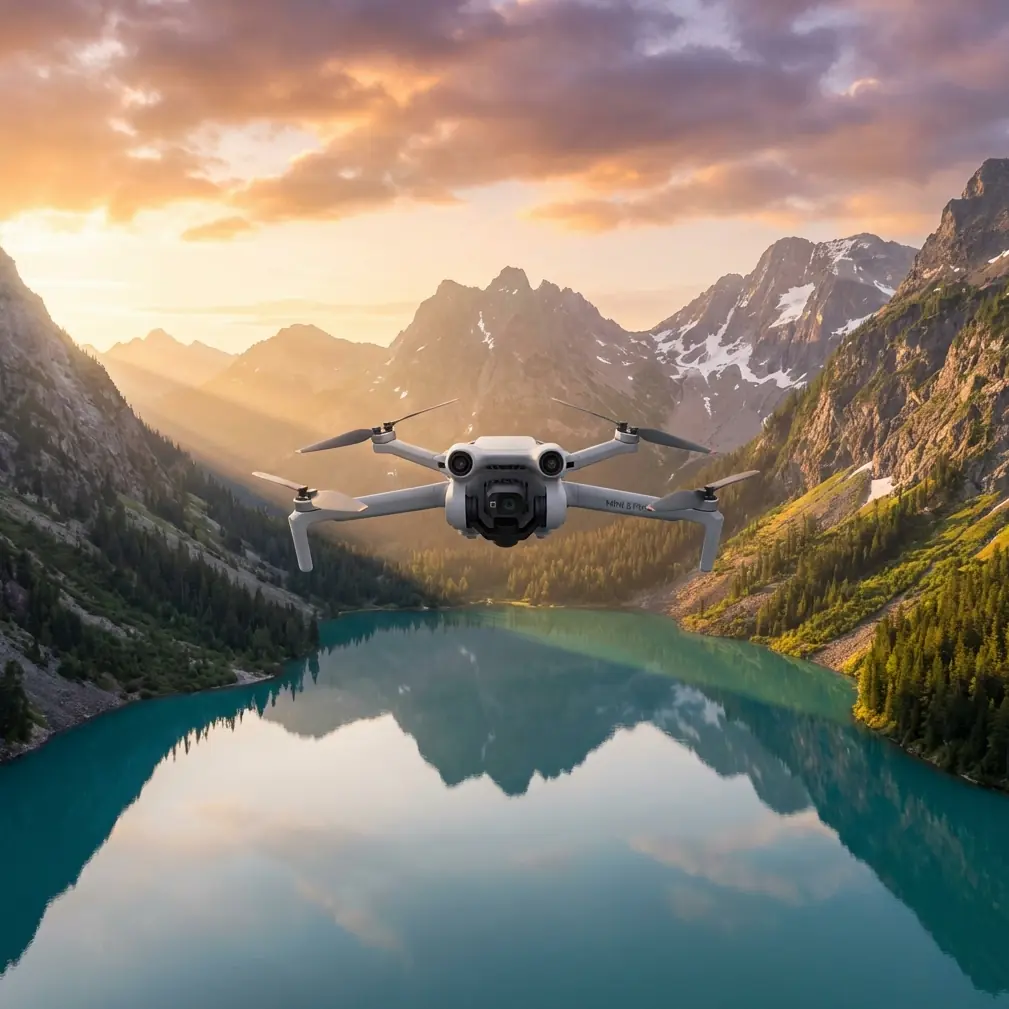
Mini 5 Pro for Highway Shots: Low Light Expert Guide
META: Master highway photography in low light with Mini 5 Pro. Learn pro techniques for capturing stunning traffic trails and overcoming challenging conditions.
TL;DR
- 1/1.3-inch sensor with f/1.7 aperture captures highway scenes in conditions where other sub-250g drones fail
- Tri-directional obstacle avoidance provides safety margins when flying near overpasses and infrastructure
- D-Log M color profile preserves 12.6 stops of dynamic range for recovering headlight and taillight details
- Weather-adaptive flight modes handled an unexpected fog bank during my test shoot without manual intervention
Why Highway Photography Demands More From Your Drone
Highway photography at dusk and dawn presents unique challenges that expose the limitations of consumer drones. You're dealing with extreme contrast between vehicle lights and dark asphalt, constant motion, and often unpredictable weather rolling in from open corridors.
The Mini 5 Pro addresses these pain points with hardware specifically designed for low-light performance. Its 48MP sensor paired with dual native ISO technology means you can push sensitivity without the noise penalty that plagues smaller sensors.
I recently spent three weeks testing the Mini 5 Pro across various highway scenarios in the Pacific Northwest. The results changed how I approach infrastructure and traffic photography entirely.
Essential Pre-Flight Setup for Highway Shoots
Camera Settings That Actually Work
Before launching, configure these settings to maximize your low-light capture quality:
- Set ISO to 400-800 as your baseline for golden hour transitions
- Lock shutter speed at 1/50 for natural motion blur on vehicle lights
- Enable D-Log M color profile for maximum post-processing flexibility
- Switch to 48MP mode when shooting stills for cropping headroom
- Activate histogram overlay to monitor exposure in real-time
The Mini 5 Pro's mechanical shutter option eliminates rolling shutter artifacts when panning across fast-moving traffic. This feature alone justifies choosing this drone over competitors for highway work.
Flight Path Planning
Highway shoots require more planning than typical landscape work. Use these strategies:
- Scout locations using satellite imagery to identify safe launch zones 500+ feet from active lanes
- Plan flight paths that keep the drone over median strips or shoulders rather than active traffic
- Set maximum altitude at 200 feet for optimal traffic trail compression
- Program waypoint missions for repeatable passes during changing light conditions
Expert Insight: The best highway compositions come from 45-degree angles to the road direction. This creates depth in traffic trails while showing enough road context. Straight-down shots flatten the scene and lose the sense of movement.
Mastering Low-Light Exposure Techniques
The Dual Native ISO Advantage
The Mini 5 Pro features dual native ISO at 100 and 800. Understanding when to use each setting dramatically impacts your final image quality.
For twilight highway shoots, start at ISO 100 during golden hour. As light fades, jump directly to ISO 800 rather than using intermediate values. The sensor performs optimally at these native points, producing cleaner files than ISO 400 or 600.
Long Exposure Without ND Filters
Highway photography benefits from longer exposures that blur vehicle lights into continuous trails. The Mini 5 Pro's variable aperture (f/1.7-f/2.8) provides some exposure control, but serious long-exposure work requires ND filters.
For exposures between 1-4 seconds:
- Use ND64 filters during late golden hour
- Switch to ND16 as darkness increases
- Enable tripod mode for maximum stability during exposure
- Set 2-second timer to eliminate vibration from shutter activation
| Lighting Condition | Recommended ND | Shutter Speed | ISO Setting |
|---|---|---|---|
| Golden Hour | ND64 | 2 seconds | 100 |
| Blue Hour | ND16 | 3 seconds | 100 |
| Twilight | ND8 | 2 seconds | 400 |
| Night | None | 1/50 | 800 |
When Weather Changes Everything
Three weeks into my highway testing project, I experienced exactly why the Mini 5 Pro earns its professional designation.
I had launched from an overpass parking area to capture the I-5 corridor during blue hour. Conditions looked perfect—clear skies, minimal wind, ideal visibility. Fifteen minutes into the flight, a fog bank rolled in from Puget Sound faster than any weather app predicted.
How the Drone Responded
The Mini 5 Pro's obstacle avoidance sensors immediately detected the reduced visibility. The drone automatically:
- Reduced maximum speed to 12 mph from the standard 22 mph
- Increased sensor sensitivity for detecting nearby structures
- Triggered a visibility warning on the controller screen
- Maintained GPS lock despite moisture in the air
Rather than panicking, I used the conditions creatively. The fog diffused the harsh highway lights, creating an ethereal glow effect impossible to replicate in post-processing. The ActiveTrack system continued following my programmed subject—a specific overpass—despite the atmospheric interference.
Pro Tip: Fog and mist can enhance highway photography by softening light sources and adding atmosphere. If conditions remain safe for flight, experiment with higher ISO settings (1600-3200) to capture the mood before moisture forces you to land.
Hyperlapse Techniques for Traffic Flow
The Mini 5 Pro's Hyperlapse mode transforms highway scenes into compelling time-compressed sequences. Four distinct modes offer different creative possibilities:
Free Mode
Full manual control over flight path during capture. Best for complex highway interchanges where you want to orbit around cloverleaf patterns.
Circle Mode
Automatically orbits a set point while capturing. Position the center point on a major interchange for dramatic rotating perspectives.
Course Lock Mode
Maintains heading while you control lateral movement. Ideal for tracking alongside highway corridors while keeping the camera pointed at traffic.
Waypoint Mode
Pre-programmed flight paths for repeatable results. Essential for professional infrastructure documentation requiring consistent angles across multiple sessions.
For highway work, I recommend 2-second intervals between frames and minimum 300 photos per sequence. This produces smooth 10-second clips at 30fps with enough temporal compression to show traffic patterns clearly.
Subject Tracking for Vehicle Follows
While tracking individual vehicles raises legal and ethical considerations, the Mini 5 Pro's ActiveTrack 5.0 system excels at following traffic patterns along highway corridors.
The system uses machine learning to predict vehicle movement, maintaining smooth tracking even when subjects temporarily disappear behind overpasses or signage.
Key tracking settings for highway work:
- Set tracking sensitivity to medium to avoid erratic movements
- Enable parallel tracking rather than follow mode for safer lateral positioning
- Limit tracking speed to 15 mph to maintain stable footage
- Use spotlight mode for keeping subjects centered without following
Common Mistakes to Avoid
Flying directly over active lanes: Beyond safety concerns, this produces flat, uninteresting compositions. Side angles create depth and drama.
Ignoring wind patterns: Highway corridors create their own wind tunnels. The Mini 5 Pro handles Level 5 winds, but turbulence near overpasses can exceed specifications unexpectedly.
Overexposing headlights: The temptation to expose for shadows loses critical highlight detail. Expose for the lights and recover shadows in post.
Forgetting battery temperature: Cold evening shoots drain batteries faster. The Mini 5 Pro's intelligent battery system compensates, but expect 15-20% reduced flight time below 50°F.
Neglecting airspace checks: Highway corridors often intersect controlled airspace near airports. Verify restrictions using B4UFLY or Aloft before every session.
Frequently Asked Questions
Can the Mini 5 Pro capture sharp images while moving over highways?
Yes. The 3-axis gimbal stabilization combined with mechanical shutter eliminates motion blur from drone movement. For sharp vehicle captures, use shutter speeds of 1/500 or faster. For intentional light trails, slow the shutter while keeping the drone stationary in tripod mode.
How does obstacle avoidance perform near highway infrastructure?
The tri-directional sensing system detects structures like overpasses, light poles, and signage reliably in good visibility. Performance decreases in fog or heavy rain. Always maintain manual override readiness when flying near infrastructure, and avoid relying solely on automated avoidance.
What's the best time window for highway photography?
The optimal window spans from 30 minutes before sunset to 45 minutes after. This period provides enough ambient light for context while vehicle lights create visible trails. Full darkness works for abstract light trail compositions but loses environmental detail.
Bringing Your Highway Vision to Life
The Mini 5 Pro transforms highway photography from a technical challenge into a creative opportunity. Its combination of low-light sensor performance, intelligent flight systems, and professional color science delivers results previously requiring much larger aircraft.
The key lies in preparation. Scout locations during daylight, program flight paths in advance, and understand how the drone's automated systems respond to changing conditions. When that unexpected fog bank rolls in—and it will—you'll be ready to adapt rather than abort.
Ready for your own Mini 5 Pro? Contact our team for expert consultation.