How to Capture Stunning Fields with Mini 5 Pro
How to Capture Stunning Fields with Mini 5 Pro
META: Master high-altitude field photography with the Mini 5 Pro. Learn expert techniques for capturing breathtaking agricultural landscapes with precision drone control.
TL;DR
- High-altitude field photography requires specific Mini 5 Pro settings and flight techniques for optimal results
- The D-Log color profile preserves maximum dynamic range in challenging outdoor lighting conditions
- Third-party ND filter sets dramatically improve exposure control over bright agricultural landscapes
- ActiveTrack and QuickShots modes automate complex shots while you focus on composition
Why High-Altitude Field Photography Demands the Right Drone
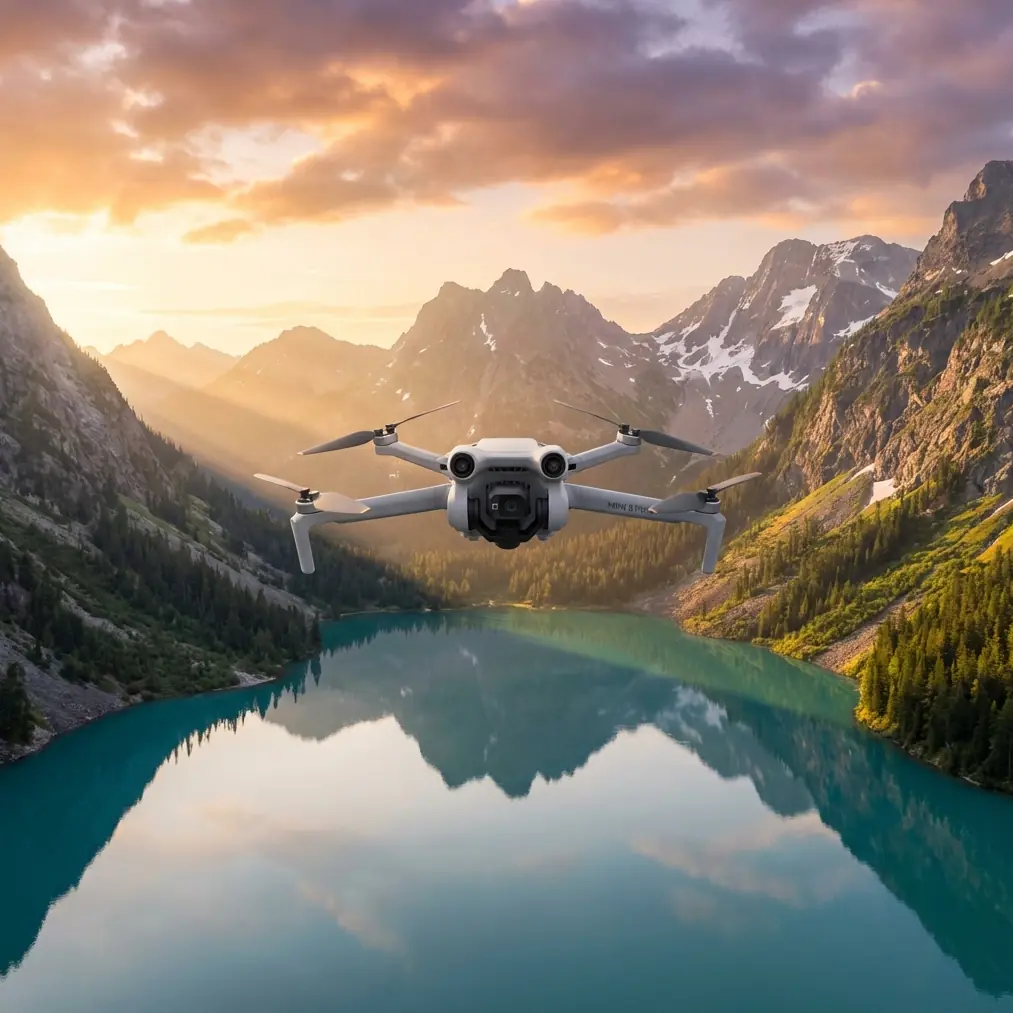
Capturing expansive agricultural fields from altitude presents unique challenges that separate amateur footage from professional-grade imagery. The Mini 5 Pro addresses these challenges with a 1/1.3-inch CMOS sensor capable of recording 4K/60fps video while maintaining the sub-249g weight class that simplifies flight regulations.
I'm Jessica Brown, a professional photographer who has spent the last three years documenting agricultural landscapes across diverse terrain. This guide shares the exact techniques I use to capture publication-ready field imagery with the Mini 5 Pro.
Understanding High-Altitude Flight Dynamics
Altitude Considerations for Field Photography
Flying at higher altitudes introduces variables that directly impact image quality. Thinner air affects propeller efficiency, while increased distance from your subject demands careful attention to camera settings.
The Mini 5 Pro maintains stable flight characteristics up to 4,000 meters above sea level, though battery performance decreases by approximately 15-20% at elevations above 2,500 meters. Plan your flights accordingly.
Key altitude factors include:
- Wind exposure increases significantly above tree lines and structures
- Temperature drops affect battery chemistry and flight time
- GPS signal strength typically improves with fewer obstructions
- Subject distance requires tighter focal compositions
Optimal Flight Settings for Field Capture
Before launching, configure these essential settings:
- Set Return-to-Home altitude at least 30 meters above the tallest obstacle
- Enable obstacle avoidance in all directions for safety during complex maneuvers
- Activate APAS 5.0 for intelligent path planning around unexpected obstacles
- Configure max altitude based on local regulations and shooting requirements
Camera Configuration for Agricultural Landscapes
Mastering D-Log for Maximum Flexibility
The D-Log color profile captures 12.6 stops of dynamic range, essential when shooting fields that often feature bright sky and shadowed terrain in the same frame.
Configure D-Log with these parameters:
- ISO 100-200 for cleanest possible footage
- Shutter speed at double your frame rate (1/120 for 60fps)
- White balance locked to prevent mid-flight shifts
- Sharpness reduced to -1 for better post-processing flexibility
Expert Insight: D-Log footage appears flat and desaturated straight from the camera. This is intentional—the profile preserves highlight and shadow information that you recover during color grading. Never judge D-Log footage without applying a LUT or manual color correction first.
The ND Filter Advantage
Here's where a third-party accessory transformed my field photography workflow. The PolarPro Variable ND filter set allows precise exposure control without constantly adjusting shutter speed.
When shooting bright midday fields, I typically use:
- ND8 for overcast conditions
- ND16 for partly cloudy skies
- ND32 for direct sunlight
- ND64 for snow-covered fields or water reflections
These filters maintain proper motion blur while preventing overexposure in challenging lighting conditions.
Automated Flight Modes for Professional Results
Leveraging QuickShots for Consistent Footage
QuickShots modes automate complex camera movements that would require significant piloting skill to execute manually. For field photography, these modes prove particularly valuable:
Dronie: Flies backward and upward while keeping your subject centered. Excellent for revealing the scale of agricultural operations.
Circle: Orbits around a fixed point, perfect for showcasing crop patterns or irrigation systems.
Helix: Combines upward spiral movement with subject tracking, creating dynamic reveals of field layouts.
Rocket: Ascends directly upward while the camera tilts down, ideal for overhead pattern shots.
Subject Tracking with ActiveTrack
ActiveTrack technology enables the Mini 5 Pro to autonomously follow moving subjects—useful when documenting farming equipment or livestock movement across fields.
The system uses visual recognition algorithms to maintain focus on selected subjects while the obstacle avoidance system prevents collisions. This combination allows you to concentrate entirely on composition rather than flight control.
Configure ActiveTrack for field work:
- Select Trace mode for following behind moving subjects
- Use Parallel mode for side-angle tracking shots
- Enable Spotlight mode when you want manual flight control with automatic camera tracking
Creating Hyperlapse Sequences
Time-Compression Techniques for Agricultural Stories
Hyperlapse mode captures the passage of time across agricultural landscapes, revealing changes invisible to normal observation. The Mini 5 Pro supports four Hyperlapse modes:
| Mode | Best Use Case | Duration Range | Movement Pattern |
|---|---|---|---|
| Free | Custom flight paths | 2-60 minutes | Manual control |
| Circle | Crop rotation views | 5-30 minutes | Orbital |
| Course Lock | Linear field passes | 3-45 minutes | Straight line |
| Waypoint | Complex multi-point | 10-120 minutes | Preset path |
For field documentation, Course Lock mode creates compelling linear passes that showcase crop progression or terrain features.
Pro Tip: Schedule Hyperlapse captures during golden hour transitions. The changing light across agricultural fields creates dramatic color shifts that compress beautifully into time-lapse sequences. A 30-minute capture during sunset yields approximately 10 seconds of stunning footage.
Technical Specifications Comparison
Understanding how the Mini 5 Pro compares to alternatives helps contextualize its field photography capabilities:
| Specification | Mini 5 Pro | Previous Generation | Professional Alternative |
|---|---|---|---|
| Sensor Size | 1/1.3-inch | 1/1.3-inch | 1-inch |
| Max Video | 4K/60fps | 4K/60fps | 5.1K/50fps |
| Weight | 249g | 249g | 595g |
| Max Flight Time | 34 minutes | 34 minutes | 46 minutes |
| Obstacle Sensing | Omnidirectional | Tri-directional | Omnidirectional |
| Wind Resistance | Level 5 | Level 5 | Level 5 |
| Transmission Range | 20km | 12km | 20km |
The sub-249g weight class advantage cannot be overstated for field photographers who frequently travel to remote agricultural locations.
Common Mistakes to Avoid
Pre-Flight Errors
Ignoring compass calibration: Agricultural areas often contain metal structures, irrigation equipment, and underground utilities that affect compass accuracy. Always calibrate before flying in new locations.
Overlooking battery temperature: Cold morning shoots require battery warming. Insert batteries into the drone and power on for 2-3 minutes before takeoff to reach optimal operating temperature.
Skipping firmware updates: The Mini 5 Pro receives regular updates that improve obstacle avoidance algorithms and flight stability. Outdated firmware compromises both safety and image quality.
In-Flight Mistakes
Flying too fast for conditions: High-altitude winds require slower, more deliberate movements. Rapid stick inputs create jerky footage that no stabilization can fully correct.
Neglecting ND filter adjustments: As lighting conditions change during extended shoots, failing to swap ND filters results in overexposed highlights or underexposed shadows.
Ignoring battery warnings: The temptation to capture "one more shot" leads to emergency landings in inconvenient locations. Respect the 30% battery return threshold, especially at altitude where return flights face potential headwinds.
Post-Processing Mistakes
Over-sharpening D-Log footage: The flat profile requires careful sharpening. Excessive processing introduces artifacts and noise, particularly in sky gradients common to field photography.
Crushing blacks during grading: Agricultural fields contain important shadow detail. Maintain lifted blacks to preserve texture in shaded areas and prevent unnatural contrast.
Frequently Asked Questions
What altitude provides the best perspective for field photography?
The optimal altitude depends on field size and desired composition. For individual field documentation, 60-80 meters captures sufficient context while maintaining detail. Large-scale agricultural operations benefit from 100-120 meters to encompass multiple fields in single frames. Always verify local altitude regulations before flying.
How does obstacle avoidance perform at high altitudes over open fields?
The omnidirectional obstacle avoidance system functions identically regardless of altitude. However, open fields typically present fewer obstacles, allowing more aggressive flight patterns. The system excels at detecting power lines, communication towers, and other structures that may not be immediately visible from ground level.
Can the Mini 5 Pro handle windy conditions common at higher elevations?
The Mini 5 Pro maintains stable flight in winds up to 10.7 m/s (Level 5). High-altitude field locations frequently experience stronger gusts. Monitor wind conditions through the DJI Fly app and avoid flying when sustained winds exceed 8 m/s to ensure smooth footage and safe operation.
Elevate Your Field Photography
Mastering high-altitude field photography with the Mini 5 Pro requires understanding the interplay between flight dynamics, camera settings, and environmental conditions. The techniques outlined here represent years of professional experience distilled into actionable guidance.
Start with conservative settings and gradually expand your capabilities as confidence grows. The combination of intelligent flight modes, professional-grade imaging, and portable design makes the Mini 5 Pro an exceptional tool for agricultural documentation.
Ready for your own Mini 5 Pro? Contact our team for expert consultation.